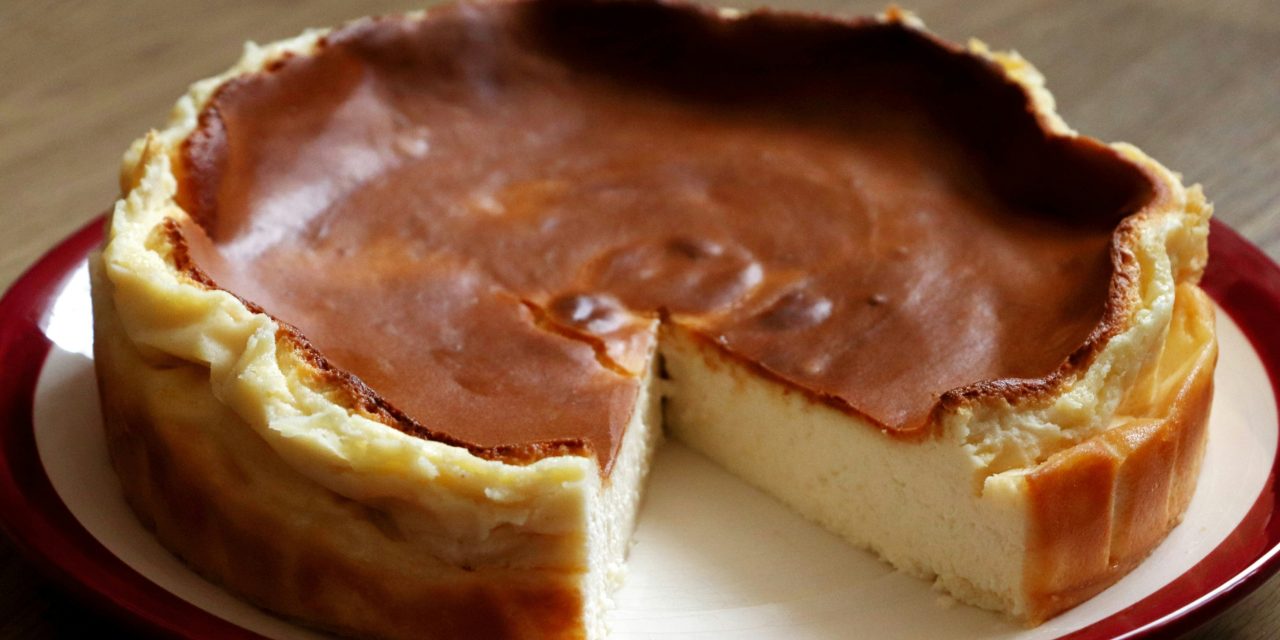
Springform pans are essential tools in the culinary world, particularly for baking delicate desserts such as cheesecakes. These pans are characterized by their unique design, which features a removable outer ring that allows for easy release of baked goods without damaging their structure. Typically made from metal or silicone, springform pans come in various sizes, with the most common being 9 inches in diameter. The pan’s base is flat and sturdy, providing a solid foundation for the cake, while the sides can be unclipped to reveal the dessert once it has cooled.
The mechanism of a springform pan consists of a latch that secures the outer ring to the base. This design is particularly advantageous for cheesecakes, which often have a soft and creamy texture that can be challenging to remove from traditional pans. By utilizing a springform pan, bakers can achieve a flawless presentation, ensuring that their creations maintain their shape and integrity. Understanding how to properly use and care for these pans is crucial for anyone looking to master the art of cheesecake baking.
If you’re looking for tips on how to remove cheesecake from a springform pan without damaging its delicate texture, you might find it helpful to read a related article that discusses creating a fresh and organized home routine. This article, which can be found here, offers insights that can enhance your baking experience by ensuring your kitchen is well-prepared for any culinary adventure, including cheesecake making.
Preparing Your Pan for Easy Cheesecake Release
Before embarking on your cheesecake journey, it is vital to prepare your springform pan adequately. Start by greasing the base and sides with a thin layer of butter or non-stick cooking spray. This step is crucial as it creates a barrier between the cheesecake and the pan, minimizing the risk of sticking. Additionally, consider lining the bottom of the pan with parchment paper. Cut a circle slightly larger than the base and place it at the bottom before securing the outer ring. This extra layer of protection ensures that even the most delicate cheesecakes can be released effortlessly.
Another preparation technique involves dusting the greased surface with a light coating of flour or crushed graham crackers. This not only adds flavor but also enhances the non-stick properties of the pan. By taking these preparatory steps, you set yourself up for success, allowing your cheesecake to slide out smoothly once it has cooled and set.
The Importance of Proper Cooling Time

Cooling time is a critical factor in achieving a perfect cheesecake. After baking, it is essential to allow the cheesecake to cool gradually at room temperature for at least one hour. This step helps prevent sudden temperature changes that can lead to cracks forming on the surface. Once it has cooled down, transfer the cheesecake to the refrigerator and let it chill for a minimum of four hours, although overnight is ideal. This extended cooling period allows the flavors to meld and the texture to firm up, resulting in a creamy yet stable dessert.
Failing to adhere to proper cooling times can lead to disastrous results. A cheesecake that is removed from the pan too soon may collapse or develop unsightly cracks. Moreover, rushing this process can compromise the overall flavor and texture, leaving you with a less-than-perfect dessert. Therefore, patience is key when it comes to cooling your cheesecake.
Loosening the Edges: How to Use a Knife or Spatula

Once your cheesecake has cooled adequately, it’s time to loosen its edges from the springform pan. This step is crucial for ensuring that your dessert maintains its shape during removal. Using a thin-bladed knife or an offset spatula, gently slide the utensil between the cheesecake and the inner edge of the pan. Start at one point and work your way around, taking care not to apply too much pressure that could damage the cake.
As you loosen the edges, be mindful of any cracks or imperfections that may have formed during baking. If you encounter resistance, take your time and continue to work around the perimeter until you feel confident that the cheesecake is free from the sides of the pan. This meticulous approach will pay off when it comes time to release the springform latch.
When it comes to baking the perfect cheesecake, knowing how to remove it from a springform pan can make all the difference in presentation and taste. For those looking to master this technique, you might find it helpful to read a related article that offers practical tips for setting up a family command center at home easily. This can help streamline your baking process and keep your kitchen organized. To learn more about effective home organization, check out this article on how to set up a family command center.
Releasing the Springform Latch Gently
With the edges loosened, you can now focus on releasing the springform latch. This step should be approached with caution to avoid any mishaps that could compromise your cheesecake’s integrity. Begin by carefully unhooking the latch while holding onto the outer ring with one hand to prevent it from falling away too quickly.
Once unlatched, slowly lift away the outer ring while keeping an eye on your cheesecake’s structure. If you notice any sticking or resistance, do not force it; instead, gently wiggle or nudge it free using your knife or spatula as needed. This careful approach ensures that your cheesecake remains intact and beautifully presented.
Using Warm Water to Ease Removal
If you find that your cheesecake is still clinging stubbornly to the sides of the pan despite your best efforts, consider using warm water as a helpful tool in easing removal. Fill a shallow dish with warm water and place the bottom of your springform pan into it for about 30 seconds. The gentle heat will help loosen any stubborn areas where sticking may have occurred.
After soaking, carefully remove the pan from the water and proceed with loosening the edges again using your knife or spatula. The warmth will have softened any areas where adhesion was present, making it easier for you to release your cheesecake without causing damage.
Removing the Outer Ring Without Damaging the Cheesecake
Once you have successfully released the latch and loosened all edges, it’s time to remove the outer ring completely. To do this without damaging your cheesecake, hold onto both sides of the ring firmly while gently lifting it away from the base. It’s advisable to tilt it slightly away from you as you lift; this angle helps prevent any accidental contact with the top of your dessert.
If you notice any sticking during this process, pause and use your knife or spatula to gently nudge those areas free before continuing. Taking these precautions will ensure that your cheesecake emerges from its mold looking pristine and ready for presentation.
Transferring the Cheesecake to a Serving Plate
After successfully removing the outer ring, it’s time to transfer your cheesecake onto a serving plate. To do this seamlessly, slide a large spatula or cake lifter underneath one side of the cheesecake while supporting it with your other hand on top. Carefully lift and maneuver it onto your desired serving platter.
If you’re concerned about potential mishaps during this transfer, consider using two spatulas for added support—one on each side—to ensure stability throughout the process. This technique minimizes any risk of breakage or mishandling while allowing you to showcase your beautifully baked creation.
Handling Common Issues: Cracks and Sticking
Even with careful preparation and execution, issues such as cracks or sticking can occasionally arise when baking cheesecakes. Cracks often occur due to rapid temperature changes during cooling or overmixing ingredients before baking. To mitigate this problem in future attempts, consider baking your cheesecake in a water bath (bain-marie) which provides gentle heat and moisture during cooking.
If sticking occurs despite all precautions taken, remember that patience is key when loosening edges and releasing latches. If necessary, revisit techniques such as using warm water or gently nudging with utensils until you achieve successful removal.
Tips for Storing Cheesecake After Removal
Once you’ve successfully removed your cheesecake from its springform pan and transferred it onto a serving plate, proper storage becomes essential for maintaining its freshness and flavor. If not consumed immediately, cover your cheesecake loosely with plastic wrap or aluminum foil to prevent drying out while allowing some air circulation.
For optimal preservation, store your cheesecake in an airtight container in the refrigerator where it can remain fresh for up to five days. If you wish to keep it longer than that, consider freezing individual slices wrapped tightly in plastic wrap followed by aluminum foil; this method allows for easy thawing later on without compromising quality.
Final Touches: Garnishing and Presentation Ideas
The final step in creating an impressive cheesecake lies in its presentation and garnishing. Consider topping your dessert with fresh fruits such as berries or sliced citrus for added color and flavor contrast. Drizzling chocolate sauce or caramel over the top can also elevate its visual appeal while enhancing taste.
For an elegant touch, consider adding whipped cream dollops around the edges or sprinkling crushed nuts atop each slice before serving. These finishing touches not only enhance aesthetics but also provide delightful textures that complement every bite of your delicious creation.
In summary, mastering the art of using springform pans for cheesecakes involves understanding their design and functionality while adhering to proper preparation techniques throughout each stage—from cooling times to garnishing ideas—ensuring successful outcomes every time you bake!
FAQs
What is a springform pan?
A springform pan is a type of bakeware that features a removable bottom and a latch on the side, allowing for easy release of baked goods like cheesecakes. The design helps prevent damage to delicate desserts during removal.
How long should I let the cheesecake cool before removing it from the springform pan?
It is recommended to let the cheesecake cool in the pan at room temperature for about 1 hour before transferring it to the refrigerator. After chilling for at least 4 hours or overnight, it will be easier to remove from the pan without cracking.
What tools do I need to remove a cheesecake from a springform pan?
You will need a few basic tools: a butter knife or offset spatula to gently loosen the edges of the cheesecake from the pan, a sturdy plate or cake stand for transferring the cheesecake, and possibly a pair of kitchen gloves for better grip.
Can I use parchment paper to help remove the cheesecake?
Yes, using parchment paper can help. You can line the bottom of the springform pan with parchment paper before pouring in the cheesecake batter. This will create a barrier that makes it easier to lift the cheesecake out once it has set.
What should I do if the cheesecake sticks to the sides of the pan?
If the cheesecake sticks to the sides of the pan, gently run a butter knife or an offset spatula around the edges to loosen it. Be careful not to damage the cheesecake. If it still doesn’t release, you can place the pan in warm water for a few minutes to help loosen it further.