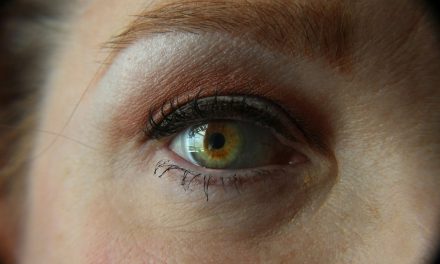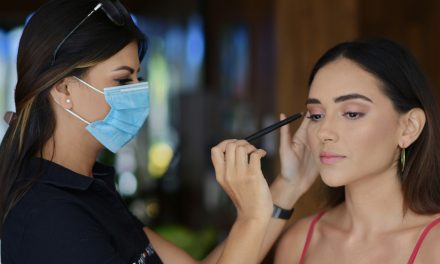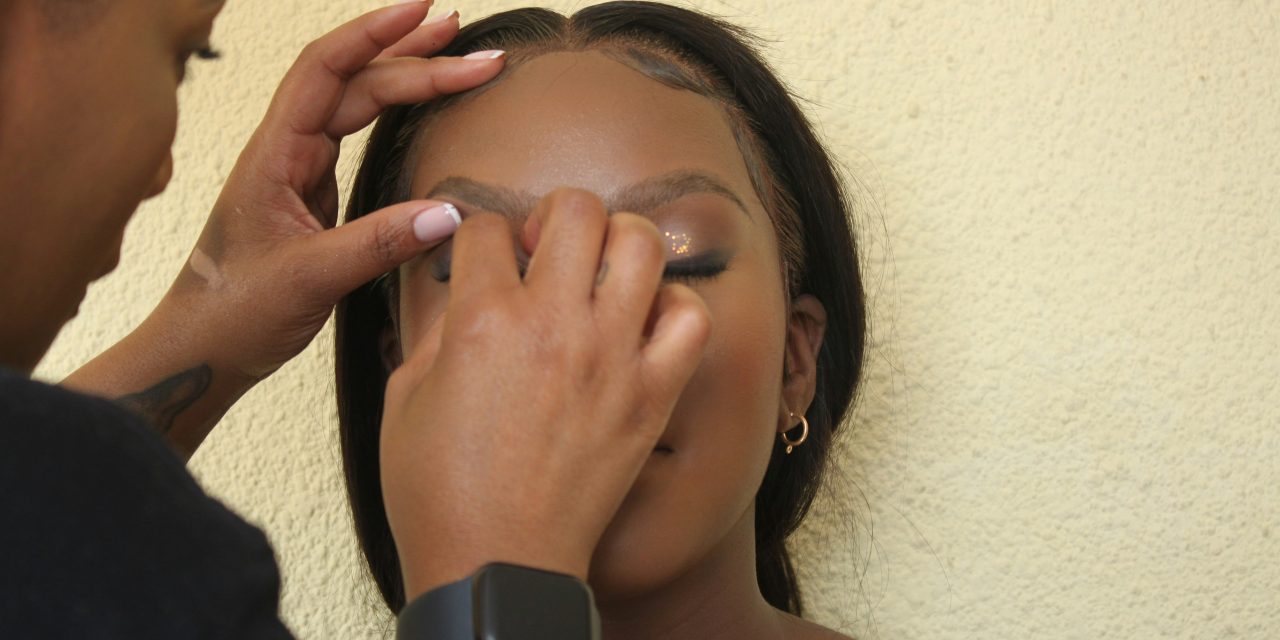
The smokey eye look is a timeless makeup technique that has captivated beauty enthusiasts for decades. Characterized by its sultry, smudged appearance, this style enhances the eyes, making them appear larger and more alluring. The essence of a smokey eye lies in its gradient effect, transitioning from dark to light shades, which creates depth and dimension. This versatile look can be adapted for various occasions, from casual outings to glamorous evening events, making it a staple in many makeup routines.
To achieve the perfect smokey eye, one must understand the fundamental principles behind the technique. The key is to balance intensity with softness; while darker shades are essential for creating drama, blending is crucial to avoid harsh lines. The smokey eye can be customized with different colors and finishes, allowing for personal expression and creativity. Whether opting for classic blacks and grays or experimenting with vibrant hues, mastering this look can elevate any makeup application.
If you’re looking to master the art of the smokey eye, you might find it helpful to explore a related article that offers tips on enhancing your overall makeup skills. For beginners, understanding the basics of makeup application can make a significant difference in achieving that perfect look. You can check out this informative guide on grooming tips that can complement your beauty routine by visiting this link.
Gathering the Essential Tools and Products
Before embarking on your smokey eye journey, it is imperative to gather the necessary tools and products that will facilitate the process. A well-equipped makeup kit should include high-quality eyeshadow brushes, blending sponges, and an eyelid primer. Each tool serves a specific purpose; for instance, flat brushes are ideal for packing on color, while fluffy brushes are essential for blending seamlessly.
In terms of products, selecting the right eyeshadow palette is crucial. Look for palettes that offer a range of shades, including light base colors, mid-tones for transition, and deep hues for definition. Additionally, consider investing in a good eyeliner pencil or gel, as well as a volumizing mascara to complete the look. If you desire added drama, false lashes can enhance the overall effect. Remember that quality matters; using premium products can significantly impact the longevity and appearance of your smokey eye.
Preparing Your Eyelids for Makeup

Preparation is key when it comes to achieving a flawless smokey eye. Start by cleansing your eyelids to remove any excess oils or residue that may hinder makeup application. Following this step, apply an eyelid primer to create a smooth canvas. Primers not only enhance the vibrancy of eyeshadow but also prolong wear time, preventing creasing and fading throughout the day.
Once the primer has been applied, consider setting it with a light dusting of translucent powder. This step helps to further ensure that your eyeshadow adheres properly and blends effortlessly. By taking the time to prepare your eyelids adequately, you lay the groundwork for a stunning smokey eye that lasts from day to night.
Choosing the Right Eyeshadow Colors

Selecting the appropriate eyeshadow colors is pivotal in achieving a captivating smokey eye. While traditional looks often incorporate blacks and grays, modern interpretations allow for a broader spectrum of shades. Consider your eye color when choosing hues; for instance, warm tones like bronze and copper can beautifully complement blue eyes, while purples and plums can enhance green or hazel irises.
When curating your color palette, aim for a balance between light, medium, and dark shades. A light base color will serve as a foundation, while mid-tones will help transition between shades. Darker colors are essential for defining the outer corners and crease of the eye. Experimenting with different finishes—such as matte, shimmer, or metallic—can also add dimension and interest to your look.
If you’re looking to master the art of the smokey eye, you might find it helpful to explore some beginner-friendly techniques that can elevate your makeup game. A great resource for this is an article that provides step-by-step guidance on achieving that perfect look. You can check it out here. With the right tips and a bit of practice, you’ll be able to create stunning eye makeup that enhances your natural beauty.
Applying the Base Eyeshadow Shade
With your eyelids prepped and colors chosen, it’s time to apply the base eyeshadow shade. Using a flat brush, pick up your chosen light shade and apply it generously across the entire eyelid, extending from the lash line to just above the crease. This base layer not only provides a neutral backdrop but also helps subsequent colors blend more seamlessly.
Ensure that you apply the base shade evenly to avoid patchiness. For those with hooded eyes or prominent brow bones, consider extending the base shade slightly higher to create an illusion of space. This technique can help open up the eyes and enhance the overall smokey effect.
Defining the Crease with a Transition Color
Defining the crease is a crucial step in creating depth within your smokey eye look. Select a transition color that is slightly darker than your base shade; this will help create a gradient effect that adds dimension to your eyelids. Using a fluffy blending brush, apply this transition shade into the crease using windshield wiper motions. This technique allows for even distribution while maintaining softness.
As you blend, be mindful of the intensity; you want to build up color gradually rather than applying too much at once. The goal is to create a seamless transition between the base shade and darker colors that will follow. This step is essential in achieving that coveted smokey effect without harsh lines.
Building Depth with Darker Shades
Once your transition color is established, it’s time to introduce darker shades to build depth in your smokey eye look. Choose a deep color—such as charcoal gray or rich brown—and apply it to the outer corner of your eyelid using a smaller brush for precision. Focus on placing this color in a V-shape at the outer edge of your eye, gradually blending it into the crease.
To intensify the smokiness, layer additional product as needed while continuing to blend outward and upward. This technique creates an alluring gradient that draws attention to your eyes. Remember that less is often more; start with a small amount of product and build up gradually to avoid overwhelming your look.
Blending for a Seamless Finish
Blending is arguably one of the most critical aspects of achieving a flawless smokey eye. After applying darker shades, take a clean blending brush and gently diffuse any harsh lines between colors. Use circular motions or back-and-forth strokes to ensure that all shades meld together seamlessly.
Pay close attention to areas where colors meet; this is where blending can make or break your look. If necessary, revisit your transition shade with a fluffy brush to soften any edges further. The goal is to create an effortless gradient that enhances the sultry nature of the smokey eye without visible demarcations.
Adding Eyeliner for Intensity
To elevate your smokey eye look further, adding eyeliner can provide additional intensity and definition. Choose an eyeliner pencil or gel in black or dark brown for a classic approach. Apply it along your upper lash line, ensuring that it is thick enough to be noticeable but not overpowering.
For those seeking an even bolder effect, consider tightlining your upper waterline with eyeliner; this technique creates an illusion of fuller lashes and enhances overall depth. If desired, smudge some eyeliner along your lower lash line for added drama—just be sure to blend it out for a softer finish.
Applying Mascara and False Lashes (Optional)
Mascara is essential in completing any eye makeup look, including the smokey eye. Apply several coats of volumizing mascara to both your upper and lower lashes to create fullness and length. Focus on wiggling the wand at the base of your lashes before sweeping upward; this technique ensures maximum lift and separation.
For those who wish to amplify their look further, false lashes can add significant drama and allure. Choose lashes that complement your eye shape—whether opting for natural-looking wisps or bold volume—and apply them carefully using lash glue. Allow them to dry fully before moving on to ensure they adhere securely.
Final Touches and Setting Your Makeup
As you approach the final stages of your smokey eye application, take a moment to assess your work. Make any necessary adjustments by adding more product where needed or blending out any harsh lines that may have emerged during application. Once satisfied with your look, consider applying a setting spray to lock everything in place.
Setting sprays help maintain makeup longevity while preventing fading or creasing throughout the day or night. Choose one suited for your skin type—whether matte-finish for oily skin or hydrating for dry skin—to ensure optimal results. With these final touches complete, you are ready to showcase your stunning smokey eye look with confidence.
In summary, mastering the smokey eye involves understanding its principles, gathering essential tools and products, preparing eyelids properly, selecting complementary colors, applying layers thoughtfully, blending seamlessly, defining with eyeliner, enhancing with mascara or false lashes, and finalizing with setting spray. With practice and patience, anyone can achieve this iconic makeup style that enhances their natural beauty while allowing for personal expression through color choices and techniques.
FAQs
What are the essential products needed to create a smokey eye?
To create a smokey eye, you will need a few essential products: an eyeshadow primer, a selection of eyeshadows (typically in dark shades like black, gray, or deep brown), a blending brush, a flat eyeshadow brush, eyeliner (pencil or liquid), and mascara. Optional products include false eyelashes and a highlighter for the inner corners of the eyes.
What is the best technique for blending eyeshadow for a smokey eye?
The best technique for blending eyeshadow involves using a clean blending brush and applying small, circular motions to diffuse the edges of the eyeshadow. Start with a lighter shade as a base, then gradually build up darker shades, blending each layer well before adding more product. This helps to create a seamless transition between colors.
Can beginners achieve a smokey eye look easily?
Yes, beginners can achieve a smokey eye look with practice and the right techniques. Starting with a simple color palette and using a step-by-step approach can make the process easier. It’s important to take your time and focus on blending to avoid harsh lines.
What are some common mistakes to avoid when doing a smokey eye?
Common mistakes to avoid include applying too much product at once, which can lead to a messy look, and neglecting to blend properly, resulting in harsh lines. Additionally, using the wrong brush types or not using an eyeshadow primer can affect the longevity and appearance of the smokey eye.
How can I make my smokey eye last longer throughout the day?
To make your smokey eye last longer, start by applying an eyeshadow primer to create a smooth base and help the eyeshadow adhere better. Use long-wearing or waterproof products for eyeliner and mascara, and consider setting your eyeshadow with a translucent powder. Avoid touching your eyes throughout the day to maintain the look.