
A leaky faucet can be a source of frustration and an unnecessary drain on your water bill. The incessant dripping not only creates an annoying sound but can also lead to significant water wastage over time. To address this issue swiftly, one must first identify the type of faucet in question—compression, cartridge, ball, or ceramic disk. Each type has its unique mechanism and requires specific tools for repair.
To fix a leaky faucet, gather essential tools such as an adjustable wrench, screwdrivers, and replacement washers or O-rings. Begin by turning off the water supply to prevent any flooding. Next, disassemble the faucet by removing the handle and unscrewing the packing nut. Inspect the components for wear and tear; often, replacing a worn washer or O-ring can resolve the leak. Reassemble the faucet in reverse order, ensuring all parts are securely tightened. Finally, turn the water supply back on and check for leaks. This simple repair can save both water and money while enhancing your plumbing skills.
If you’re looking to tackle small home repairs, understanding the costs associated with various maintenance tasks can be incredibly helpful. For instance, just as knowing the factors that influence car AC recharge costs can save you money on vehicle maintenance, being aware of common expenses in home repairs can help you budget effectively. To learn more about these costs, check out this informative article on the top factors affecting car AC recharge costs in 2024: Top 5 Factors Affecting Car AC Recharge Cost in 2024.
Patching Small Holes in Drywall
Small holes in drywall can detract from the aesthetic appeal of your home, making it essential to address them promptly. Common causes of these imperfections include nails, screws, or accidental impacts. Fortunately, patching these holes is a straightforward process that requires minimal materials and tools.
To begin, gather a putty knife, joint compound, sandpaper, and a primer or paint that matches your wall color. For holes smaller than 1/2 inch in diameter, simply apply a small amount of joint compound directly into the hole using the putty knife. Smooth it out and allow it to dry completely. For larger holes, you may need to use a patching compound or mesh tape to reinforce the area before applying joint compound. Once dry, sand the patched area until smooth and apply primer followed by paint for a seamless finish. This quick fix can rejuvenate your walls and restore their original appearance.
Unclogging a Slow Drain Without Chemicals

A slow drain can be an irritating household issue that often leads to more significant plumbing problems if left unaddressed. While chemical drain cleaners are commonly used, they can be harmful to both plumbing systems and the environment. Instead, consider using natural methods to unclog drains effectively and safely.
Start by boiling a pot of water and pouring it down the drain in stages, allowing it to work for several seconds between pours. This method can help dissolve grease and soap buildup. If this does not resolve the issue, try using a mixture of baking soda and vinegar. Pour half a cup of baking soda followed by half a cup of vinegar down the drain. Allow it to fizz for about 15 minutes before flushing with hot water. For stubborn clogs, a plumber’s snake can be employed to physically remove blockages without resorting to harsh chemicals. These eco-friendly solutions not only clear drains but also promote healthier plumbing systems.
Replacing a Broken Light Switch

A malfunctioning light switch can disrupt daily routines and pose safety hazards if left unattended. Replacing a broken switch is a manageable task that requires basic electrical knowledge and safety precautions. Before beginning any electrical work, ensure that the power is turned off at the circuit breaker to prevent electric shock.
To replace the switch, remove the cover plate using a screwdriver and unscrew the switch from the electrical box. Carefully disconnect the wires from the old switch, noting their configuration for proper reconnection later. Attach the wires to the new switch according to their original arrangement—typically black wires connect to brass screws while white wires connect to silver screws. Securely fasten the switch back into the electrical box and replace the cover plate. Finally, restore power at the circuit breaker and test the new switch for functionality. This straightforward repair enhances safety while restoring lighting control in your home.
For those interested in small home repair projects, understanding the basics can be incredibly beneficial. One useful resource is an article that discusses various DIY techniques and tips to enhance your home maintenance skills. You can find valuable insights in this related article that not only covers repairs but also offers advice on how to approach common household issues effectively. Whether you’re fixing a leaky faucet or patching up drywall, having the right information at your fingertips can make all the difference.
Repairing a Running Toilet Quickly
A running toilet is not only annoying but can also lead to increased water bills due to constant water flow into the bowl. The primary culprits behind this issue are typically faulty flappers or fill valves that require prompt attention. Repairing a running toilet is an achievable task that can be completed in under an hour with minimal tools.
Begin by removing the tank lid and inspecting the flapper valve at the bottom of the tank. If it appears worn or damaged, replacing it is essential for stopping leaks. Turn off the water supply to the toilet and drain the tank by flushing it. Disconnect the old flapper from its chain and replace it with a new one that matches your toilet model. Additionally, check the fill valve for proper functioning; if it’s malfunctioning, consider replacing it as well. Once repairs are complete, turn on the water supply and test for leaks. This quick fix not only conserves water but also enhances toilet efficiency.
If you’re looking to tackle small home repair projects, you might find it helpful to explore some practical tips and tricks that can make the process easier. For instance, understanding the basics of plumbing or electrical work can save you time and money. Additionally, you can enhance your home environment by learning about various aspects of home maintenance. To get inspired, check out this informative article on cat breeds and their unique characteristics, which can also provide insights into creating a pet-friendly space while you work on those repairs.
Tightening Loose Cabinet Hinges
Loose cabinet hinges can lead to misaligned doors and unsightly gaps that detract from your kitchen or bathroom’s overall appearance. Over time, wear and tear can cause screws to loosen, resulting in doors that do not close properly or sagging hinges. Fortunately, tightening loose cabinet hinges is a simple task that requires minimal tools.
To begin, gather a screwdriver or drill with an appropriate bit size for your screws. Inspect each hinge carefully for loose screws; if any are missing or stripped, consider replacing them with longer screws or wood filler for added stability. Tighten each screw until secure but avoid overtightening as this may damage the wood or hinge itself. After tightening all hinges, test each cabinet door for proper alignment and functionality. This minor adjustment can significantly enhance your cabinetry’s appearance and longevity.
Sealing Drafty Windows and Doors
Drafty windows and doors can lead to significant energy loss in your home, resulting in higher heating and cooling costs throughout the year. Sealing these gaps is crucial for maintaining energy efficiency and comfort within your living space. Various methods exist for addressing drafts effectively.
Start by inspecting windows and doors for visible gaps or cracks where air may escape or enter. Weatherstripping is an effective solution; it comes in various materials such as foam tape or V-strip that can be easily applied around frames to create an airtight seal. Caulk is another option for filling larger gaps; choose a high-quality caulk suitable for exterior use to ensure durability against weather elements. After applying weatherstripping or caulk, test for drafts by holding a lit candle near edges—if the flame flickers, additional sealing may be necessary. By sealing drafts effectively, you can enhance comfort while reducing energy bills.
Fixing a Squeaky Door Hinge
Squeaky door hinges can be an irritating nuisance that disrupts peace within your home environment. The noise typically arises from friction between metal components due to lack of lubrication or dirt accumulation over time. Fortunately, fixing squeaky hinges is a straightforward process that requires minimal effort.
Begin by identifying which door hinges are causing noise; gently open and close each door to pinpoint squeaks accurately. Once identified, apply a lubricant such as WD-40 or silicone spray directly onto the hinge pins while moving the door back and forth to distribute evenly. For excessive dirt buildup, consider removing the hinge entirely for thorough cleaning before reapplying lubricant. After lubrication, wipe away any excess product with a cloth to prevent residue buildup on surrounding surfaces. This simple maintenance task can restore tranquility while prolonging hinge lifespan.
Replacing a Broken Tile Easily
A broken tile can detract from your flooring’s aesthetic appeal while posing potential safety hazards if left unrepaired. Whether due to impact damage or wear over time, replacing broken tiles is an achievable DIY project that enhances both appearance and safety within your home.
To begin this process, gather necessary tools such as a chisel, hammer, tile adhesive, grout, and replacement tiles matching your existing flooring pattern. Carefully remove the broken tile using a chisel and hammer; take care not to damage surrounding tiles during this process. Clean any debris from the substrate before applying tile adhesive evenly across the area where the new tile will be placed. Press down firmly on the replacement tile ensuring proper adhesion before allowing it to set according to manufacturer instructions. Once set, apply grout around edges for a seamless finish—allow it to cure before walking on it again. This repair not only restores aesthetics but also enhances safety by eliminating tripping hazards.
Resetting a Tripped Circuit Breaker
A tripped circuit breaker can leave you without power in specific areas of your home, causing inconvenience and potential disruption of daily activities. Understanding how to reset a tripped breaker is essential for maintaining electrical functionality safely.
Begin by locating your circuit breaker panel; typically found in basements or utility rooms, this panel houses individual breakers controlling different circuits throughout your home. Identify which breaker has tripped—this will usually be in a different position than others (often in between on/off). Firmly push it back into the “on” position; if it trips again immediately after resetting, there may be an underlying electrical issue requiring professional assessment. Regularly checking circuit breakers ensures optimal performance while preventing potential electrical hazards.
Touching Up Scuffed Paint Spots
Scuffed paint spots on walls can diminish your home’s visual appeal over time; however, touching them up is an easy task that restores aesthetics without requiring full repainting efforts. Identifying appropriate paint types and techniques is crucial for achieving seamless results.
Start by gathering necessary materials including matching paint (preferably leftover from previous projects), brushes or rollers suitable for touch-ups, painter’s tape for clean lines, and drop cloths to protect surrounding areas from spills or splatters. Lightly sand scuffed areas if necessary before applying paint; this helps create better adhesion for touch-ups while ensuring smooth finishes afterward. Use painter’s tape around edges where touch-ups will occur—this prevents accidental smudging onto adjacent surfaces during application. Allow sufficient drying time before assessing results; additional coats may be necessary depending on coverage achieved initially—this simple maintenance task revitalizes walls while enhancing overall home aesthetics.
In summary, tackling common household repairs such as fixing leaky faucets or patching drywall can significantly enhance both functionality and aesthetics within your living space while saving money on professional services over time. By employing effective techniques outlined above—from unclogging drains without chemicals to sealing drafty windows—you empower yourself with valuable skills that promote home maintenance efficiency while ensuring comfort throughout every season.
FAQs
What are some common small home repairs that homeowners can do themselves?
Common small home repairs that homeowners can tackle include fixing leaky faucets, patching drywall holes, unclogging drains, replacing light fixtures, and painting walls. These tasks often require minimal tools and can be completed in a short amount of time.
What tools are essential for small home repairs?
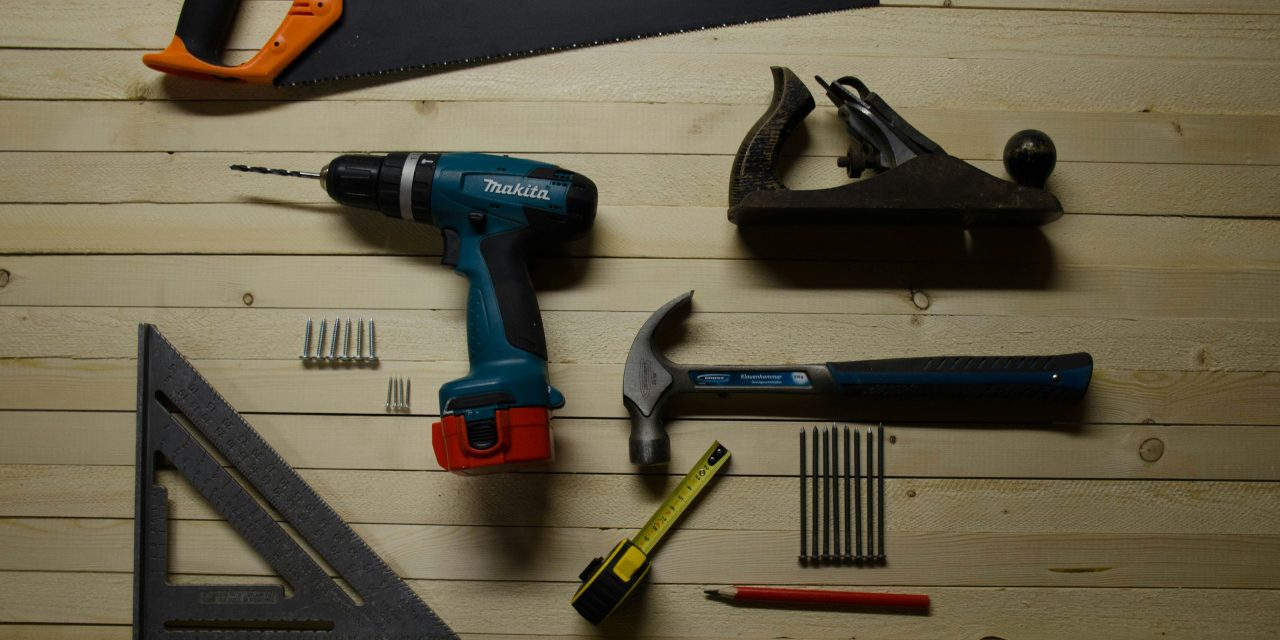
Essential tools for small home repairs typically include a hammer, screwdrivers (both flathead and Phillips), pliers, a tape measure, a utility knife, a level, and a drill. Having a basic toolkit can help homeowners address a variety of minor issues around the house.
How can I determine if a small repair is something I can handle myself?
To determine if a small repair is manageable, assess your comfort level with DIY tasks, the complexity of the repair, and whether you have the necessary tools. If the repair seems straightforward and you can find clear instructions or tutorials, it’s likely something you can handle. However, if it involves electrical or plumbing work, it may be best to consult a professional.
What are some tips for successfully completing small home repairs?
Successful small home repairs can be achieved by planning ahead, gathering all necessary tools and materials, following instructions carefully, and taking your time. It’s also helpful to watch tutorial videos or read guides specific to the repair you’re undertaking to ensure you understand the process.
When should I consider hiring a professional for home repairs?
Consider hiring a professional for home repairs when the task involves complex systems like electrical wiring, plumbing, or structural issues. Additionally, if you feel uncomfortable or lack the skills to complete the repair safely, it’s wise to seek professional help to avoid potential hazards or further damage.