Rain gardens serve as an innovative solution to manage stormwater runoff while simultaneously enhancing the aesthetic appeal of residential landscapes. These specially designed gardens capture rainwater from impervious surfaces such as roofs, driveways, and sidewalks, allowing it to infiltrate into the ground rather than overwhelming drainage systems. This natural filtration process significantly reduces the risk of flooding and erosion, contributing to improved water quality in local waterways by filtering pollutants and sediments.
Moreover, rain gardens promote biodiversity by providing habitats for various species of birds, butterflies, and beneficial insects. By incorporating native plants, these gardens create a sustainable ecosystem that thrives with minimal maintenance. The environmental benefits extend beyond mere aesthetics; they play a crucial role in groundwater recharge, helping to sustain local aquifers. In essence, rain gardens are a multifaceted approach to environmental stewardship, combining functionality with ecological responsibility.
Choosing the Perfect Location in Your Yard
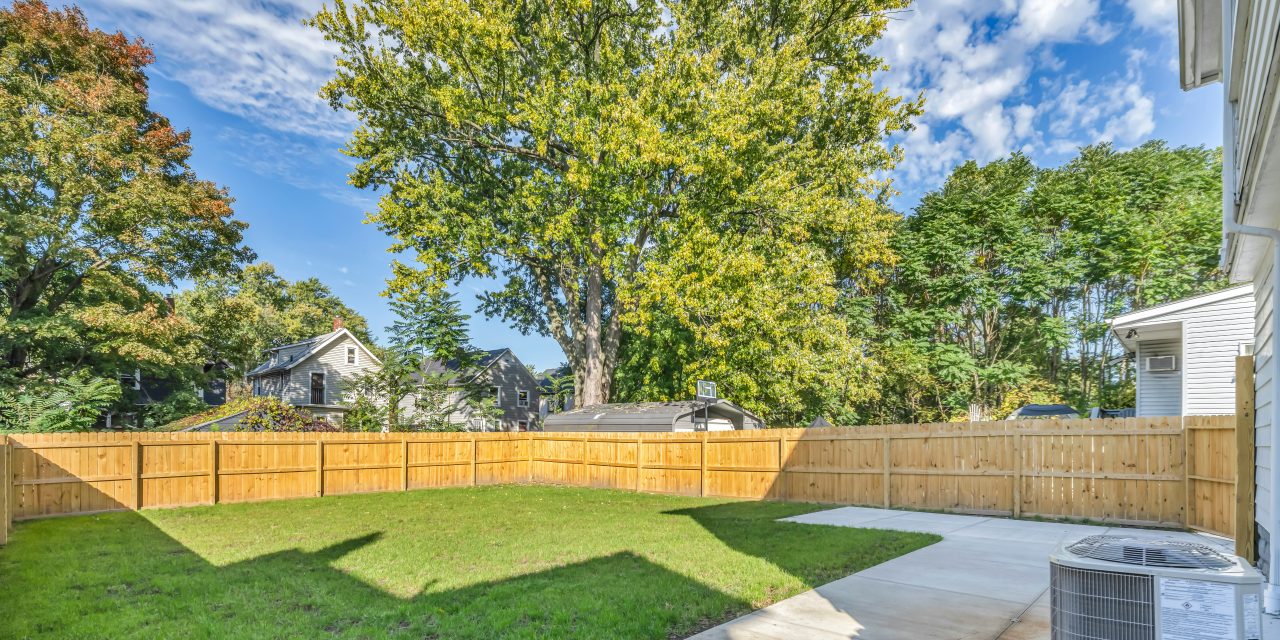
Selecting an appropriate site for your rain garden is paramount to its success. Ideally, the location should be situated at least 10 feet away from your home’s foundation to prevent water from pooling near the structure, which could lead to potential damage. Additionally, consider areas where water naturally collects during rainfall or where downspouts direct runoff. Observing your yard during a rainstorm can provide valuable insights into the most effective placement.
It is also essential to evaluate sunlight exposure when choosing a location. Most native plants thrive in full sun to partial shade, so identifying areas that receive adequate sunlight throughout the day will enhance plant growth and overall garden health. Furthermore, avoid placing the rain garden in low-lying areas that may be prone to flooding or where soil saturation is consistently high, as this could hinder plant establishment and growth.
Assessing Soil Type and Drainage Conditions

Understanding your soil type is critical for the successful establishment of a rain garden. Conducting a soil test can provide insights into its composition, pH levels, and nutrient content. Sandy soils typically drain quickly but may require additional organic matter to retain moisture, while clay soils retain water but may necessitate amendments to improve drainage. Loamy soils are ideal for rain gardens due to their balanced texture and nutrient-holding capacity.
In addition to soil type, assessing drainage conditions is vital. Observe how quickly water drains from your chosen location after a rainfall event. If water remains pooled for extended periods, it may indicate poor drainage, necessitating modifications such as incorporating gravel or sand into the soil mix to enhance permeability. Conversely, if water drains too quickly, consider adding organic matter to improve moisture retention.
Designing Your Rain Garden Layout

The layout of your rain garden should reflect both aesthetic preferences and functional requirements. A well-designed rain garden typically features a shallow depression that allows water to collect and infiltrate gradually. The shape can vary from circular to oval or even irregular, depending on the available space and surrounding landscape features. Incorporating gentle slopes can facilitate water movement while preventing erosion.
When designing the layout, consider creating distinct zones within the garden based on plant height and moisture requirements. Taller plants should be positioned at the back or center of the garden, while shorter species can be placed at the edges or front. This tiered arrangement not only enhances visual appeal but also ensures that all plants receive adequate sunlight and moisture without competing for resources.
Selecting Native Plants for Optimal Growth
Choosing native plants is crucial for establishing a thriving rain garden that requires minimal maintenance while supporting local wildlife. Native species are adapted to local climate conditions and soil types, making them more resilient against pests and diseases compared to non-native varieties. Additionally, they provide essential habitat and food sources for pollinators and other beneficial organisms.
When selecting plants, consider incorporating a diverse mix of perennials, grasses, and shrubs that thrive in wet conditions. Examples of suitable native plants include purple coneflower (Echinacea purpurea), black-eyed Susan (Rudbeckia hirta), and swamp milkweed (Asclepias incarnata). Grouping plants with similar moisture requirements together can create microhabitats within the garden, enhancing biodiversity and overall ecological health.
Gathering Necessary Tools and Materials
Before embarking on your rain garden project, it is essential to gather all necessary tools and materials to ensure a smooth installation process. Basic tools include a shovel, rake, trowel, wheelbarrow, and gloves for protection during excavation and planting. Additionally, you may require a level or measuring tape to ensure proper grading and depth for your garden bed.
In terms of materials, consider purchasing high-quality soil amendments such as compost or peat moss to enhance soil structure and nutrient content. Mulch is also vital for retaining moisture and suppressing weeds once planting is complete. Depending on your design, you may need rocks or gravel for inflow and outflow features to manage water movement effectively.
Preparing the Site and Excavating the Garden Bed
Once you have gathered your tools and materials, it’s time to prepare the site for your rain garden. Begin by marking the outline of your garden using stakes or spray paint to visualize its shape and size. Next, remove any grass or vegetation within this area using a shovel or sod cutter to create a clean workspace.
Excavation involves digging out the designated area to create a shallow depression that will hold water during rainfall events. The depth of this depression typically ranges from 6 to 12 inches, depending on soil type and drainage conditions. Ensure that the sides of the excavation are sloped gently to facilitate water movement while preventing erosion.
Amending the Soil for Better Absorption
To optimize water absorption in your rain garden, amending the soil is crucial. Incorporating organic matter such as compost or well-rotted manure can significantly improve soil structure by enhancing aeration and moisture retention capabilities. Aim for a mixture that consists of approximately 50% native soil and 50% organic amendments.
If your soil is predominantly clay or sandy, consider adding materials such as sand or perlite to improve drainage or moisture retention respectively. Conducting a soil test beforehand can guide you in determining which amendments are necessary based on your specific soil composition.
Planting and Mulching Your Rain Garden
With the site prepared and soil amended, it’s time to plant your selected native species. Begin by arranging plants according to your design layout before digging individual holes for each specimen. Ensure that each plant is placed at the appropriate depth—typically at the same level as it was growing in its nursery container—to promote healthy root development.
After planting is complete, apply a layer of mulch around each plant to retain moisture and suppress weed growth. Organic mulch options such as shredded bark or wood chips are ideal as they break down over time, enriching the soil further. Aim for a mulch layer of about 2-3 inches thick while avoiding direct contact with plant stems to prevent rot.
Installing Inflow and Outflow Features
To effectively manage stormwater runoff within your rain garden, installing inflow and outflow features is essential. Inflow features can include downspout extensions or swales that direct water into the garden during rainfall events. These structures should be designed to handle peak flow rates while preventing erosion at entry points.
Outflow features are equally important for ensuring excess water drains away safely without causing flooding in adjacent areas. Consider incorporating gravel trenches or perforated pipes at the lowest point of your garden bed to facilitate controlled drainage while allowing excess water to infiltrate gradually into the surrounding soil.
Maintaining Your Rain Garden for Long-Term Success
Maintaining your rain garden is vital for its long-term success and sustainability. Regular monitoring of plant health is essential; check for signs of disease or pest infestations and address them promptly using organic methods whenever possible. Watering may be necessary during dry spells until plants are established; however, once mature, native species typically require minimal irrigation.
Weed control is another critical aspect of maintenance; regularly remove invasive species that may compete with native plants for resources. Additionally, replenishing mulch annually will help retain moisture while suppressing weed growth effectively. Periodic soil testing can also guide you in determining if further amendments are needed over time.
In summary, establishing a rain garden offers numerous environmental benefits while enhancing landscape aesthetics through thoughtful design and plant selection. By carefully choosing locations based on drainage conditions and sunlight exposure, assessing soil types for optimal growth conditions, and implementing effective maintenance strategies, homeowners can create sustainable ecosystems that contribute positively to their local environment while enjoying the beauty of nature in their own backyards.
FAQs
What is a rain garden?
A rain garden is a planted depression that allows rainwater runoff from impervious surfaces like roofs, driveways, and sidewalks to be absorbed. It helps to manage stormwater, reduce flooding, and improve water quality by filtering pollutants before they reach local waterways.
How do I choose the right location for a rain garden?
To choose the right location for a rain garden, look for areas where water naturally collects after a rainstorm, at least 10 feet away from buildings and foundations. Ensure the site has good drainage and receives full or partial sunlight. Avoid areas with high clay content, as they may not drain well.
What plants are suitable for a rain garden?
Suitable plants for a rain garden include native species that can tolerate both wet and dry conditions. Examples include coneflowers, black-eyed Susans, and various types of sedges and rushes. Native plants are preferred as they require less maintenance and provide habitat for local wildlife.
How deep should a rain garden be?
A rain garden should typically be 6 to 12 inches deep, depending on the size of the area and the amount of runoff it will receive. The depth allows for adequate water retention and infiltration while providing enough space for plant roots to grow.
What maintenance is required for a rain garden?
Maintenance for a rain garden includes regular weeding, mulching, and monitoring plant health. It’s important to check for erosion or sediment buildup and to ensure that the plants are thriving. Watering may be necessary during dry spells, especially for newly planted gardens.