Basic home repairs are essential for maintaining the integrity and functionality of a residence. Homeowners often overlook minor issues, believing they can wait until a more convenient time. However, neglecting these repairs can lead to more significant problems, resulting in costly repairs and potential safety hazards. Understanding the importance of addressing these issues promptly can save homeowners time, money, and stress in the long run.
Moreover, performing basic repairs enhances the overall value of a property. A well-maintained home not only provides comfort but also attracts potential buyers should the homeowner decide to sell. Regular upkeep demonstrates responsibility and care, which can significantly influence market perception. Additionally, engaging in DIY repairs fosters a sense of accomplishment and self-sufficiency, empowering homeowners to take control of their living environment.
If you’re interested in enhancing your home maintenance skills, you might find it helpful to explore related topics such as basic home repair. For a comprehensive guide on essential home repairs that every homeowner should know, check out this informative article on the benefits of dog daycare, which, while not directly related, emphasizes the importance of creating a safe and comfortable environment for your pets, much like maintaining your home. You can read more about it here: Top 10 Benefits of Dog Daycare.
How to Fix a Leaking Faucet
A leaking faucet is not only an annoyance but also a waste of water that can lead to increased utility bills. The first step in addressing this issue is to identify the type of faucet—compression, cartridge, ball, or ceramic disk—as each has its unique mechanism and repair process. Once identified, turn off the water supply to prevent further leakage during the repair.
To fix a compression faucet, remove the handle by unscrewing it and then take out the packing nut with a wrench. Inspect the rubber washer for wear and replace it if necessary. For cartridge faucets, remove the handle and unscrew the retaining nut to extract the cartridge. Replace it with a new one and reassemble the faucet. Ball faucets require disassembly of the handle and cam assembly to access the seals, which should be replaced if damaged. Finally, ceramic disk faucets involve removing the handle and replacing seals located beneath the disk. After completing the repair, turn on the water supply and check for leaks.
Repairing a Running Toilet: Step-by-Step Guide

A running toilet can be both irritating and wasteful, leading to increased water bills. The primary cause is often a faulty flapper valve or an improperly adjusted float. To begin repairs, remove the tank lid and inspect the components inside. Flush the toilet to observe how water flows through the system.
If the flapper valve is worn or misaligned, it may not create a proper seal, allowing water to leak into the bowl continuously. To replace it, detach the old flapper from the chain and install a new one by connecting it to the flush lever. Adjusting the float is equally crucial; if it is set too high, water will overflow into the overflow tube. Adjust the float arm or screw mechanism until it sits at an appropriate level. After making these adjustments, flush the toilet again to ensure it stops running.
Patching Small Holes in Drywall

Small holes in drywall can detract from a home’s aesthetic appeal and may lead to further damage if left unaddressed. Patching these holes is a straightforward process that requires minimal materials. For holes smaller than 1/2 inch in diameter, a simple spackling compound will suffice. Use a putty knife to apply the compound over the hole, smoothing it out evenly with the surrounding wall.
For larger holes, a more robust approach is necessary. Cut a piece of drywall slightly larger than the hole and trace its outline on the wall. Use a utility knife to cut along this outline, creating a clean opening. Insert wooden backing strips inside the wall cavity for support before placing the new drywall piece into position. Secure it with screws and apply joint compound over the seams, feathering it out to blend with the existing wall surface. Once dry, sand it smooth and paint over it for a seamless finish.
For those interested in enhancing their skills in basic home repair, understanding how to address pest issues is crucial. A helpful resource on this topic is an article that explains how to find and seal mouse entry points around your home. This guide provides practical steps to ensure your living space remains safe and comfortable. You can read more about it in this informative piece here.
Unclogging Drains Without Chemicals
Clogged drains can be frustrating and often lead to unpleasant odors or slow drainage. While chemical drain cleaners are commonly used, they can be harmful to plumbing systems and the environment. Instead, consider natural methods for unclogging drains effectively.
One effective method involves using a mixture of baking soda and vinegar. Pour half a cup of baking soda down the drain followed by half a cup of vinegar. Allow this mixture to sit for about 30 minutes before flushing it with hot water. This reaction helps break down grease and debris causing the blockage. For more stubborn clogs, a plunger can be employed; ensure there is enough water in the sink or tub to cover the plunger’s cup before plunging vigorously.
Basic home repair often involves identifying and addressing issues that can affect the integrity of your living space. For instance, understanding the difference between termite droppings and sawdust can be crucial in determining whether you have a pest problem that needs immediate attention. If you’re interested in learning more about this topic, you can read a related article that provides valuable insights on how to tell them apart by visiting this link. Being informed can help you take the right steps to protect your home.
Replacing a Broken Light Switch
A malfunctioning light switch can pose safety risks and inconvenience in daily life. To replace a broken switch safely, begin by turning off power at the circuit breaker to avoid electrical shock. Remove the switch cover plate using a screwdriver and unscrew the switch from its electrical box.
Carefully disconnect the wires from the old switch, noting their configuration for proper reconnection later. Attach the wires to the new switch in accordance with their original placement—typically black wires connect to brass screws while white wires connect to silver screws. Once secured, reattach the switch to its box and replace the cover plate before restoring power at the circuit breaker.
Fixing a Squeaky Door Hinge
Squeaky door hinges can be an annoying distraction in any home environment. Fortunately, fixing this issue is relatively simple and requires minimal tools. Begin by identifying which hinge is causing the noise; open and close doors slowly to pinpoint the source.
Once identified, apply a lubricant such as WD-40 or silicone spray directly onto the hinge pin while moving the door back and forth to work it into all crevices. If lubrication does not resolve the issue, consider removing the hinge entirely for thorough cleaning; use a cloth to wipe away dirt and grime before reapplying lubricant upon reinstallation.
Sealing Drafty Windows and Doors
Drafty windows and doors can significantly impact energy efficiency within a home, leading to increased heating or cooling costs. To seal these drafts effectively, start by inspecting frames for gaps or cracks where air may escape.
Weatherstripping is an excellent solution for sealing gaps around doors; adhesive-backed foam tape or V-strip can be applied along edges where air leaks occur. For windows, consider using caulk to fill any visible cracks or gaps in frames or sashes. Ensure surfaces are clean before applying caulk for optimal adhesion. Additionally, using window film can provide an extra layer of insulation during colder months.
Resetting a Tripped Circuit Breaker
A tripped circuit breaker can disrupt power supply within specific areas of a home, often caused by overloaded circuits or short circuits due to faulty appliances. To reset a tripped breaker safely, locate your electrical panel and identify which breaker has flipped to the “off” position.
Before resetting it, unplug any devices connected to that circuit to prevent further overloads upon restoration of power. Firmly push the breaker switch back into its original position until you hear a click indicating it has reset successfully. If it trips again immediately after resetting, consult an electrician as this may indicate underlying electrical issues requiring professional attention.
Maintaining Your HVAC System Basics
Regular maintenance of your HVAC system is crucial for ensuring optimal performance and longevity while minimizing energy costs. Begin by changing air filters every 1-3 months depending on usage; clogged filters restrict airflow and reduce efficiency.
Additionally, schedule annual professional inspections for comprehensive checks on components such as coils, ducts, and refrigerant levels. Cleaning condenser coils and ensuring proper drainage from condensate lines are also vital steps in maintaining system efficiency. Homeowners should familiarize themselves with thermostat settings to optimize heating and cooling cycles based on seasonal changes.
While many home repairs can be tackled independently, certain situations warrant professional intervention due to complexity or safety concerns. If repairs involve electrical systems beyond simple tasks like replacing switches or outlets, consulting an electrician is advisable to prevent hazards such as electrocution or fire risks.
Similarly, plumbing issues such as major leaks or sewer line blockages should be addressed by licensed plumbers equipped with specialized tools and expertise. Homeowners should also consider professional help when dealing with structural repairs or extensive renovations that require permits or adherence to building codes.
In summary, understanding basic home repairs empowers homeowners to maintain their properties effectively while enhancing safety and comfort levels within their living spaces. From fixing leaks and clogs to ensuring proper HVAC function, these skills not only save money but also foster self-sufficiency in managing household issues efficiently.
FAQs
What are some common basic home repairs that homeowners should know?
Common basic home repairs include fixing leaky faucets, patching drywall, unclogging drains, replacing light fixtures, and repairing squeaky doors. These tasks can often be completed with minimal tools and materials, making them accessible for most homeowners.
What tools are essential for basic home repairs?
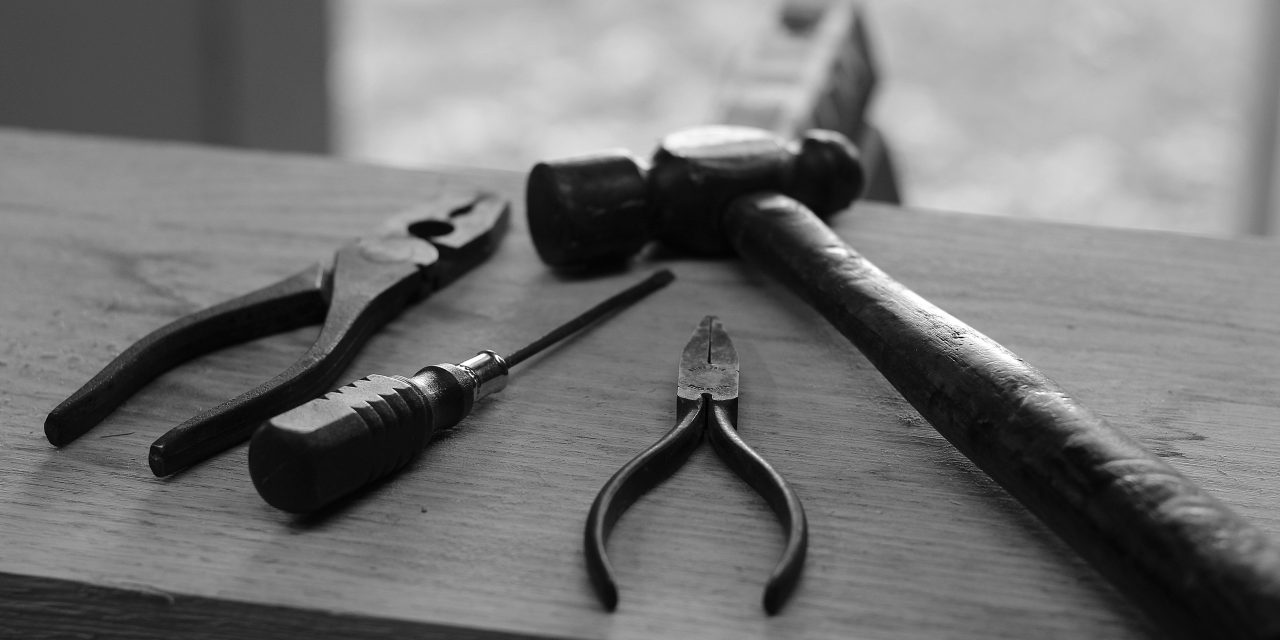
Essential tools for basic home repairs typically include a hammer, screwdrivers (both flathead and Phillips), pliers, a utility knife, a tape measure, a level, and a drill. Having a basic toolkit can help homeowners tackle a variety of repair tasks efficiently.
How can I fix a leaky faucet?
To fix a leaky faucet, first, turn off the water supply. Then, disassemble the faucet to access the washer or O-ring, which is often the source of the leak. Replace any worn parts, reassemble the faucet, and turn the water supply back on to check for leaks.
What should I do if I have a clogged drain?
If you have a clogged drain, start by using a plunger to try to dislodge the blockage. If that doesn’t work, you can use a drain snake or a mixture of baking soda and vinegar followed by hot water to help clear the clog. Avoid using harsh chemical drain cleaners, as they can damage pipes.
When should I consider calling a professional for home repairs?
You should consider calling a professional for home repairs when the task is beyond your skill level, involves electrical or plumbing work that could pose safety risks, or requires specialized tools or permits. Additionally, if a repair is extensive or could lead to further damage if not done correctly, it’s wise to seek professional help.