Selecting the appropriate size for each press-on nail is crucial for achieving a natural and aesthetically pleasing appearance. Press-on nails come in various sizes, typically ranging from small to extra-large, and it is essential to measure your natural nails accurately to ensure a perfect fit. A well-fitted nail not only enhances the overall look but also minimizes the risk of lifting or detachment. To determine the correct size, measure the width of your natural nail bed at its widest point using a ruler or a measuring tape. Most brands provide a sizing chart that correlates measurements with specific nail sizes, making it easier to select the right fit.
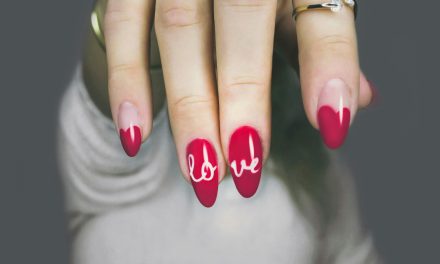
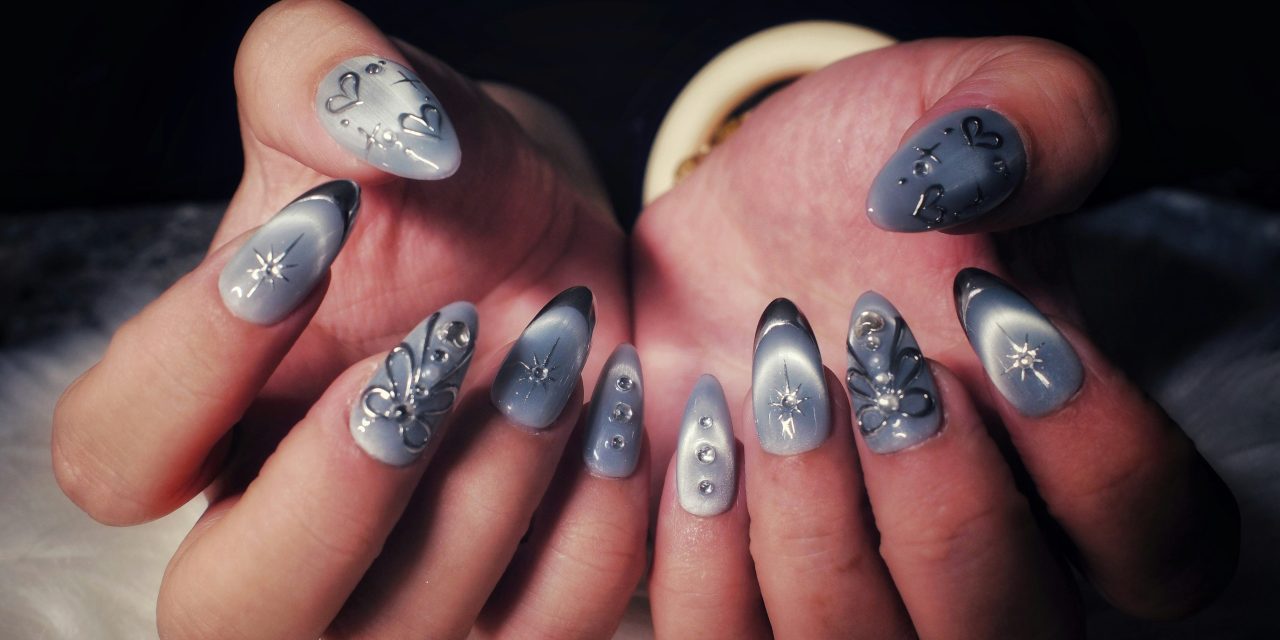
In addition to measuring, consider the shape of your natural nails. Press-on nails are available in various shapes, including square, oval, almond, and stiletto. Choosing a shape that complements your natural nail shape will create a seamless transition between your natural nails and the press-ons. If you find that none of the pre-made sizes fit perfectly, you can always file down the edges of the press-on nails to achieve a more customized fit. This attention to detail will ensure that your press-on nails look polished and professional.
If you’re looking to enhance the longevity of your press-on nails, you might find it helpful to explore techniques that ensure they stay secure for an extended period. A related article that provides useful tips on maintaining nail durability can be found here: How to Make Press-On Nails Stay On Longer. This resource offers insights that can complement your nail care routine and help you achieve a flawless look that lasts.
Clean and Prep Your Natural Nails Properly
Proper preparation of your natural nails is a fundamental step in ensuring the longevity and durability of press-on nails. Begin by removing any existing nail polish using an acetone-based remover, as this will eliminate oils and residues that could interfere with adhesion. Once your nails are polish-free, wash your hands thoroughly with soap and water to remove any dirt or debris. Dry your hands completely before proceeding to the next step.
After washing, it is essential to push back your cuticles gently using a cuticle pusher or an orangewood stick. This step not only enhances the appearance of your nails but also creates a clean canvas for the press-on application. If necessary, trim any excess cuticle skin with cuticle nippers, being careful not to damage the surrounding skin. Finally, lightly buff the surface of your natural nails with a fine-grit nail file to create a rough texture that promotes better adhesion for the press-on nails.
Avoid Applying Lotion or Oils Before Application

Before applying press-on nails, it is imperative to avoid using lotions or oils on your hands and nails. These products can leave a slippery residue that hinders the adhesive properties of the press-on nails, leading to premature lifting or detachment. Even if you have just completed a thorough cleaning and prepping routine, any residual moisture or oil can compromise the bond between the press-on nail and your natural nail.
To ensure optimal adhesion, allow your hands to dry completely after washing and refrain from applying any moisturizing products until after the press-ons are securely in place. If you have dry skin or cuticles, consider applying lotion after the application process is complete. This will help maintain hydration without interfering with the adhesion process.
Use an Alcohol Wipe to Remove Residue

To further enhance adhesion and ensure a successful application, using an alcohol wipe is highly recommended. Alcohol wipes effectively remove any remaining oils, dirt, or residues from both your natural nails and the underside of the press-on nails. This step is particularly important if you have applied any products prior to application, as even trace amounts can affect how well the press-ons adhere.
Simply take an alcohol wipe and gently rub it over each natural nail surface before applying the press-ons. Additionally, wipe down the underside of each press-on nail to eliminate any manufacturing residues that may be present. Allow both surfaces to dry completely before proceeding with application. This meticulous attention to detail will significantly improve the longevity of your press-on nails.
If you’re looking for ways to make your press on nails stay on longer, you might find it helpful to explore some related tips on maintaining beauty routines. For instance, a great article on successful dog socialization can provide insights into creating a stable environment, which can be analogous to ensuring your nails have the right foundation. You can read more about it here. By understanding the importance of preparation and care in both scenarios, you can enhance the longevity of your press on nails while also enjoying a well-rounded approach to your beauty and pet care routines.
Apply a Base Coat for Better Adhesion
Applying a base coat is an essential step that should not be overlooked when using press-on nails. A base coat serves multiple purposes: it creates a barrier between your natural nails and the adhesive used on press-ons, protects against potential staining, and enhances adhesion for a more secure fit. Choose a high-quality base coat that is specifically designed for use with artificial nails.
To apply the base coat, use a thin layer and ensure even coverage across each natural nail surface. Allow it to dry completely before moving on to the next step. This drying time is crucial as it allows the base coat to bond effectively with both your natural nails and the adhesive on the press-ons. By incorporating this step into your application routine, you will significantly increase the durability and longevity of your press-on nails.
Press and Hold Nails Firmly During Application
The application process requires careful attention to detail, particularly when it comes to pressing and holding each nail firmly in place. After selecting the appropriate size and ensuring that both surfaces are clean and prepped, align the press-on nail with your natural nail bed carefully. Once aligned, apply firm pressure for at least 10-15 seconds to allow the adhesive to bond effectively.
It is essential to avoid any movement during this time, as shifting can lead to misalignment or incomplete adhesion. If you are applying multiple press-on nails, work methodically from one hand to another or from one side of each hand to maintain consistency in pressure and alignment. This technique will help ensure that each nail adheres securely and looks flawless.
File and Shape the Edges After Application
Once all press-on nails are securely in place, it is time to refine their appearance by filing and shaping the edges. This step is particularly important if you have customized any of the press-ons for a better fit or if you prefer a specific shape that differs from what was provided. Using a fine-grit nail file, gently file along the edges of each press-on nail to achieve your desired shape.
Be cautious not to file too aggressively, as this can weaken the integrity of the press-on nail or cause it to lift prematurely. Instead, use gentle strokes and focus on smoothing out any rough edges or inconsistencies in shape. This finishing touch will enhance the overall look of your manicure and create a polished appearance that mimics salon-quality results.
Avoid Water Exposure for the First Hour
After applying press-on nails, it is crucial to avoid exposing them to water for at least one hour. Water can weaken adhesive bonds and lead to premature lifting or detachment of the press-ons. Activities such as washing hands, showering, or doing dishes should be postponed until after this initial hour has passed.
If you must engage in activities that involve water during this time frame, consider wearing gloves as an added precaution. This simple measure will help protect your newly applied press-ons while allowing sufficient time for the adhesive to cure fully. By adhering to this guideline, you can significantly extend the lifespan of your manicure.
Use Cuticle Oil to Maintain Nail Health
Maintaining healthy cuticles and natural nails is essential for overall nail health, especially when using press-on nails. After application, consider incorporating cuticle oil into your daily routine to nourish both your cuticles and natural nails beneath the press-ons. Cuticle oil helps prevent dryness and cracking while promoting healthy growth.
To apply cuticle oil, use a dropper or brush applicator to place a small amount around each cuticle area. Gently massage it into the skin and surrounding areas for optimal absorption. Regular use of cuticle oil will not only keep your cuticles hydrated but also enhance the overall appearance of your manicure by providing a healthy shine.
Reapply Top Coat to Enhance Shine and Durability
To further enhance both shine and durability, consider reapplying a top coat over your press-on nails every few days. A high-quality top coat provides an additional layer of protection against chips and scratches while maintaining a glossy finish that mimics freshly applied polish. Choose a top coat that is compatible with artificial nails for optimal results.
When reapplying top coat, ensure that you cover each nail evenly without overloading any single area. Allow sufficient drying time between applications for best results. This practice not only prolongs the life of your manicure but also keeps it looking fresh and vibrant throughout its wear.
Remove Press-On Nails Gently to Prevent Damage
When it comes time to remove your press-on nails, it is vital to do so gently to prevent damage to your natural nails underneath. Avoid forceful pulling or prying at the edges of the press-ons; instead, soak them in warm soapy water for about 10-15 minutes to loosen the adhesive bond.
After soaking, use an orangewood stick or similar tool to gently lift one edge of each press-on nail slowly. If resistance is felt, continue soaking until they release easily without causing discomfort or damage. Once removed, take care of your natural nails by applying cuticle oil and allowing them some time to breathe before applying new press-ons.
In summary, achieving beautiful and long-lasting press-on nails requires careful attention to detail throughout every step of application and maintenance. From selecting the right size and shape to proper cleaning techniques and gentle removal methods, following these guidelines will ensure that you enjoy stunning results while preserving your natural nail health. By incorporating these practices into your routine, you can achieve salon-quality results at home with ease.
FAQs
What materials do I need to apply press on nails?
To apply press on nails, you will need the press on nails themselves, nail glue or adhesive tabs, a nail file, a buffer, and optionally, a cuticle pusher and alcohol wipes for cleaning your natural nails before application.
How can I prepare my natural nails for press on nails?
To prepare your natural nails, start by cleaning them with soap and water, then dry thoroughly. Use a nail file to shape your nails and a buffer to smooth the surface. Push back your cuticles gently and wipe your nails with alcohol to remove any oils or residue.
What type of adhesive is best for making press on nails last longer?
The best adhesive for making press on nails last longer is a strong nail glue specifically designed for artificial nails. Alternatively, adhesive tabs can be used for a less permanent option, but they may not hold as long as glue.
How can I ensure a secure fit for my press on nails?
To ensure a secure fit, choose press on nails that closely match the size and shape of your natural nails. You can file the edges of the press on nails for a better fit. Additionally, applying the adhesive evenly and pressing down firmly for at least 10 seconds can help secure them properly.
What tips can I follow to extend the wear time of press on nails?
To extend the wear time of press on nails, avoid exposing them to excessive water or harsh chemicals, use gloves while doing chores, and refrain from using your nails as tools. Regularly applying a top coat can also help protect the nails and keep them looking fresh.