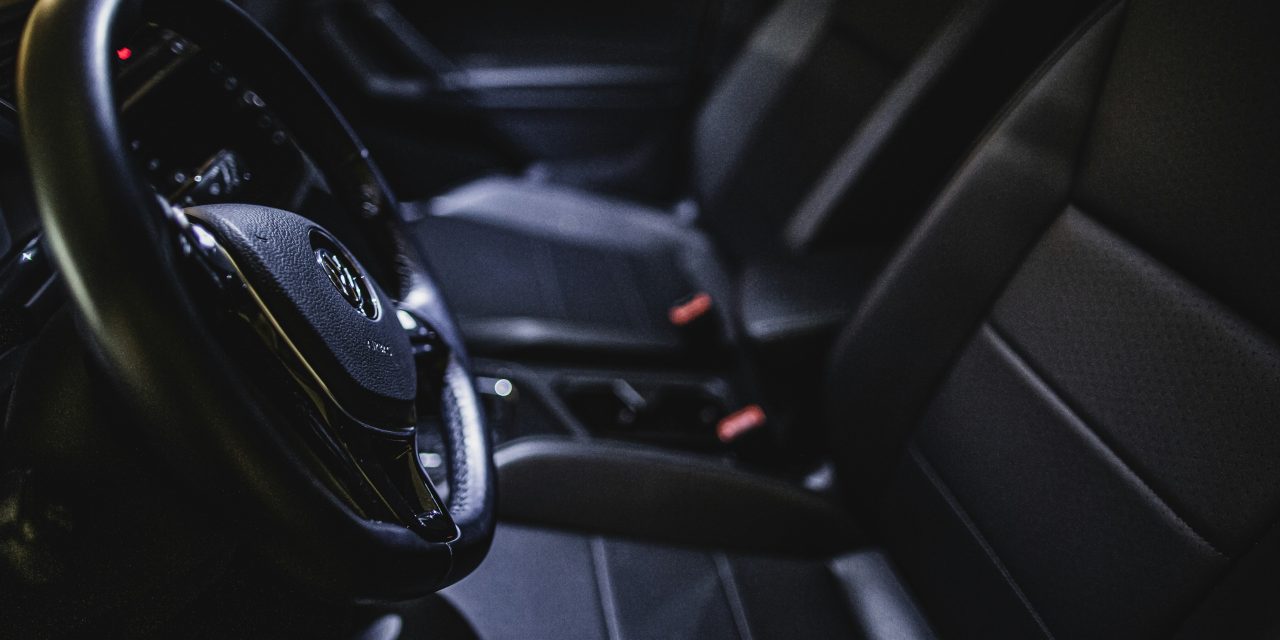
Leather seats are a hallmark of luxury and comfort in vehicles, providing an aesthetic appeal that enhances the overall driving experience. However, maintaining their pristine condition requires diligent care and attention. Proper cleaning is essential not only for aesthetic reasons but also for preserving the integrity of the leather material. Over time, dirt, oils, and other contaminants can accumulate, leading to discoloration, cracking, and premature wear. Regular cleaning helps to prevent these issues, ensuring that the leather remains supple and visually appealing.
Moreover, neglecting leather seat maintenance can lead to more significant problems down the line. For instance, embedded dirt can cause abrasions that compromise the leather’s surface. Additionally, exposure to UV rays can lead to fading and drying out of the material. By implementing a consistent cleaning regimen, vehicle owners can extend the lifespan of their leather seats, ultimately protecting their investment and enhancing the resale value of their vehicle.
If you’re looking for effective methods to clean leather car seats without causing any damage, you might find this article helpful. It provides detailed tips and techniques to maintain the quality of your leather upholstery while ensuring it stays looking fresh and new. For more information, check out this related article on how to clean leather car seats without damaging them: here.
Gathering the Right Cleaning Supplies
Before embarking on the cleaning process, it is crucial to gather all necessary supplies to ensure an effective and efficient cleaning experience. The primary items required include a high-quality leather cleaner specifically formulated for automotive use, a soft microfiber cloth, a vacuum cleaner with appropriate attachments, and a leather conditioner. Each of these components plays a vital role in achieving optimal results.
In addition to these essentials, consider having a soft-bristled brush on hand for tackling stubborn stains or debris that may be embedded in the leather’s texture. A spray bottle filled with distilled water can also be beneficial for diluting cleaners or for use in spot cleaning. Having these supplies readily available will streamline the cleaning process and ensure that you are well-prepared to address any challenges that may arise.
Preparing Your Car Interior for Cleaning

Preparation is key when it comes to cleaning leather seats effectively. Begin by removing any items from the car interior that may obstruct access to the seats, such as floor mats, trash, or personal belongings. This step not only creates a clear workspace but also allows for a thorough cleaning of all surfaces.
Next, ensure that the vehicle is parked in a shaded area or a garage to prevent direct sunlight from causing the leather cleaner to dry too quickly. High temperatures can lead to uneven cleaning results and may even damage the leather. Additionally, it is advisable to open windows or doors for ventilation during the cleaning process to avoid inhaling any fumes from cleaning products.
Vacuuming the Leather Seats Thoroughly

Once the interior is prepared, the next step involves vacuuming the leather seats meticulously. Utilizing a vacuum cleaner equipped with a soft brush attachment will help lift dirt and debris without scratching or damaging the leather surface. Pay special attention to crevices and seams where dirt tends to accumulate.
Vacuuming not only removes loose particles but also prepares the leather for deeper cleaning by ensuring that no abrasive materials are left behind that could cause scratches during the application of cleaner. This step is crucial in achieving a thorough clean and sets the stage for effective treatment of any stains or spots that may be present.
When it comes to maintaining the elegance of your vehicle’s interior, knowing how to clean leather car seats without damaging them is essential. For a comprehensive guide on this topic, you might find it helpful to explore an article that offers practical tips and techniques. Additionally, if you’re interested in caring for your furry friends while you’re away, you can check out this insightful piece on choosing the right puppy sitter. For more information, visit choosing the perfect puppy sitter.
Choosing a Gentle Leather Cleaner
Selecting an appropriate leather cleaner is paramount in maintaining the quality of your seats. It is essential to choose a product specifically designed for automotive leather rather than household cleaners, which may contain harsh chemicals that can damage the material. Look for pH-balanced formulations that are free from alcohol and solvents, as these ingredients can strip away natural oils and lead to dryness.
When evaluating different products, consider those that contain moisturizing agents such as lanolin or aloe vera, which help maintain the leather’s suppleness while providing effective cleaning action. Reading customer reviews and seeking recommendations from automotive professionals can also guide you toward selecting a reliable cleaner that meets your needs.
When it comes to maintaining the elegance of your vehicle’s interior, knowing how to clean leather car seats without damaging them is essential. For a comprehensive guide on this topic, you can refer to an insightful article that provides tips and techniques to ensure your leather remains in pristine condition. Additionally, if you’re interested in learning about food storage, you might find it useful to check out how long shredded cheese lasts in the fridge by following this link.
Testing the Cleaner on a Small Hidden Area
Before applying any cleaner to the entire surface of your leather seats, it is prudent to conduct a patch test on a small, inconspicuous area. This step ensures that the cleaner does not cause discoloration or adverse reactions with the leather material. Choose a spot under a seat or in a less visible area to perform this test.
Apply a small amount of cleaner using a soft cloth and gently rub it into the leather. Allow it to sit for a few minutes before wiping it off with a clean cloth. Assess the area for any changes in color or texture. If no adverse effects are observed, you can confidently proceed with cleaning the rest of your seats.
Applying the Cleaner with a Soft Cloth
With the patch test successfully completed, it’s time to apply the cleaner to your leather seats. Dampen a soft microfiber cloth with the chosen cleaner—avoid saturating it excessively, as too much liquid can seep into seams and cause damage over time. Work in small sections to ensure thorough coverage and effective cleaning.
Gently wipe down each section of the seat using circular motions to lift dirt and grime without causing abrasion. Be mindful of areas that may require extra attention, such as bolsters and armrests where wear is more pronounced. This methodical approach will help ensure that every inch of your leather seats receives adequate care.
Gently Scrubbing Stains and Spots
For stubborn stains or spots that resist initial cleaning efforts, additional scrubbing may be necessary. Utilize a soft-bristled brush or an old toothbrush specifically designated for this purpose. Apply a small amount of cleaner directly onto the stain and gently scrub in circular motions until the stain begins to lift.
It is crucial to exercise caution during this process; aggressive scrubbing can damage the leather’s surface or alter its texture. If necessary, repeat this step until satisfactory results are achieved. For particularly challenging stains such as ink or food spills, consider consulting professional cleaning services if home remedies prove ineffective.
Wiping Off Excess Cleaner and Moisture
After thoroughly cleaning each section of your leather seats, it is essential to remove any excess cleaner and moisture from the surface. Using a clean microfiber cloth, gently wipe down each seat to eliminate residue left behind by the cleaner. This step not only enhances the appearance of your seats but also prevents any potential buildup that could lead to future damage.
Ensure that all areas are adequately dried before closing windows or doors to avoid trapping moisture inside the vehicle. Allowing air circulation will help prevent mold or mildew growth, which can occur in damp environments.
Conditioning the Leather to Maintain Softness
Once your leather seats are clean and dry, conditioning is vital for maintaining their softness and preventing cracking over time. Leather conditioners are formulated with oils and emollients that penetrate deep into the material, replenishing lost moisture and enhancing flexibility.
Apply a small amount of conditioner onto a clean microfiber cloth and work it into the leather using gentle circular motions. Focus on high-wear areas such as seat bolsters and armrests where dryness is more likely to occur. Allow the conditioner to absorb fully before buffing with another clean cloth for an even finish.
Regular Maintenance Tips to Keep Leather Seats Pristine
To ensure your leather seats remain in excellent condition over time, establish a regular maintenance routine. Aim to clean your seats every three months or more frequently if you frequently transport pets or children who may contribute to spills and stains.
In addition to regular cleaning, consider using protective sprays designed specifically for leather surfaces. These products create an invisible barrier against dirt and moisture while enhancing resistance to stains. Furthermore, avoid exposing your leather seats to direct sunlight for prolonged periods; using sunshades can help mitigate UV damage.
Lastly, promptly address any spills or stains as they occur rather than allowing them to set in. The sooner you treat an issue, the easier it will be to remove without causing lasting damage.
In summary, maintaining leather seats requires careful attention and regular upkeep to preserve their beauty and functionality. By understanding proper cleaning techniques and utilizing appropriate products, vehicle owners can ensure their leather interiors remain luxurious for years to come.
FAQs
What materials do I need to clean leather car seats?
To clean leather car seats, you will need a soft microfiber cloth, a vacuum cleaner with a brush attachment, a leather cleaner specifically designed for automotive use, and a leather conditioner to maintain the material’s suppleness after cleaning.
Can I use regular household cleaners on leather car seats?
No, regular household cleaners can contain harsh chemicals that may damage the leather. It is important to use a cleaner specifically formulated for leather to avoid discoloration or deterioration of the material.
How often should I clean my leather car seats?
It is recommended to clean your leather car seats every 3 to 6 months, depending on usage. Regular cleaning helps prevent dirt buildup and maintains the leather’s appearance and longevity.
What is the best way to remove stains from leather car seats?
For stains, first blot the area with a clean, dry cloth to absorb any excess liquid. Then, apply a small amount of leather cleaner to a microfiber cloth and gently rub the stained area in a circular motion. Always test the cleaner on a hidden area first to ensure it does not cause discoloration.
Should I condition my leather car seats after cleaning?
Yes, conditioning your leather car seats after cleaning is essential. It helps restore moisture, prevents cracking, and keeps the leather looking fresh. Use a quality leather conditioner and apply it according to the manufacturer’s instructions.