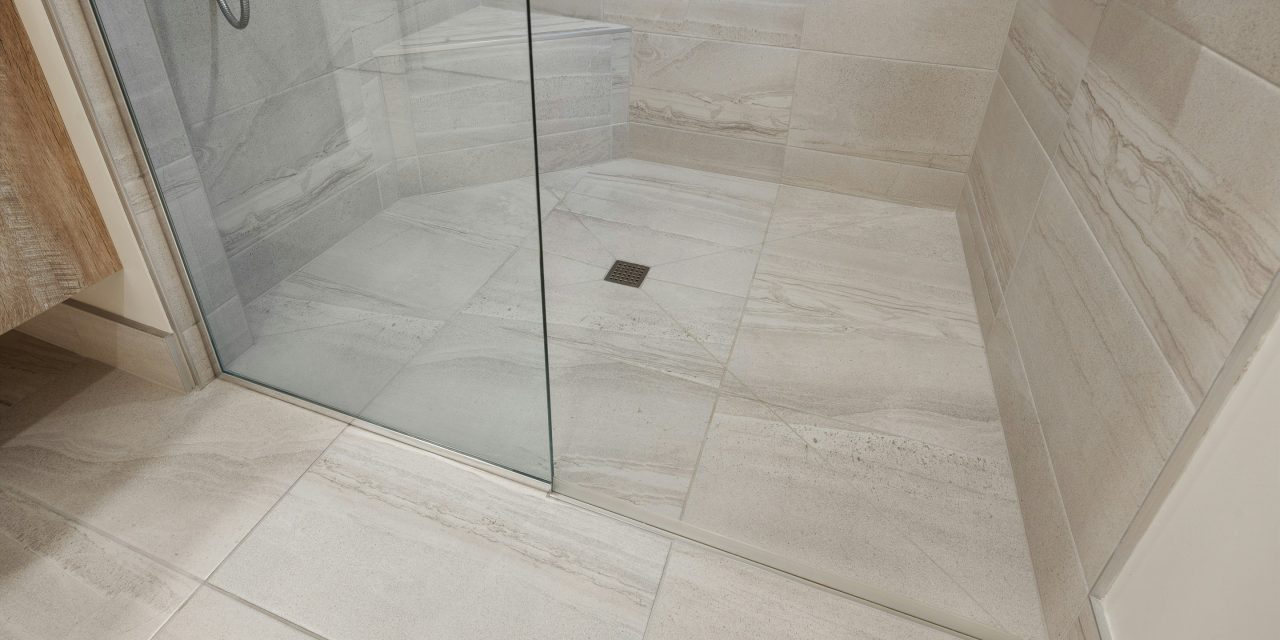
Shower grout serves as a crucial component in the tiling system, acting as a binding agent between tiles while providing a waterproof barrier. Typically composed of a mixture of cement, water, and sand, grout is susceptible to various forms of buildup due to its porous nature. Over time, it can accumulate soap scum, hard water deposits, and organic matter, leading to discoloration and deterioration. Understanding these common types of buildup is essential for effective cleaning and maintenance.
Soap scum, a combination of soap residue and minerals from hard water, often manifests as a cloudy film on grout surfaces. Hard water deposits, primarily calcium and magnesium, can create unsightly white or yellow stains. Organic matter, including mold and mildew, thrives in damp environments, particularly in shower areas where humidity levels are high. Recognizing these buildups allows homeowners to tailor their cleaning strategies effectively.
Essential Tools and Materials for Cleaning Shower Grout
To embark on a successful grout cleaning endeavor, it is imperative to gather the appropriate tools and materials. Essential items include a stiff-bristled brush or an old toothbrush for scrubbing, a spray bottle for applying cleaning solutions, and protective gloves to safeguard your skin from harsh chemicals. Additionally, a bucket for rinsing and a sponge for wiping down surfaces will enhance the cleaning process.
In terms of cleaning agents, household staples such as baking soda and vinegar are effective natural options. For more stubborn stains, commercial grout cleaners containing phosphoric acid or sodium hypochlorite may be necessary. It is crucial to read labels carefully to ensure compatibility with your specific grout type. Having these tools and materials on hand will streamline the cleaning process and yield optimal results.
Preparing the Shower Area for Grout Cleaning

Before initiating the cleaning process, proper preparation of the shower area is essential. Begin by removing all personal items such as shampoo bottles, soap dishes, and loofahs from the vicinity. This not only creates a clear workspace but also prevents any accidental damage to your belongings during the cleaning process.
Next, ensure adequate ventilation by opening windows or turning on an exhaust fan. This step is particularly important when using chemical cleaners, as it helps dissipate fumes and reduces inhalation risks. Lastly, inspect the grout for any cracks or damage that may require repair before cleaning. Addressing these issues beforehand will prevent further deterioration during the cleaning process.
Using Baking Soda and Vinegar to Remove Grime

Baking soda and vinegar are renowned for their cleaning prowess, making them ideal candidates for tackling shower grout grime. To create an effective cleaning paste, combine equal parts baking soda and water until a thick consistency is achieved. Apply this paste generously to the stained grout lines and allow it to sit for approximately 10-15 minutes. This dwell time enables the baking soda to penetrate the grime effectively.
Following the application of the paste, spray white vinegar over the baking soda-covered grout. The chemical reaction between these two substances will produce fizzing bubbles that help lift dirt and stains from the grout surface. After allowing the mixture to sit for another 10 minutes, scrub the area with a stiff-bristled brush to dislodge any remaining debris. Rinse thoroughly with warm water to reveal clean and refreshed grout lines.
Applying Commercial Grout Cleaners Safely
When natural remedies fall short, commercial grout cleaners can provide a powerful solution for stubborn stains. However, safety precautions must be observed when using these products due to their potent chemical compositions. Always read the manufacturer’s instructions carefully before application and wear protective gloves and goggles to shield your skin and eyes from potential irritants.
To apply a commercial cleaner effectively, spray it directly onto the stained grout lines and allow it to sit for the recommended duration specified on the label. This dwell time is crucial for allowing the cleaner to penetrate deeply into the grime. Afterward, scrub the area with a stiff brush to agitate the cleaner and lift stains away from the grout surface. Rinse thoroughly with warm water to remove any residual cleaner and prevent buildup from occurring again.
Tackling Mold and Mildew with Bleach Solutions
Mold and mildew can pose significant challenges in maintaining clean shower grout due to their rapid growth in humid environments. A bleach solution can effectively eradicate these unwanted organisms when used correctly. To create a bleach solution, mix one part bleach with three parts water in a spray bottle.
Before applying the solution, ensure that the shower area is well-ventilated to minimize inhalation risks associated with bleach fumes. Spray the solution directly onto affected areas of grout and allow it to sit for approximately 10-15 minutes. This dwell time allows the bleach to penetrate mold spores effectively. Afterward, scrub the area with a brush to remove any remaining mold or mildew before rinsing thoroughly with warm water.
Scrubbing Techniques for Effective Grout Cleaning
The effectiveness of grout cleaning largely depends on the scrubbing techniques employed during the process. Begin by using a stiff-bristled brush or an old toothbrush to scrub along the grout lines in a circular motion. This technique helps dislodge dirt particles while preventing damage to surrounding tiles.
For particularly stubborn stains or buildup, consider using an electric scrubber equipped with a soft brush attachment. These devices can provide additional power without risking damage to delicate surfaces. Always ensure that you are applying even pressure while scrubbing to avoid uneven wear on both grout and tile surfaces.
Using a Steam Cleaner for Deep Grout Cleaning
For those seeking an advanced cleaning method, steam cleaners offer an effective solution for deep grout cleaning without harsh chemicals. These devices utilize high-temperature steam to penetrate porous surfaces, loosening dirt and grime while simultaneously disinfecting.
To use a steam cleaner effectively, begin by filling it with distilled water according to manufacturer instructions. Once heated, direct the steam nozzle onto the grout lines while moving slowly along each section. The heat will help dissolve stubborn stains while killing mold spores and bacteria present in the grout. After steaming each section, wipe away loosened debris with a microfiber cloth for optimal results.
Preventing Future Grout Buildup with Sealing
Preventative measures play a vital role in maintaining clean shower grout over time. One of the most effective strategies is sealing grout after cleaning it thoroughly. Grout sealers create a protective barrier that minimizes moisture absorption and reduces staining potential.
To apply a grout sealer effectively, ensure that your grout is completely dry after cleaning. Use a small paintbrush or applicator bottle to apply an even coat of sealer along the grout lines. Allow it to dry according to manufacturer instructions before using your shower again. Regularly reapplying sealer every six months will help maintain its protective properties.
Natural Alternatives for Grout Maintenance
For those who prefer eco-friendly alternatives, several natural options exist for maintaining clean shower grout without harsh chemicals. One such option is hydrogen peroxide mixed with baking soda to create a paste that can effectively lift stains while being gentle on surfaces.
Another alternative involves using lemon juice combined with baking soda for its natural bleaching properties. This mixture can help brighten discolored grout while providing antibacterial benefits due to lemon’s acidic nature. Regularly incorporating these natural solutions into your cleaning routine can help maintain pristine grout without compromising environmental integrity.
Tips for Regular Shower Grout Care and Longevity
To ensure long-lasting cleanliness of shower grout, adopting regular care practices is essential. After each shower, consider wiping down tiles and grout lines with a squeegee or microfiber cloth to remove excess moisture that promotes mold growth.
Additionally, establish a routine cleaning schedule that includes deep cleaning every few months using one of the methods outlined above. Regular inspections of grout lines will help identify any cracks or damage early on, allowing for timely repairs before they worsen.
In summary, maintaining clean shower grout requires understanding common buildup types, utilizing appropriate tools and materials, preparing the area effectively, and employing various cleaning techniques ranging from natural remedies to commercial solutions. By implementing preventative measures such as sealing and adopting regular care practices, homeowners can enjoy long-lasting cleanliness in their showers while minimizing future buildup challenges.
### FAQ Section
1. **How often should I clean my shower grout?**
– It is advisable to clean shower grout at least once every month for routine maintenance; however, deep cleaning should be performed every three to six months depending on usage.
2. **Can I use vinegar on colored grout?**
– Vinegar may cause discoloration on colored grouts due to its acidic nature; it is best used on uncolored or white grouts only.
3. **What should I do if my grout is cracked?**
– If you notice cracks in your grout, it is essential to repair them promptly using a suitable grout repair product before proceeding with cleaning.
4. **Is it safe to mix bleach with other cleaners?**
– No, mixing bleach with other cleaners can produce toxic fumes; always use bleach solutions separately from other cleaning agents.
5. **Can I use an electric scrubber on delicate tiles?**
– While electric scrubbers are effective on tough stains, they should be used cautiously on delicate tiles; always test in an inconspicuous area first.
6. **What type of sealer should I use?**
– Choose a penetrating sealer specifically designed for grout; these sealers provide long-lasting protection against moisture and staining.
7. **Are there any specific brands of commercial cleaners you recommend?**
– Brands such as Zep Grout Cleaner or CLR Mold & Mildew Stain Remover are popular choices known for their effectiveness; always follow label instructions carefully.
8. **How can I tell if my grout needs sealing?**
– Conduct a simple water test: sprinkle water on your grout; if it absorbs quickly instead of beading up, it’s time to reseal.
9. **What are some signs of mold growth in my shower?**
– Signs include dark spots or discoloration along grout lines; musty odors may also indicate mold presence.
10. **Can I use essential oils in my cleaning solutions?**
– Yes! Essential oils like tea tree oil have natural antibacterial properties; adding them to your cleaning solutions can enhance effectiveness while providing pleasant scents.
In conclusion, maintaining clean shower grout involves understanding its composition and common issues while employing effective cleaning methods tailored to specific needs. By following preventative measures and regular care practices outlined in this article, homeowners can enjoy pristine showers free from unsightly buildup.