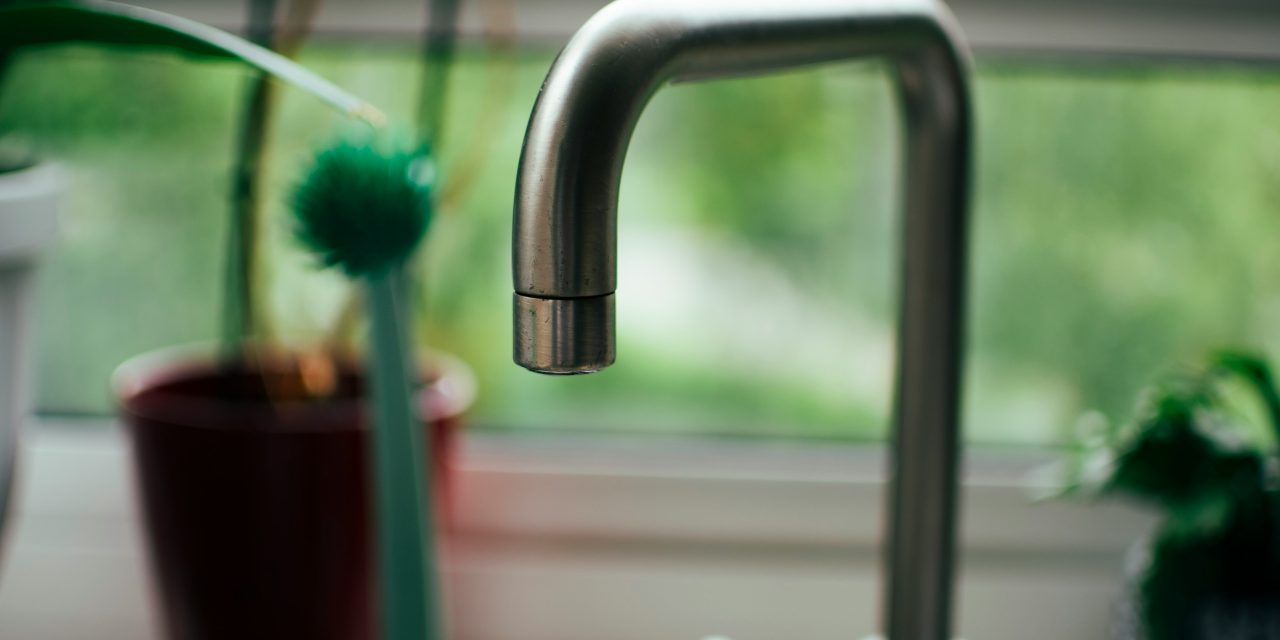
A leaking kitchen sink can manifest in various ways, often leading to significant water damage if not addressed promptly. One of the most apparent signs is the presence of water pooling beneath the sink or on the countertop. This accumulation can create an unsightly mess and may lead to mold growth if left unattended. Additionally, homeowners may notice water stains on cabinetry or walls adjacent to the sink area, indicating prolonged exposure to moisture.
Another common indicator is the sound of dripping water, which may be faint but persistent. This auditory cue often accompanies visible signs of leakage and can be a source of annoyance. Furthermore, an increase in water bills may also suggest a hidden leak, as even minor drips can accumulate over time, leading to unexpected expenses. Recognizing these signs early can prevent more extensive damage and costly repairs.
Identifying the Source of the Leak
To effectively address a leak, it is crucial to identify its source accurately. Begin by inspecting the faucet, as this is a common culprit for leaks. Check for any visible drips or moisture around the base of the faucet or along the spout. If the faucet appears to be functioning correctly, turn your attention to the sink drain assembly, which can also be a source of leakage due to worn-out seals or loose connections.
Next, examine the water supply lines that connect to the faucet. These lines can develop leaks from corrosion or improper installation. If no leaks are found in these areas, inspect the P-trap and drain pipes beneath the sink. A damaged or improperly installed P-trap can lead to significant leaks, necessitating thorough examination. By systematically checking each component, homeowners can pinpoint the source of the leak and take appropriate action.
Faulty or Worn-Out Faucet Components

Faucets consist of several components that can wear out over time, leading to leaks. The most common issues arise from deteriorated washers, O-rings, or cartridge seals. These components are designed to create a watertight seal when the faucet is turned off; however, they can degrade due to constant friction and exposure to water. When these seals fail, water can escape from the faucet, resulting in noticeable dripping.
In addition to seals and washers, the faucet’s cartridge may also become faulty. A malfunctioning cartridge can cause water to leak from the spout or base of the faucet. Regular inspection and maintenance of these components are essential for preventing leaks. Homeowners should consider replacing worn-out parts promptly to maintain optimal faucet performance and prevent further damage.
Damaged or Loose Sink Drain Assembly

The sink drain assembly plays a critical role in directing wastewater away from the sink. Over time, this assembly can become damaged or loose due to wear and tear or improper installation. A loose connection between the drain and the sink can lead to leaks that may not be immediately visible but can cause significant damage over time.
To address this issue, homeowners should inspect the drain assembly for any signs of damage or looseness. Tightening connections with a wrench may resolve minor leaks; however, if damage is evident, replacement of the drain assembly may be necessary. Ensuring that all components are securely fastened will help maintain a leak-free kitchen sink.
Problems with the Water Supply Lines
Water supply lines are essential for delivering fresh water to the kitchen faucet. These lines can develop leaks due to corrosion, improper installation, or physical damage. Common materials used for supply lines include copper, PVC, and braided stainless steel; each has its own vulnerabilities. For instance, copper lines may corrode over time, while PVC can crack under pressure.
To identify issues with water supply lines, inspect them for visible signs of moisture or corrosion. If leaks are detected, it is crucial to replace damaged sections promptly. Additionally, ensuring that connections are secure and using appropriate fittings can help prevent future leaks. Regular maintenance checks on these lines can save homeowners from costly repairs down the line.
Issues with the P-Trap and Drain Pipes
The P-trap is a curved section of pipe located beneath the sink that prevents sewer gases from entering the home while allowing wastewater to flow out. Over time, P-traps can become clogged with debris or develop leaks due to corrosion or improper installation. A malfunctioning P-trap can lead to unpleasant odors and water damage beneath the sink.
To address issues with the P-trap, homeowners should inspect it for clogs or visible leaks. Cleaning out any debris and ensuring that all connections are tight can often resolve minor issues. However, if corrosion is present or if the trap is significantly damaged, replacement may be necessary. Regular maintenance of drain pipes and P-traps is essential for preventing leaks and ensuring proper drainage.
Effects of Corrosion and Rust on Sink Fixtures
Corrosion and rust can significantly impact kitchen sink fixtures over time, leading to leaks and reduced functionality. Metal components such as faucets and drain assemblies are particularly susceptible to these issues when exposed to moisture and air. Corrosion weakens metal structures, making them more prone to failure and leakage.
To mitigate these effects, homeowners should regularly inspect their fixtures for signs of rust or corrosion. If detected early, minor corrosion can often be treated with rust-inhibiting products or by replacing affected components. Additionally, applying protective coatings can help prevent future corrosion and extend the lifespan of sink fixtures.
How to Inspect and Tighten Connections
Regular inspection of sink connections is vital for maintaining a leak-free kitchen environment. Homeowners should begin by turning off the water supply before inspecting connections under the sink. Using a flashlight can help illuminate dark areas for better visibility. Check all connections for signs of moisture or corrosion.
Once identified, use an adjustable wrench to tighten any loose connections carefully. Be cautious not to overtighten, as this can cause damage to fittings or pipes. After tightening connections, turn on the water supply slowly and monitor for any signs of leakage. Regular inspections should be part of routine kitchen maintenance to ensure long-term functionality.
Replacing Seals and Washers to Stop Leaks
Replacing worn-out seals and washers is a straightforward yet effective solution for stopping leaks in faucets and fixtures. Homeowners should first identify which components need replacement by disassembling the faucet carefully. Once disassembled, inspect washers and O-rings for signs of wear or damage.
Replacement parts can typically be purchased at hardware stores or online retailers. When installing new seals and washers, ensure they are compatible with your specific faucet model for optimal performance. Proper installation will restore watertight integrity and prevent future leaks from occurring.
When to Call a Professional Plumber
While many minor leaks can be addressed by homeowners through DIY methods, certain situations warrant professional intervention. If a leak persists despite attempts at repair or if there are multiple sources of leakage within the plumbing system, it may be time to call a licensed plumber. Additionally, complex issues such as extensive corrosion or significant plumbing alterations require professional expertise.
Professional plumbers possess specialized tools and knowledge that enable them to diagnose problems accurately and implement effective solutions efficiently. They can also provide valuable advice on preventative measures to avoid future plumbing issues.
Preventative Maintenance Tips to Avoid Future Leaks
Preventative maintenance is key to avoiding future leaks in kitchen sinks and plumbing systems. Homeowners should regularly inspect faucets, drains, and supply lines for signs of wear or damage. Keeping these components clean and free from debris will help maintain optimal functionality.
Additionally, consider installing water softeners if hard water is an issue in your area; hard water can contribute to mineral buildup that leads to corrosion over time. Regularly flushing out P-traps and drain pipes will also help prevent clogs that could lead to leaks.
In summary, addressing kitchen sink leaks requires careful inspection and maintenance of various components including faucets, drain assemblies, supply lines, and P-traps. By recognizing common signs of leakage early on and implementing preventative measures, homeowners can maintain a functional kitchen environment while avoiding costly repairs in the future.
### FAQ Section
1. **What are common causes of kitchen sink leaks?**
– Common causes include worn-out seals and washers in faucets, loose connections in drain assemblies, damaged supply lines, and issues with P-traps.
2. **How do I know if my faucet needs new seals?**
– If you notice dripping from your faucet when it is turned off or if there is moisture around its base, it may indicate that seals need replacement.
3. **Can I fix a leaking kitchen sink myself?**
– Many minor leaks can be fixed by tightening connections or replacing seals; however, complex issues may require professional assistance.
4. **How often should I inspect my kitchen plumbing?**
– It is advisable to conduct inspections at least twice a year as part of routine maintenance.
5. **What should I do if I find rust on my sink fixtures?**
– Remove rust using appropriate cleaning products; if corrosion is severe, consider replacing affected fixtures.
6. **When should I call a plumber?**
– Call a plumber if you encounter persistent leaks despite repairs or if you suspect extensive plumbing issues beyond your expertise.
7. **What preventative measures can I take?**
– Regular inspections, cleaning fixtures, using water softeners if necessary, and flushing drains periodically will help prevent future leaks.
8. **Are there specific tools I need for DIY repairs?**
– Basic tools include an adjustable wrench, screwdrivers, pliers, and possibly a flashlight for visibility during inspections.
9. **How do I know if my P-trap needs replacement?**
– If you notice persistent odors or water pooling beneath your sink despite tight connections, it may indicate that your P-trap needs replacement.
10. **What types of materials are best for water supply lines?**
– Braided stainless steel lines are often recommended due to their durability; however, copper and PVC lines are also commonly used depending on specific plumbing needs.
In conclusion, understanding how to identify and address kitchen sink leaks is essential for maintaining a functional home environment while preventing costly repairs down the line through regular inspections and preventative measures.
FAQs
What are the common causes of a kitchen sink leaking underneath?
Common causes of a kitchen sink leaking underneath include loose or damaged plumbing connections, worn-out washers or seals, cracks in the sink or pipes, and issues with the garbage disposal. Additionally, clogs can lead to water buildup, causing leaks as well.
How can I identify the source of the leak under my kitchen sink?
To identify the source of the leak, start by inspecting all visible plumbing connections, including the drain and supply lines. Look for signs of water pooling or dripping. You can also dry the area and run water through the sink to see where the leak originates. Using a flashlight can help illuminate hard-to-see areas.
What tools do I need to fix a leaking kitchen sink?
To fix a leaking kitchen sink, you typically need a wrench, pliers, a screwdriver, plumber’s tape, and replacement parts such as washers or seals. A bucket or towel can also be helpful to catch any water that may spill during the repair process.
Can I fix a leaking kitchen sink myself, or should I hire a plumber?
Many minor leaks can be fixed by homeowners with basic plumbing skills and tools. However, if the leak is severe, involves complex plumbing, or if you are unsure about the repair, it is advisable to hire a professional plumber to avoid further damage.
What should I do if the leak is coming from the garbage disposal?
If the leak is coming from the garbage disposal, first ensure it is properly connected and not clogged. Check for cracks or damage to the disposal unit itself. If necessary, tighten the mounting screws or replace the disposal if it is faulty. Always disconnect power before attempting any repairs.