A leaky faucet is not only an annoyance but also a significant contributor to water wastage, with estimates suggesting that a single dripping faucet can waste over 3,000 gallons of water annually. The primary culprits behind this common household issue are worn-out washers, O-rings, or seals. To effectively address this problem, one must first identify the type of faucet in question—compression, cartridge, ball, or ceramic disk—as each type has its unique mechanism and repair requirements.
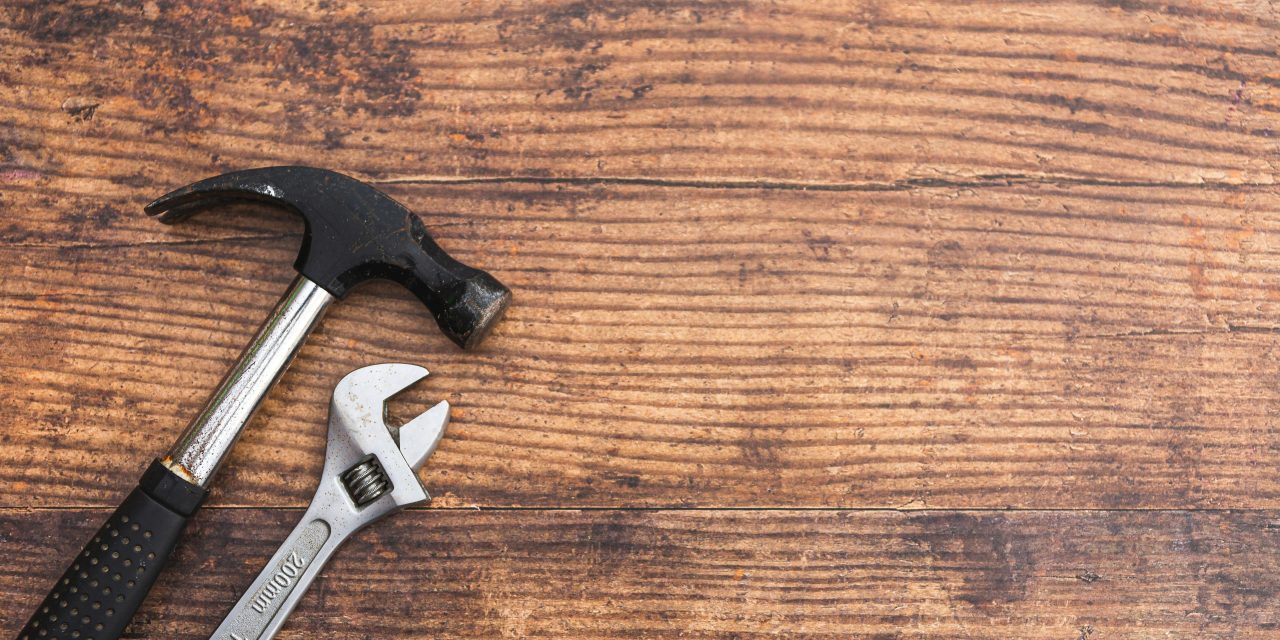
To initiate the repair process, gather essential tools such as an adjustable wrench, screwdrivers, and replacement parts. Begin by turning off the water supply to the faucet and draining any remaining water. Disassemble the faucet carefully, taking note of the order of components for reassembly. Inspect the washers and O-rings for signs of wear or damage; if they appear compromised, replace them with new ones that match the specifications of the original parts. Once replaced, reassemble the faucet and turn the water supply back on to check for leaks. If done correctly, this simple repair can restore functionality and conserve water.
If you’re looking to tackle some simple home repairs, understanding when to repair versus replace your appliances can be crucial. For insights on this topic, you might find the article “Is It Worth Repairing an Old Appliance or Better to Replace It?” helpful. It discusses the factors to consider when making this decision, which can save you time and money in the long run. You can read the article here: Is It Worth Repairing an Old Appliance or Better to Replace It?.
Unclogging a Drain with Simple Tools
Clogged drains are a prevalent household issue that can lead to unpleasant odors and potential plumbing problems if left unaddressed. The majority of clogs are caused by a buildup of hair, soap scum, grease, or food particles. Fortunately, many clogs can be resolved using simple tools and techniques without the need for professional intervention.
Start by utilizing a plunger, which can create pressure to dislodge minor blockages. Ensure there is enough water in the sink or tub to cover the plunger’s cup for optimal suction. If plunging does not yield results, consider using a drain snake or auger. This tool can reach deeper into the plumbing system to break apart stubborn clogs. For more persistent blockages, a mixture of baking soda and vinegar can be poured down the drain to help dissolve buildup. Allow the mixture to sit for approximately 30 minutes before flushing with hot water. Regular maintenance, such as using strainers and avoiding pouring grease down the drain, can prevent future clogs.
Patching Small Holes in Drywall

Small holes in drywall can detract from the aesthetic appeal of a room and may lead to further damage if not addressed promptly. Common causes of these imperfections include nail pops, accidental impacts, or plumbing repairs. Fortunately, patching small holes is a straightforward task that can be accomplished with minimal materials.
To begin, gather supplies such as spackle or joint compound, a putty knife, sandpaper, and primer or paint. For holes smaller than 1/2 inch in diameter, simply apply spackle directly into the hole using the putty knife, smoothing it out to create an even surface. Allow it to dry according to the manufacturer’s instructions before sanding it down for a seamless finish. For larger holes, a patch may be necessary; cut a piece of drywall to fit the hole and secure it with adhesive or screws. Apply joint compound over the patch and feather it out onto the surrounding area for an invisible repair. Once dry, sand it smooth and repaint as needed.
Replacing a Broken Light Switch

A malfunctioning light switch can pose safety hazards and disrupt daily routines. Common issues include flickering lights or switches that do not respond when toggled. Replacing a broken light switch is a manageable task that requires basic electrical knowledge and safety precautions.
Before beginning any electrical work, ensure that power is turned off at the circuit breaker to prevent electric shock. Remove the switch cover plate using a screwdriver and unscrew the switch from its electrical box. Carefully disconnect the wires from the old switch, taking note of their configuration for proper reconnection. Connect the wires to the new switch in the same manner as they were attached previously—typically black wires to brass screws and white wires to silver screws. Secure the switch back into the box and replace the cover plate before restoring power at the circuit breaker. Test the new switch to ensure proper functionality.
If you’re looking to tackle some simple home repair tasks, you might find it helpful to explore related topics that enhance your DIY skills. For instance, understanding how to grow your own garlic can be a rewarding project that complements your home cooking. You can check out this article on growing garlic from cloves this fall, which provides easy steps to cultivate this essential ingredient right in your backyard. Not only does this add flavor to your meals, but it also encourages a hands-on approach to home improvement and self-sufficiency.
Sealing Drafty Windows and Doors
Drafty windows and doors can significantly impact energy efficiency within a home, leading to increased heating and cooling costs. Air leaks allow conditioned air to escape while permitting outside air to infiltrate, creating discomfort and inefficiency. Sealing these drafts is essential for maintaining a comfortable indoor environment.
Begin by inspecting windows and doors for visible gaps or cracks where air may be entering. Weatherstripping is an effective solution for sealing gaps around movable parts of doors and windows; it comes in various materials such as foam, felt, or vinyl. For stationary windows, caulk can be applied to fill larger gaps around frames. Ensure that surfaces are clean and dry before applying caulk for optimal adhesion. Additionally, consider using door sweeps at the bottom of exterior doors to block drafts effectively. Regular maintenance checks can help identify new drafts before they become significant issues.
For those looking to enhance their DIY skills, simple home repair tasks can be both rewarding and cost-effective. One essential aspect of home maintenance is ensuring that your pets are well taken care of, which includes regular grooming. If you’re interested in learning more about how to keep your furry friends healthy and happy, you might find this article on nail trimming for pets particularly useful. By mastering both home repairs and pet care, you can create a more comfortable living environment for everyone in your household.
Repairing a Running Toilet
A running toilet is not only annoying but also wasteful; it can waste up to 200 gallons of water per day if left unchecked. The primary causes of this issue often include faulty flappers, fill valves, or float mechanisms within the toilet tank. Addressing this problem promptly can lead to significant water savings.
To begin repairs, remove the tank lid and inspect the components inside. The flapper should create a watertight seal when closed; if it appears worn or damaged, replacing it is necessary. Additionally, check the fill valve for proper operation; if it does not shut off when the tank is full, it may need adjustment or replacement. The float mechanism should also be examined; if it is stuck or improperly adjusted, it can cause continuous filling of the tank. After making necessary adjustments or replacements, flush the toilet several times to ensure proper functionality.
Replacing Showerhead for Better Water Pressure
A low-flow showerhead can lead to unsatisfactory bathing experiences and increased water usage over time. Upgrading to a more efficient showerhead can enhance water pressure while conserving water consumption. The process of replacing a showerhead is relatively simple and requires minimal tools.
Start by removing the existing showerhead by turning it counterclockwise with an adjustable wrench or by hand if it is not too tight. Before installing the new showerhead, clean any debris or mineral buildup from the shower arm threads using vinegar or a cloth. Apply plumber’s tape around the threads of the shower arm to ensure a watertight seal upon installation. Screw on the new showerhead clockwise until secure but avoid overtightening to prevent damage. Turn on the water supply and test for leaks; if any are detected, tighten slightly until resolved.
Tightening Loose Cabinet Hinges
Loose cabinet hinges can lead to misaligned doors that do not close properly, creating frustration in daily use. Over time, cabinet hinges may become loose due to regular wear and tear or changes in humidity levels affecting wood expansion and contraction. Addressing this issue promptly can restore functionality and prolong cabinet life.
To tighten loose hinges, begin by inspecting each hinge for screws that may have come loose over time. Using a screwdriver or drill, tighten each screw until secure but avoid overtightening as this may strip the wood or damage the hinge itself. If screws continue to loosen despite tightening efforts, consider using wood filler in stripped screw holes before reinserting screws for added stability. Regular maintenance checks on cabinet hardware can prevent future issues from arising.
Changing Air Filters for HVAC Systems
Regularly changing air filters in HVAC systems is crucial for maintaining indoor air quality and system efficiency. Clogged filters can restrict airflow, leading to increased energy consumption and potential system damage over time. It is recommended that filters be changed every 1-3 months depending on usage and filter type.
To change an air filter, first turn off your HVAC system to ensure safety during maintenance. Locate the filter compartment—typically found near the air handler or return vent—and remove the old filter by sliding it out carefully. Check for any visible dirt or debris accumulation on both sides of the filter; if it appears dirty or clogged, it is time for replacement. Insert a new filter with arrows indicating airflow direction pointing toward the blower motor; this ensures proper installation for optimal performance. Regularly monitoring filter condition will help maintain system efficiency and improve indoor air quality.
Fixing Squeaky Door Hinges
Squeaky door hinges can be an irritating distraction in any home environment; they often result from friction between metal components due to lack of lubrication or dirt accumulation over time. Addressing this issue is relatively simple and requires minimal tools.
To eliminate squeaks from door hinges, start by identifying which hinge is causing noise during movement. Apply a lubricant such as WD-40 or silicone spray directly onto each hinge pin while moving the door back and forth to distribute lubricant evenly throughout all components effectively. For more stubborn squeaks caused by dirt buildup, consider removing hinges entirely for thorough cleaning before reapplying lubricant upon reinstallation. Regular maintenance checks on door hardware can prevent squeaks from becoming persistent issues.
Resetting Tripped Circuit Breakers
Tripped circuit breakers are common occurrences in households that can disrupt electrical service when overloaded circuits occur due to excessive demand from appliances or devices plugged into outlets simultaneously. Understanding how to reset tripped breakers is essential for maintaining electrical safety within your home.
To reset a tripped circuit breaker safely, first locate your electrical panel—typically found in basements or utility rooms—and identify which breaker has tripped by checking for switches that are in an “off” position or showing red indicators on some models. Firmly push down on the switch until it clicks back into place; this action restores power to affected circuits without requiring additional tools or expertise. If breakers continue tripping frequently after resetting them multiple times within short intervals, consult an electrician as this may indicate underlying electrical issues requiring professional assessment.
In summary, addressing common household repairs such as fixing leaky faucets, unclogging drains, patching drywall holes, replacing light switches, sealing drafts, repairing toilets, upgrading showerheads, tightening cabinet hinges, changing air filters, fixing squeaky hinges, and resetting circuit breakers can enhance home functionality while promoting energy efficiency and comfort levels within living spaces. Regular maintenance checks combined with timely repairs will ensure that homes remain safe and enjoyable environments for all occupants while minimizing long-term costs associated with neglecting these essential tasks.
FAQs
What are some common simple home repairs I can do myself?
Common simple home repairs include fixing leaky faucets, patching small holes in walls, replacing light fixtures, unclogging drains, and painting touch-ups. These tasks typically require minimal tools and can be completed with basic DIY skills.
What tools do I need for basic home repairs?
Essential tools for basic home repairs include a hammer, screwdrivers (both flathead and Phillips), pliers, a utility knife, a tape measure, a level, and a drill. Having a good set of wrenches and a stud finder can also be helpful for various tasks.
How can I fix a leaky faucet?
To fix a leaky faucet, first, turn off the water supply. Then, disassemble the faucet to access the washer or O-ring, which is often the cause of the leak. Replace the worn parts, reassemble the faucet, and turn the water supply back on to check for leaks.
What is the best way to patch a hole in the wall?
To patch a hole in the wall, clean the area around the hole, then apply a patching compound or spackle with a putty knife. Smooth it out and allow it to dry completely. Once dry, sand it down for a smooth finish and paint over it to match the surrounding wall.
When should I call a professional for home repairs?
You should call a professional for home repairs when the issue is beyond your skill level, such as electrical problems, major plumbing issues, or structural repairs. Additionally, if the repair requires specialized tools or permits, it’s best to hire a qualified contractor.