Leaky faucets are a common household nuisance that can lead to increased water bills and potential water damage if left unaddressed. Fortunately, fixing a leaky faucet does not always necessitate replacing the entire fixture. The first step in addressing this issue is to identify the source of the leak. Most leaks occur due to worn-out washers, O-rings, or seals. By disassembling the faucet, homeowners can inspect these components for wear and tear.
To begin the repair process, turn off the water supply to the faucet and drain any remaining water. Using a wrench, carefully remove the faucet handle and unscrew the packing nut. Once exposed, replace any damaged washers or O-rings with new ones that match the size and type of the original components. Reassemble the faucet in reverse order, ensuring all parts are tightened securely to prevent future leaks. This simple repair can save homeowners both time and money while extending the life of their plumbing fixtures.
For those interested in DIY home repair, understanding how to maintain a comfortable environment can be just as important as fixing structural issues. A related article that might pique your interest is about a common kitchen challenge: how to make bread dough rise in a cold kitchen. This article provides useful tips that can enhance your cooking experience while you work on your home projects. You can read it here: How to Make Bread Dough Rise in a Cold Kitchen.
Quick Wall Patch for Small Holes and Cracks
Small holes and cracks in walls can detract from the overall aesthetic of a home, but repairing them is a straightforward task that requires minimal materials. For small holes, such as those left by nails or screws, a lightweight spackling compound is often sufficient. Begin by cleaning the area around the hole to remove any debris or loose paint. Then, apply the spackling compound with a putty knife, pressing it firmly into the hole and smoothing it out to create an even surface.
For larger cracks, a more robust approach may be necessary. Use a utility knife to widen the crack slightly and create a V-shape, which allows for better adhesion of the patching material. After cleaning the area, apply a joint compound or plaster to fill the crack, feathering it out to blend with the surrounding wall. Once dry, sand the area lightly and repaint as needed. This quick wall patching technique can restore the integrity of your walls and enhance your home’s appearance.
Unclogging Drains Using Household Items

Clogged drains are an inconvenience that can disrupt daily routines. Fortunately, many effective unclogging methods utilize common household items. One popular solution involves using baking soda and vinegar. Begin by pouring a cup of baking soda down the drain, followed by a cup of vinegar. The chemical reaction between these two substances creates fizzing action that can help break down clogs caused by grease or soap buildup.
After allowing the mixture to sit for approximately 30 minutes, flush the drain with hot water to clear any remaining debris. For tougher clogs, consider using a plunger or a plumber’s snake to dislodge blockages manually. Regular maintenance, such as pouring boiling water down drains weekly, can also help prevent future clogs from forming.
Repairing Squeaky Doors and Hinges in Minutes

Squeaky doors can be an annoying distraction in any home, but repairing them is often a quick and easy task. The primary cause of squeaking is friction between the door hinge and its pin. To eliminate this noise, start by identifying the squeaky hinge and applying a lubricant such as WD-40 or silicone spray directly onto the hinge pin. Allow the lubricant to penetrate for a few minutes before opening and closing the door several times to distribute it evenly.
If lubrication does not resolve the issue, consider removing the hinge pin entirely for a thorough cleaning. Wipe away any accumulated dirt or grime before reapplying lubricant and reinserting the pin. This simple maintenance task can restore peace and quiet to your home while prolonging the life of your door hinges.
If you’re looking to enhance your DIY home repair skills, you might find it helpful to explore the importance of maintaining a clean environment, which can significantly impact your repair projects. A great resource for this is an article that provides a comprehensive guide on how to deep clean your house room by room. You can read it here. Keeping your space tidy not only makes repairs easier but also ensures that your home remains a comfortable and inviting place.
DIY Caulking Tips to Prevent Water Damage
Caulking is an essential preventive measure against water damage in homes, particularly in areas prone to moisture exposure such as bathrooms and kitchens. Proper caulking seals gaps between surfaces, preventing water from seeping into walls or floors. To begin, select a high-quality caulk suitable for your specific application—silicone caulk is ideal for wet areas due to its waterproof properties.
Before applying caulk, ensure that surfaces are clean and dry. Use a caulking gun to apply an even bead of caulk along seams or joints, smoothing it with a caulk smoothing tool or your finger for a neat finish. Allow adequate drying time as specified by the manufacturer before exposing the area to moisture. Regularly inspect caulking for signs of wear or damage and reapply as necessary to maintain effective protection against water intrusion.
If you’re looking to tackle some DIY home repair projects, understanding how to effectively manage pests can be just as important as fixing structural issues. For instance, you might find it helpful to read about the effectiveness of different pest control methods in this informative article on cockroach baits and sprays. You can check it out here to learn more about which options may work best for your home.
Simple Solutions for Sticking Windows
Sticking windows can be frustrating, especially during seasonal changes when temperature fluctuations cause materials to expand or contract. To address this issue, start by inspecting the window frame for any visible obstructions such as dirt or paint buildup that may be causing friction. Cleaning these areas thoroughly can often resolve minor sticking problems.
If cleaning does not alleviate the issue, consider applying a lubricant such as silicone spray or paraffin wax along the window tracks and hinges. This will reduce friction and allow for smoother operation. In cases where windows are painted shut, carefully use a utility knife to cut through any paint sealing them closed before attempting to open them again. Regular maintenance of window tracks can prevent sticking issues from arising in the future.
How to Replace a Broken Tile Without a Pro
Replacing a broken tile may seem daunting, but it is a manageable DIY project that can save homeowners money on professional repairs. Begin by gathering necessary tools such as a chisel, hammer, tile adhesive, grout, and replacement tiles that match your existing flooring or backsplash. Carefully remove the broken tile by chiseling away grout around its edges and gently prying it up with a hammer.
Once removed, clean any adhesive residue from the substrate before applying fresh tile adhesive to the back of the new tile. Press it firmly into place and allow it to set according to manufacturer instructions. Afterward, reapply grout around the edges of the tile for a seamless finish. This straightforward process allows homeowners to restore their tiled surfaces without needing professional assistance.
Easy Methods to Remove Carpet Dents
Carpet dents caused by heavy furniture can detract from the appearance of your flooring but can be easily remedied with simple techniques. One effective method involves using ice cubes; place several ice cubes in each dent and allow them to melt slowly over several hours. As the carpet fibers absorb moisture from the melting ice, they will begin to swell back into their original shape.
Alternatively, using a steam iron can also help restore carpet fibers. Place a damp cloth over the dented area and gently steam it with an iron set on low heat—be cautious not to scorch the carpet fibers. After steaming, use your fingers or a soft brush to fluff up the carpet pile. These methods provide quick solutions for restoring your carpet’s appearance without requiring professional intervention.
Quick Electrical Fixes: Replacing a Faulty Outlet Cover
A faulty outlet cover can pose safety hazards in any home; therefore, addressing this issue promptly is essential. Replacing an outlet cover is a straightforward task that requires minimal tools—typically just a screwdriver. Begin by turning off power at the circuit breaker to ensure safety during repairs.
Once power is off, remove the existing outlet cover by unscrewing it from its position on the wall plate. Inspect for any visible damage or wear on both the cover and outlet itself; if necessary, replace both components for optimal safety. Align the new outlet cover over the outlet and secure it with screws before restoring power at the circuit breaker. This simple electrical fix enhances safety while improving your home’s overall appearance.
Refreshing Cabinets with Minimal Tools and Effort
Refreshing kitchen cabinets can dramatically enhance their appearance without requiring extensive renovations or replacements. One effective method involves painting or staining cabinets for an updated look; however, this process requires careful preparation to achieve professional results. Start by removing cabinet doors and hardware before cleaning surfaces thoroughly with soap and water.
Once dry, sand surfaces lightly to promote adhesion of paint or stain before applying primer if necessary. Choose high-quality paint or stain suitable for cabinetry and apply evenly using brushes or rollers for smooth coverage. Reattach hardware after allowing adequate drying time for optimal results. This cost-effective approach revitalizes kitchen spaces while minimizing disruption.
Preventing Mold Growth with Simple Ventilation Hacks
Mold growth poses significant health risks and can lead to costly repairs if not addressed promptly; therefore, implementing effective ventilation strategies is crucial in preventing mold development in homes. Start by ensuring proper airflow throughout living spaces—open windows when weather permits and utilize exhaust fans in areas prone to moisture such as bathrooms and kitchens.
Additionally, consider investing in dehumidifiers for particularly humid environments; maintaining indoor humidity levels below 60% can significantly reduce mold growth potential. Regularly inspect areas prone to moisture accumulation—such as basements or attics—for signs of mold or dampness and address any issues immediately through repairs or improved ventilation systems.
In summary, tackling common household repairs does not always require professional assistance; many issues can be resolved through simple DIY methods that save time and money while enhancing home aesthetics and functionality. From fixing leaky faucets to refreshing cabinets or preventing mold growth through effective ventilation strategies, homeowners can take proactive steps toward maintaining their living spaces efficiently and effectively.
FAQs
What are some common DIY home repair projects?
Common DIY home repair projects include fixing leaky faucets, patching drywall, painting walls, replacing light fixtures, and unclogging drains. These tasks often require basic tools and materials, making them accessible for most homeowners.
What tools do I need for basic home repairs?
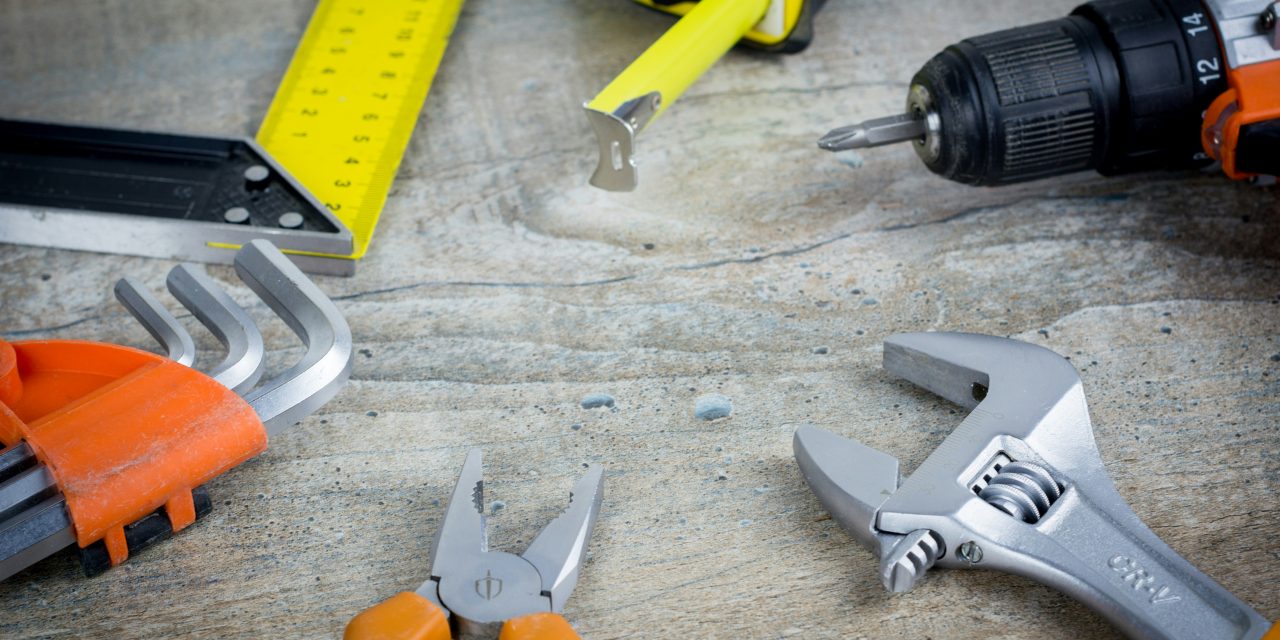
Essential tools for basic home repairs typically include a hammer, screwdrivers (both flathead and Phillips), pliers, a tape measure, a utility knife, a level, and a drill. Having a toolbox to organize these tools can also be very helpful.
How can I learn to do DIY home repairs?
You can learn DIY home repairs through various resources such as online tutorials, instructional videos on platforms like YouTube, home improvement books, and workshops at local hardware stores. Many communities also offer classes on basic home maintenance skills.
What safety precautions should I take when doing DIY repairs?
When undertaking DIY repairs, it’s important to wear appropriate safety gear such as gloves, goggles, and masks if necessary. Ensure that you are working in a well-ventilated area, and always turn off electricity or water supply when working on related projects to prevent accidents.
When should I hire a professional instead of doing it myself?
You should consider hiring a professional for complex repairs that require specialized skills, such as electrical work, plumbing issues, or structural repairs. Additionally, if a project poses safety risks or if you lack the time or tools to complete it properly, hiring a professional may be the best option.