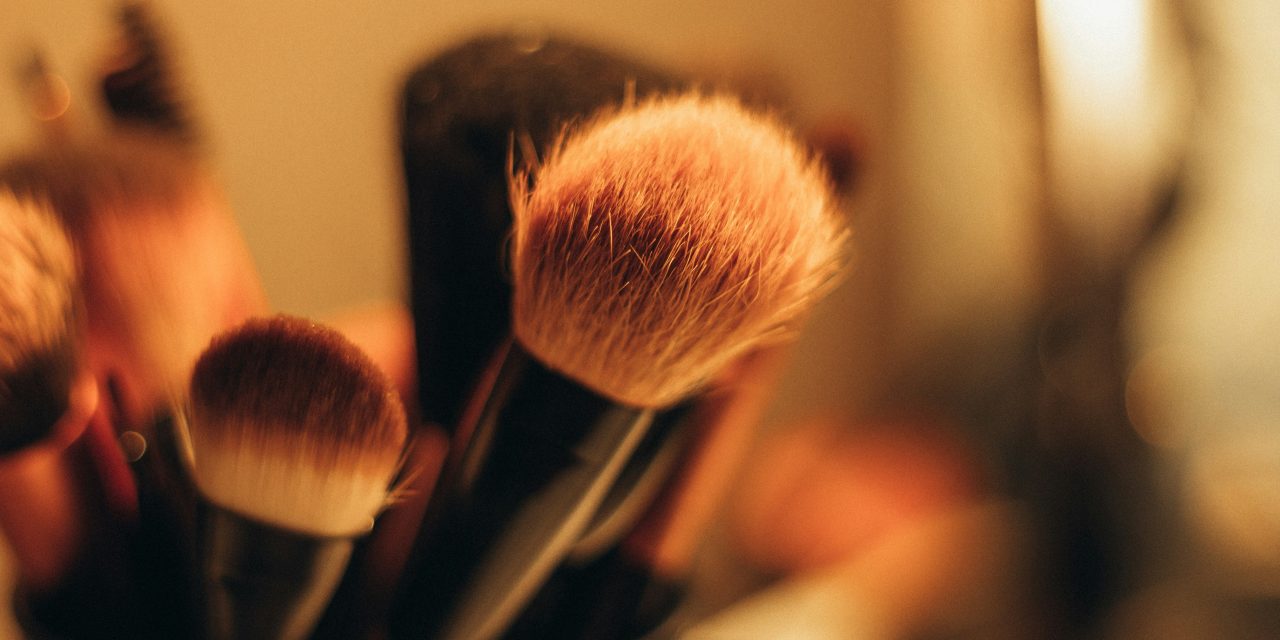
To embark on the journey of cleaning your makeup brushes effectively, it is essential to gather all necessary supplies beforehand. This preparation not only streamlines the process but also ensures that you have everything at your fingertips. The primary items required include a gentle cleaning solution, such as a brush cleanser or mild soap, a clean towel for drying, and a small bowl or container for mixing your cleaning solution. Additionally, having lukewarm water readily available is crucial for rinsing purposes.
Moreover, consider investing in a brush cleaning mat or glove, which can significantly enhance the cleaning experience. These tools often feature textured surfaces designed to help dislodge makeup residue and bacteria from bristles more efficiently. Lastly, a pair of scissors may come in handy for trimming any stray bristles that may have become frayed over time. By assembling these supplies, you set the stage for a thorough and effective brush cleaning session.
Cleaning your makeup brushes at home is essential for maintaining both their longevity and your skin’s health. For those interested in ensuring a safe and effective cleaning routine, it’s important to be aware of the products you use. You might find it helpful to read about the cleaning products you should avoid mixing for safety reasons. Check out this informative article on the topic: 7 Cleaning Products You Should Never Mix for Safety Reasons. This resource will help you make informed choices while keeping your makeup tools in top condition.
Choose the Right Cleaning Solution
Selecting an appropriate cleaning solution is paramount for maintaining the integrity of your brushes while ensuring they are free from harmful bacteria and product buildup. Various options are available, ranging from specialized brush cleansers to household items like baby shampoo or dish soap. When choosing a product, it is vital to consider the type of bristles—synthetic or natural—as this can influence the effectiveness of the cleaner.
For synthetic brushes, a gentle dish soap or a dedicated brush cleaner works well to break down makeup residues without damaging the fibers. Conversely, natural bristle brushes benefit from a more moisturizing cleanser, such as baby shampoo, which helps preserve their softness and flexibility. Regardless of the choice, ensure that the solution is free from harsh chemicals and fragrances that could irritate the skin or degrade the brush material over time.
Prepare Your Cleaning Area

Creating an optimal cleaning environment is essential for an efficient brush cleaning process. Begin by selecting a flat, stable surface that can accommodate all your supplies without clutter. A bathroom counter or kitchen table often serves as an ideal location. Ensure that the area is well-lit to allow for thorough inspection of each brush during the cleaning process.
Next, lay down a clean towel or cloth to catch any drips and prevent water from damaging your workspace. This step not only keeps your area tidy but also provides a soft surface for drying your brushes afterward. Additionally, consider placing a small bowl or container nearby to hold your cleaning solution, making it easily accessible throughout the process. By preparing your cleaning area thoughtfully, you create an efficient workflow that enhances the overall experience.
Rinse Brushes Under Lukewarm Water

Once your supplies are gathered and your area is prepared, it’s time to begin the actual cleaning process. Start by rinsing each brush under lukewarm water to remove any excess makeup and debris. It is crucial to hold the brush with the bristles facing downward during this step; this prevents water from seeping into the ferrule—the metal part connecting the bristles to the handle—which can weaken the adhesive over time.
As you rinse, gently swirl the brush in the water to help dislodge any stubborn particles. Avoid using hot water, as it can damage both synthetic and natural bristles, leading to fraying or loss of shape. Lukewarm water effectively loosens makeup residues while being gentle enough to maintain the integrity of your brushes. This initial rinse sets the foundation for a more thorough cleaning process.
Cleaning your makeup brushes at home is essential for maintaining healthy skin and ensuring flawless makeup application. For a comprehensive guide on this topic, you might find it helpful to read an article that offers step-by-step instructions and tips. You can check it out here for more insights on how to keep your brushes in top condition. Regular maintenance not only prolongs the life of your brushes but also enhances your overall beauty routine.
Apply Cleaner and Gently Massage Bristles
After rinsing, it’s time to apply your chosen cleaning solution to each brush. Pour a small amount of cleaner into your palm or onto a clean surface, then dip the bristles into the solution. Using gentle circular motions, massage the bristles to work the cleaner into the fibers effectively. This technique helps break down any remaining makeup residue and bacteria that may be lodged deep within the bristles.
Be cautious not to pull or tug on the bristles too forcefully, as this can lead to shedding or damage. Instead, focus on a gentle yet thorough approach, ensuring that every part of the bristle is adequately cleaned. For larger brushes, such as foundation or powder brushes, you may need to repeat this process several times until no visible residue remains in the cleaner. This step is crucial for maintaining both hygiene and performance in your brushes.
Use a Brush Cleaning Mat for Deep Cleaning
For those seeking an even deeper clean, utilizing a brush cleaning mat can be incredibly beneficial. These mats often feature various textures designed specifically for different types of brushes, allowing for more effective removal of stubborn makeup residues and bacteria. Place your mat on a flat surface and apply your chosen cleaner directly onto it.
Gently swirl each brush over the textured areas of the mat, allowing it to work its magic on even the most entrenched dirt and grime. The design of these mats helps facilitate thorough cleaning without risking damage to your brushes. After several swirls, rinse each brush under lukewarm water again to wash away any remaining cleaner and debris. This method not only enhances cleanliness but also prolongs the lifespan of your brushes by ensuring they remain in optimal condition.
Rinse Brushes Thoroughly Until Water Runs Clear
Following the application of cleaner and any additional scrubbing with a mat, it is imperative to rinse each brush thoroughly until the water runs clear. This step ensures that no soap residue remains on the bristles, which could irritate your skin during future use. Hold each brush under lukewarm water again, allowing it to flow through the bristles while gently squeezing them to help release any trapped cleaner.
Pay close attention to how the water flows; if it appears cloudy or discolored, continue rinsing until it runs clear. This process may take several moments but is essential for maintaining both hygiene and performance in your brushes. A thorough rinse not only removes any remaining product but also helps restore the natural softness of the bristles.
Squeeze Out Excess Water Carefully
Once rinsing is complete and water runs clear, it’s time to remove excess moisture from each brush carefully. Gently squeeze the bristles between your fingers to expel any remaining water without pulling on them too hard. This action helps prevent damage while ensuring that your brushes dry more quickly.
Avoid twisting or wringing out the bristles, as this can lead to deformation or breakage over time. Instead, focus on a gentle squeeze motion that allows you to control how much water is removed without compromising the integrity of the brush shape. Properly managing excess moisture at this stage is crucial for effective drying and maintaining optimal performance in future applications.
Reshape Brushes to Maintain Their Form
After squeezing out excess water, it’s essential to reshape each brush to maintain its original form. This step is particularly important for brushes with tapered or angled bristles, as improper drying can lead to misshapen fibers that affect application quality. Using your fingers, gently mold the bristles back into their intended shape while they are still damp.
For larger brushes, consider laying them flat on a clean towel while reshaping them to prevent any bending or distortion during drying. Smaller brushes can be placed upright in a cup or container with their bristles facing upward if they are designed for such use. By taking this extra step, you ensure that your brushes retain their functionality and appearance after drying.
Dry Brushes Properly: Air Drying Tips
Proper drying techniques are crucial for maintaining both hygiene and longevity in your makeup brushes. The best method for drying is air drying; however, there are specific tips to follow for optimal results. After reshaping each brush, lay them flat on a clean towel in a well-ventilated area away from direct sunlight or heat sources.
Avoid standing brushes upright in containers while drying; this can cause water to seep into the ferrule and weaken adhesive bonds over time. Instead, allow air circulation around each brush by spreading them out on a flat surface. Depending on humidity levels and brush size, drying may take several hours or even overnight; patience is key during this phase.
Maintain Clean Brushes: How Often to Clean and Store Them
To ensure optimal performance and hygiene in your makeup application routine, regular maintenance of your brushes is essential. It is generally recommended to clean brushes used for liquid products—such as foundation or concealer—at least once a week due to their propensity for harboring bacteria and product buildup. Brushes used for powder products can typically be cleaned every two weeks or once a month.
In addition to regular cleaning schedules, proper storage plays a significant role in maintaining brush integrity. Store brushes upright in a holder or container with bristles facing upward to prevent deformation. Avoid placing them in drawers where they may become crushed or tangled with other items. By adhering to these guidelines for cleaning frequency and storage practices, you can prolong the lifespan of your brushes while ensuring they remain effective tools in your beauty regimen.
In summary, maintaining clean makeup brushes is essential for both hygiene and performance in cosmetic applications. By gathering necessary supplies, selecting appropriate cleaning solutions, preparing your workspace effectively, and following detailed steps for rinsing and reshaping brushes, you can ensure optimal results every time you apply makeup. Regular maintenance schedules combined with proper storage techniques will further enhance longevity and functionality in your beauty tools.
FAQs
Why is it important to clean makeup brushes regularly?
Cleaning makeup brushes regularly is essential to prevent the buildup of bacteria, dirt, and oils that can lead to skin irritation, breakouts, and infections. Additionally, clean brushes ensure better application of makeup, resulting in a smoother and more flawless finish.
What are the best methods for cleaning makeup brushes at home?
Some effective methods for cleaning makeup brushes at home include using gentle soap or shampoo, olive oil mixed with dish soap, or specialized brush cleaners. The brushes can be swirled in the cleaning solution, rinsed thoroughly, and then reshaped and laid flat to dry.
How often should I clean my makeup brushes?
It is recommended to clean makeup brushes at least once a week for brushes used with liquid or cream products, and every two weeks for brushes used with powder products. However, if you have sensitive skin or are prone to breakouts, more frequent cleaning may be beneficial.
Can I use alcohol to clean my makeup brushes?
Yes, isopropyl alcohol can be used to disinfect makeup brushes, especially for quick cleaning between uses. However, it should not be the primary cleaning method, as it can be harsh on the bristles and may lead to damage over time.
How should I dry my makeup brushes after cleaning?
After cleaning, makeup brushes should be reshaped and laid flat on a clean towel to dry. Avoid standing them upright in a cup or container, as this can cause water to seep into the ferrule and loosen the glue, leading to shedding bristles.