Maintaining hygiene in nail care is paramount, not only for aesthetic purposes but also for preventing infections and ensuring overall health. Nail tools, such as clippers, files, and cuticle pushers, can harbor bacteria, fungi, and viruses if not cleaned properly. The risk of transmitting infections like paronychia or fungal nail infections increases significantly when tools are shared or inadequately sanitized. Regular cleaning and disinfection of these implements are essential to safeguard both the client and the technician.
Moreover, the importance of cleaning nail tools extends beyond personal health; it also reflects professionalism in the beauty industry. Clients expect a clean and safe environment when receiving nail services. By adhering to stringent cleaning protocols, nail technicians can build trust and credibility with their clientele. This commitment to hygiene not only enhances customer satisfaction but also promotes a positive reputation within the industry.
If you’re looking to maintain the hygiene of your nail tools at home, it’s essential to know the proper cleaning methods to prevent infections and ensure the longevity of your tools. For more information on cleanliness and safety practices, you might find this article on food safety helpful, as it highlights the importance of maintaining hygiene in various contexts. Check it out here: How Long Can Food Sit Out Before It Becomes Unsafe?.
Gather Your Cleaning Supplies Before Starting
Before embarking on the cleaning process, it is crucial to assemble all necessary supplies to ensure efficiency and effectiveness. Essential items include warm water, mild soap or detergent, rubbing alcohol (at least 70% isopropyl), hydrogen peroxide, a soft brush or toothbrush, clean towels, and a UV sanitizer if available. Having these materials on hand will streamline the cleaning process and minimize interruptions.
Additionally, consider using disposable gloves to protect your hands from harsh chemicals and to maintain a sterile environment. A dedicated container for soaking tools can also be beneficial, as it prevents cross-contamination during the cleaning process. By preparing adequately, you can ensure that your nail tools are cleaned thoroughly and safely.
How to Soak Nail Tools in Warm Soapy Water

Soaking nail tools in warm soapy water is an effective initial step in the cleaning process. Begin by filling a basin or container with warm water and adding a few drops of mild soap or detergent. The warmth of the water helps to loosen debris, while the soap aids in breaking down oils and residues that may have accumulated on the tools.
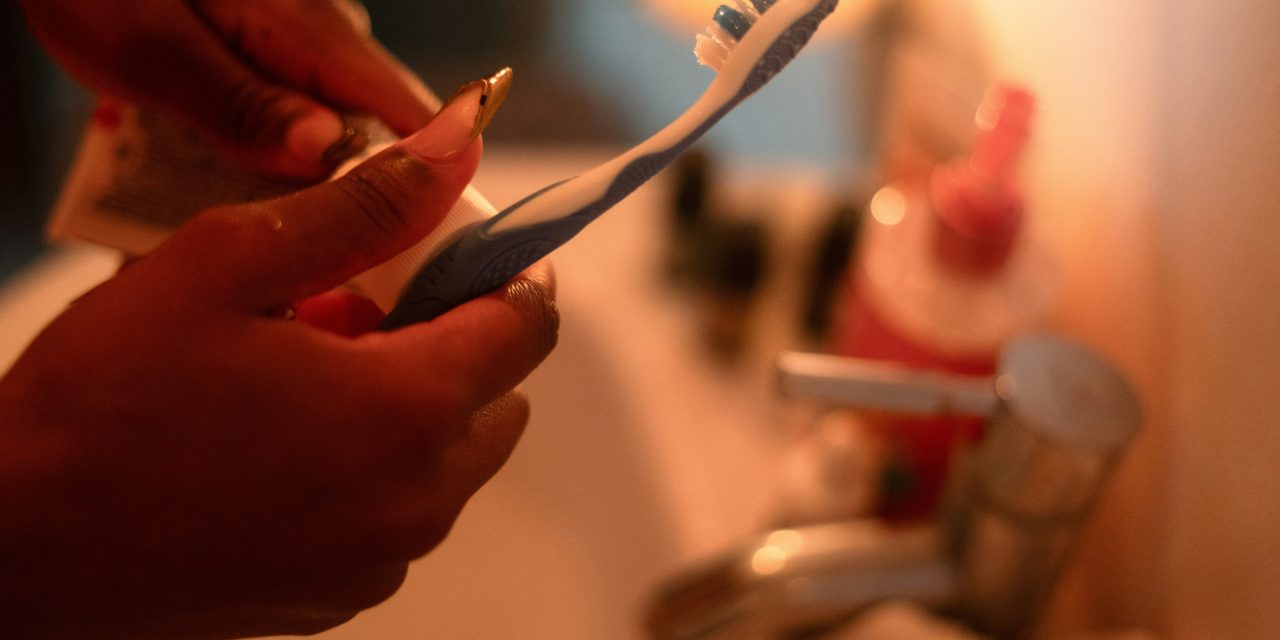
Once the solution is prepared, submerge the nail tools in the soapy water for approximately 10-15 minutes. This soaking period allows for effective dislodging of dirt and grime. After soaking, use a soft brush or toothbrush to gently scrub each tool, paying special attention to crevices where debris may be trapped. Rinse thoroughly under running water to remove any soap residue before proceeding to disinfection.
Using Rubbing Alcohol for Disinfection

Rubbing alcohol is a powerful disinfectant that plays a crucial role in sanitizing nail tools after they have been cleaned. To utilize this method effectively, ensure that the alcohol concentration is at least 70% isopropyl alcohol for optimal efficacy against pathogens. After rinsing the tools from the soapy water, immerse them in a container filled with rubbing alcohol for about 10 minutes.
Alternatively, you can use a spray bottle to apply rubbing alcohol directly onto the tools. Ensure that all surfaces are adequately coated and allow them to air dry completely. This method not only disinfects but also evaporates quickly, leaving no residue behind. Regular use of rubbing alcohol can significantly reduce the risk of infection transmission during nail services.
Cleaning nail tools at home is essential for maintaining hygiene and preventing infections. If you’re looking for effective methods to ensure your tools are sanitized, you might find helpful insights in this article about healthy habits that can be applied to various aspects of grooming. By incorporating these practices, you can keep your nail tools in top condition and promote overall nail health.
The Role of Hydrogen Peroxide in Sanitizing Tools
Hydrogen peroxide serves as another effective agent for sanitizing nail tools due to its broad-spectrum antimicrobial properties. It is particularly useful for eliminating bacteria and fungi that may linger on surfaces after cleaning. To use hydrogen peroxide effectively, prepare a solution with a concentration of 3% hydrogen peroxide mixed with equal parts water.
Soak the cleaned nail tools in this solution for approximately 10-15 minutes. After soaking, rinse thoroughly under running water to remove any residual hydrogen peroxide. This step is crucial as it prevents any potential irritation that may arise from leftover chemicals on the tools. Incorporating hydrogen peroxide into your cleaning routine can enhance the overall sanitation process and provide an additional layer of protection against infections.
Cleaning nail tools at home is essential for maintaining hygiene and preventing infections. To ensure your tools are properly sanitized, you can follow a few simple steps, such as soaking them in a disinfectant solution and drying them thoroughly. For more tips on keeping your home in top shape, you might find this article on seasonal maintenance helpful. Check it out here for a comprehensive guide that includes various home care practices.
Cleaning Nail Files and Buffers Properly
Nail files and buffers require special attention during the cleaning process due to their porous nature and ability to trap debris. Unlike metal tools, which can be easily disinfected, files and buffers should be treated with care to maintain their integrity while ensuring cleanliness. Begin by wiping down these tools with a damp cloth to remove any visible debris.
For further sanitization, consider using a mixture of warm soapy water or a diluted hydrogen peroxide solution. Gently scrub the surfaces with a soft brush or cloth, ensuring that you do not damage the texture of the file or buffer. After cleaning, allow them to air dry completely before storing them away. Regularly replacing disposable files and buffers is also advisable to maintain optimal hygiene standards.
Sterilizing Metal Tools with Boiling Water
Boiling water is one of the most effective methods for sterilizing metal nail tools due to its ability to kill bacteria and viruses through high temperatures. To sterilize your metal implements, bring a pot of water to a rolling boil and carefully place the cleaned tools into the boiling water for approximately 10 minutes.
Ensure that the tools are fully submerged and avoid overcrowding them in the pot to allow for even sterilization. After boiling, use tongs or heat-resistant gloves to remove the tools from the water and place them on a clean towel to air dry completely. This method is particularly beneficial for metal clippers, scissors, and pushers that require thorough sterilization before reuse.
Using a UV Sanitizer for Extra Protection
Incorporating a UV sanitizer into your cleaning regimen can provide an additional layer of protection against pathogens that may remain after traditional cleaning methods. UV sanitizers utilize ultraviolet light to eliminate bacteria and viruses effectively without the use of harsh chemicals. To use this device, ensure that your nail tools are thoroughly cleaned beforehand.
Place the tools inside the UV sanitizer according to the manufacturer’s instructions and allow them to undergo the sanitization cycle, which typically lasts between 5-10 minutes. After completion, remove the tools with clean hands or gloves and store them in a sterile environment until ready for use. Utilizing UV sanitization can enhance your overall hygiene practices and reassure clients of your commitment to safety.
Drying and Storing Nail Tools Safely
Proper drying and storage of nail tools are critical components of maintaining their cleanliness and longevity. After cleaning and disinfecting your tools, it is essential to allow them to air dry completely before storing them away. Moisture can promote bacterial growth; therefore, ensure that they are placed on a clean towel or drying rack in a well-ventilated area.
Once dry, store your nail tools in a designated container that is clean and free from contaminants. Consider using individual pouches or compartments within a larger case to prevent cross-contamination between different implements. Keeping your tools organized not only enhances hygiene but also prolongs their lifespan by preventing damage during storage.
Avoiding Cross-Contamination Between Tools
Cross-contamination poses a significant risk in nail care settings if proper precautions are not taken during tool usage and cleaning processes. To mitigate this risk, always use separate tools for each client whenever possible. If sharing tools is unavoidable, ensure that they are thoroughly cleaned and disinfected between uses.
Additionally, avoid placing used tools back into clean storage areas until they have undergone proper sanitation procedures. Implementing color-coded systems or designated trays for used versus clean tools can help streamline this process and minimize errors. Educating staff about cross-contamination risks is also vital in maintaining a safe environment for both clients and technicians.
Regular Maintenance Tips for Long-Lasting Nail Tools
To ensure that your nail tools remain effective and hygienic over time, regular maintenance is essential. Establish a routine cleaning schedule that includes daily disinfection after each use as well as deeper cleaning sessions weekly or bi-weekly depending on usage frequency. This proactive approach will help prevent buildup of debris and prolong tool lifespan.
Additionally, inspect your tools regularly for signs of wear or damage such as dull blades or frayed edges on files. Replace any compromised implements promptly to maintain optimal performance during services. Investing in high-quality nail tools can also contribute to longevity; choose reputable brands known for durability and ease of maintenance.
In summary, maintaining cleanliness in nail care practices is crucial for preventing infections and ensuring client safety. By following systematic cleaning protocols involving soaking, disinfecting with rubbing alcohol or hydrogen peroxide, sterilizing metal tools through boiling water, utilizing UV sanitizers, and practicing proper drying and storage techniques, you can uphold high hygiene standards in your practice. Regular maintenance further enhances tool longevity while minimizing cross-contamination risks between clients. Prioritizing these practices not only protects health but also fosters trust within your clientele base.
FAQs
What materials do I need to clean nail tools at home?
To clean nail tools at home, you will need a few essential materials: warm water, mild soap or disinfectant, a soft brush (like an old toothbrush), a clean towel, and optionally, rubbing alcohol or a sterilizing solution for deeper disinfection.
How often should I clean my nail tools?
Nail tools should be cleaned after each use to prevent the spread of bacteria and fungi. Additionally, a more thorough sterilization should be done at least once a week if the tools are used frequently.
Can I use bleach to clean my nail tools?
While bleach can disinfect surfaces, it is not recommended for cleaning nail tools as it can be harsh and may damage the metal. Instead, use a mild soap solution or a dedicated disinfectant designed for nail tools.
What is the best method to disinfect metal nail tools?
The best method to disinfect metal nail tools is to soak them in a solution of rubbing alcohol or a commercial disinfectant for at least 10 minutes. After soaking, rinse them with warm water and dry thoroughly with a clean towel.
How should I store my cleaned nail tools?
After cleaning and drying, store your nail tools in a clean, dry container or pouch to prevent contamination. Ensure they are kept in a cool, dry place away from moisture to maintain their condition.