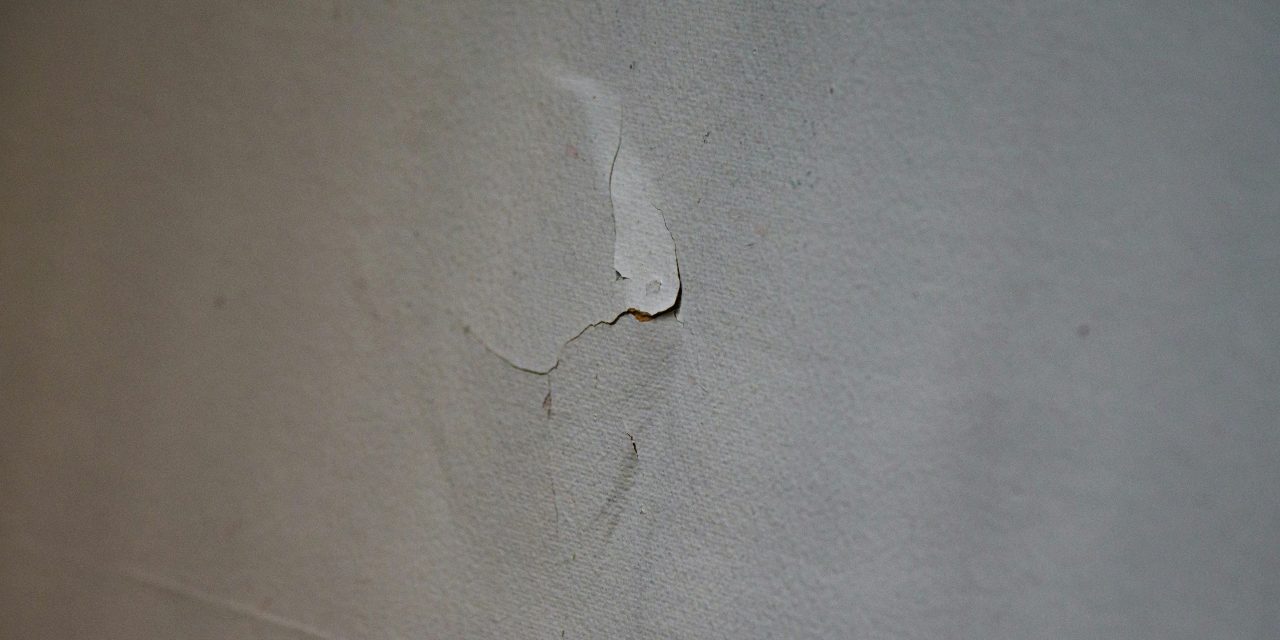
Drywall, a ubiquitous material in modern construction, is susceptible to damage from various sources, leading to holes of different sizes and shapes. Understanding the types of drywall holes is crucial for effective repair. The most common categories include small nail holes, medium-sized holes caused by doorknobs or furniture, and large holes resulting from accidents or structural issues. Each type requires a distinct approach for repair, making it essential to identify the damage accurately.
Small holes, typically less than 1 inch in diameter, often occur from nails or screws used for hanging pictures or shelves. These minor imperfections can be easily overlooked but can accumulate over time, detracting from the overall aesthetic of a room. Medium-sized holes, ranging from 1 to 4 inches, may arise from impacts or mishaps, such as a doorknob hitting the wall. Large holes, exceeding 4 inches, often necessitate more extensive repairs and may indicate underlying structural problems that require immediate attention.
Essential Tools and Materials for Drywall Repair
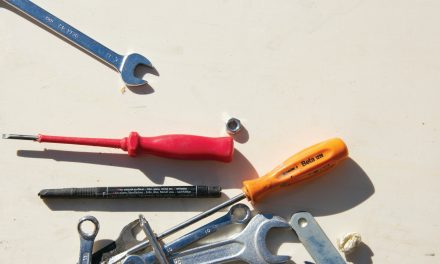
Before embarking on any drywall repair project, it is imperative to gather the necessary tools and materials. A well-equipped toolkit will streamline the process and ensure a professional finish. Essential tools include a utility knife for cutting drywall, a drywall saw for larger openings, and a putty knife for applying joint compound. Additionally, a sanding block or electric sander will help achieve a smooth surface after repairs.
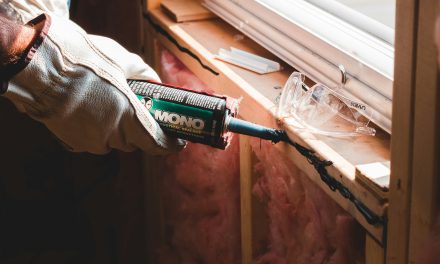
Materials required for drywall repair include joint compound, also known as mud, which is essential for filling holes and creating a seamless surface. Drywall tape is crucial for reinforcing joints and preventing cracks in the repaired area. For larger holes, a patch kit containing pre-cut pieces of drywall may be necessary. Safety gear such as goggles and dust masks should not be overlooked to protect against debris and dust during the repair process.
Preparing the Area Around the Hole

Preparation is key to achieving a successful drywall repair. Begin by clearing the area surrounding the hole of any furniture or obstacles to create a safe working environment. Next, inspect the hole to determine its size and depth, as this will dictate the repair method. For small holes, simply cleaning the edges may suffice, while larger holes may require additional steps.
Using a utility knife, carefully trim any ragged edges around the hole to create a clean surface for repair. This step is crucial as it allows for better adhesion of the joint compound and tape. If the hole is large enough to expose insulation or electrical wiring, take precautions to ensure safety before proceeding with repairs. Covering the floor with a drop cloth can help contain dust and debris during the repair process.
Repairing Small Holes: Step-by-Step Guide

Repairing small holes in drywall is a straightforward process that can be completed in just a few steps. First, clean the hole’s edges with a utility knife to remove any loose material. Next, apply a small amount of joint compound directly into the hole using a putty knife. Ensure that the compound fills the hole completely and slightly overfill it to allow for sanding later.
Once the compound has dried—typically within 24 hours—use fine-grit sandpaper to smooth the surface until it is flush with the surrounding wall. Wipe away any dust with a damp cloth before applying a second coat of joint compound if necessary. After allowing this layer to dry, sand again for an even finish. Finally, prime and paint the repaired area to match the surrounding wall color.
Fixing Medium-Sized Holes with Patch Kits
Medium-sized holes require a more robust approach than small ones. A patch kit specifically designed for drywall repairs can simplify this process significantly. Begin by cleaning the edges of the hole and ensuring that any loose material is removed. Next, cut a piece of drywall from the patch kit that is slightly larger than the hole itself.
Position the patch over the hole and trace around it with a pencil to mark where to cut into the existing drywall. Use a drywall saw to create an opening that matches the patch size precisely. Apply adhesive or joint compound around the edges of the hole before placing the patch into position. Secure it firmly and apply joint compound over the seams using a putty knife. Allow it to dry completely before sanding and finishing as described in previous sections.
Handling Large Holes: Using Drywall Mesh and Backing
Large holes present unique challenges that often require additional support during repairs. For these situations, using drywall mesh tape along with backing material is essential for ensuring structural integrity. Begin by cutting a piece of plywood or another sturdy material that fits behind the hole and can be secured to existing drywall.
Once you have your backing in place, attach it securely using screws or nails. Next, cut a piece of drywall that fits snugly into the hole and attach it to your backing material. Apply drywall mesh tape around the seams where the new piece meets the existing wall to prevent cracking over time. Cover this tape with joint compound using a putty knife, feathering it out onto the surrounding wall for a seamless appearance.
Applying Joint Compound Smoothly and Evenly
The application of joint compound is critical in achieving a professional-looking repair. Start by using a wide putty knife to spread an even layer of compound over the patched area, ensuring that you feather out the edges to blend seamlessly with the surrounding wall. It is essential to apply thin layers rather than one thick coat; this allows for better drying and reduces the risk of cracking.
After applying each layer, allow sufficient drying time—typically 24 hours—before sanding down any rough spots or imperfections with fine-grit sandpaper. Repeat this process until you achieve a smooth surface that matches the rest of your wall. The goal is to create an invisible repair that blends seamlessly into your home’s interior.
Sanding Techniques for a Flawless Finish
Sanding is an integral part of drywall repair that can make or break your project’s success. To achieve a flawless finish, use fine-grit sandpaper (around 220 grit) on your dried joint compound once it has fully cured. Sand lightly in circular motions or back-and-forth strokes to avoid creating uneven surfaces or gouges.
For larger areas, consider using an electric sander equipped with a dust collection system to minimize mess and improve efficiency. Always wear protective gear such as goggles and masks during this process to safeguard against inhaling dust particles. After sanding, wipe down the area with a damp cloth to remove any residual dust before proceeding with priming and painting.
Priming and Painting the Repaired Area
Once you have achieved a smooth finish through sanding, priming and painting are essential steps in completing your drywall repair project. Start by applying a coat of primer specifically designed for drywall; this will help seal the joint compound and create an even base for paint application. Use a roller for larger areas and a brush for corners or edges.
After allowing the primer to dry completely—usually within 1-2 hours—proceed with painting using high-quality latex paint that matches your existing wall color. Depending on your color choice and coverage needs, multiple coats may be necessary for optimal results. Allow each coat to dry thoroughly before applying subsequent layers.
Tips for Preventing Future Drywall Damage
Preventing future drywall damage requires proactive measures and regular maintenance. One effective strategy is to install door stoppers or bumpers on walls adjacent to doors to prevent doorknobs from creating dents or holes upon impact. Additionally, consider using furniture pads on items that may come into contact with walls during movement.
Regular inspections of high-traffic areas can help identify potential issues before they escalate into significant damage. Keeping walls clean and free from moisture will also reduce risks associated with mold growth or deterioration over time. Finally, educating household members about proper handling of furniture and equipment can further minimize accidental damage.
When to Call a Professional for Drywall Repairs
While many drywall repairs can be tackled by homeowners with basic skills, certain situations warrant professional intervention. If you encounter extensive damage due to water leaks or structural issues, it is advisable to consult with an experienced contractor who can assess underlying problems effectively.
Additionally, if you are uncomfortable with large-scale repairs or lack confidence in achieving a seamless finish, hiring a professional can save time and ensure high-quality results. Professionals possess specialized tools and expertise that can make complex repairs more manageable while providing peace of mind regarding safety and durability.
In summary, understanding different types of drywall holes is crucial for effective repair strategies ranging from small nail holes to large structural damages. Equipping oneself with essential tools and materials facilitates efficient repairs while proper preparation ensures optimal results. Following step-by-step guides tailored for various hole sizes allows homeowners to tackle repairs confidently while employing techniques such as joint compound application and sanding for flawless finishes. Preventative measures can mitigate future damage risks while knowing when to seek professional assistance ensures long-lasting solutions for drywall issues.
FAQs
What materials do I need to repair a small hole in drywall?
To repair a small hole in drywall, you will typically need a putty knife, joint compound or spackle, sandpaper, and a primer and paint to match the wall. For very small holes, a patching compound may also be used.
How do I repair a large hole in drywall?
To repair a large hole in drywall, you will need to cut a piece of drywall to fit the hole, secure it with drywall screws, apply joint tape around the edges, and then cover it with joint compound. After it dries, sand it smooth and paint over it to match the surrounding wall.
Can I use regular paint to cover the repaired area?
Yes, you can use regular paint to cover the repaired area, but it is recommended to use a primer first, especially if you used joint compound. This helps to seal the surface and ensures better adhesion and color consistency with the surrounding wall.
How long does it take for joint compound to dry?
The drying time for joint compound can vary depending on the thickness of the application and the humidity in the environment. Generally, it takes about 24 hours to dry completely, but it may take longer in humid conditions or if applied in thick layers.
Is it necessary to sand the repaired area?
Yes, sanding the repaired area is necessary to achieve a smooth finish that blends seamlessly with the surrounding wall. After the joint compound has dried, use fine-grit sandpaper to gently sand the area until it is smooth and even.