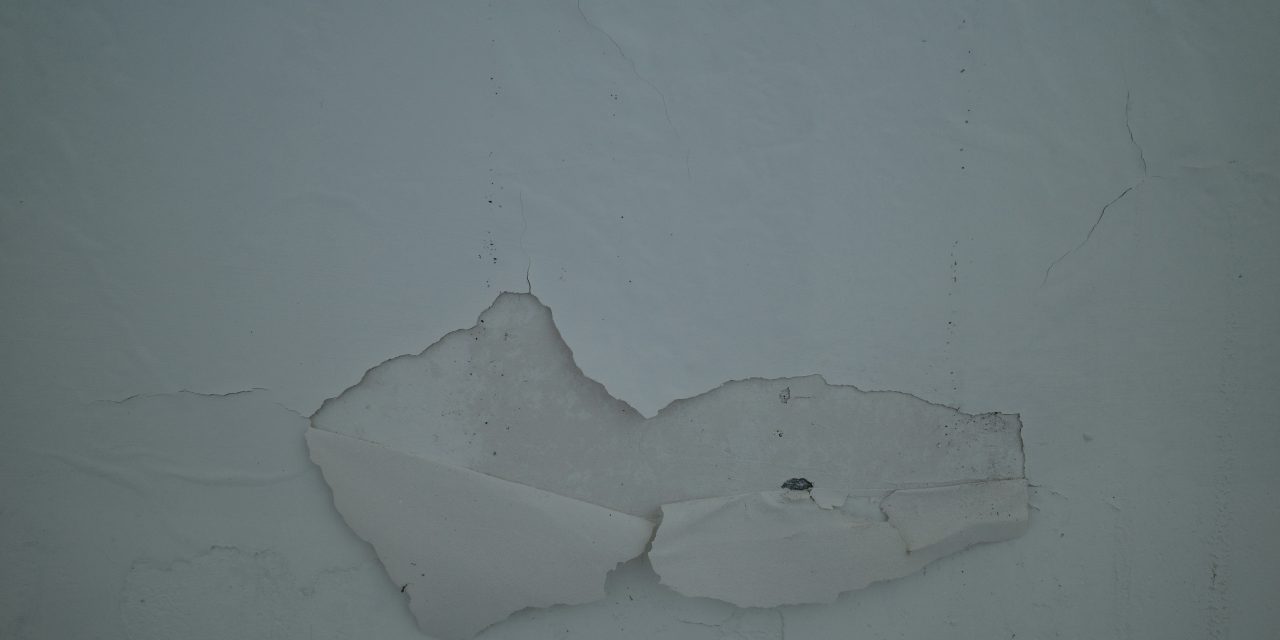
Drywall cracks can be a common nuisance in residential and commercial properties, often signaling underlying issues that require attention. These fissures can arise from various factors, including structural movement, temperature fluctuations, and humidity changes. One of the primary causes is the natural settling of a building, which occurs as the foundation adjusts over time. This settling can lead to stress on the drywall, resulting in cracks that may appear in both horizontal and vertical orientations.
Another significant contributor to drywall cracks is thermal expansion and contraction. As temperatures fluctuate, materials within the walls expand and contract, leading to stress points that can manifest as cracks. Additionally, high humidity levels can cause drywall to absorb moisture, leading to swelling and eventual cracking when the material dries out. Understanding these causes is crucial for homeowners and builders alike, as it allows for more effective prevention and repair strategies.
Gathering the Right Tools and Materials
Before embarking on drywall repair, it is essential to gather the appropriate tools and materials to ensure a successful outcome. A comprehensive toolkit should include a utility knife for cutting drywall, a drywall saw for larger repairs, and a taping knife for applying joint compound. Additionally, a sanding block or pole sander will be necessary for achieving a smooth finish after repairs are made.
In terms of materials, high-quality joint compound is vital for filling cracks and creating a seamless surface. Fiberglass mesh tape is recommended for reinforcing joints and preventing future cracking. It is also advisable to have a primer and paint that matches the existing wall color on hand for finishing touches. By assembling these tools and materials beforehand, the repair process can be executed efficiently and effectively.
Preparing the Cracked Area for Repair

Proper preparation of the cracked area is critical to ensure that repairs adhere well and last over time. Begin by assessing the extent of the damage; minor cracks may only require surface treatment, while larger fissures may necessitate more extensive repairs. Use a utility knife to widen the crack slightly, creating a V-shape that allows for better adhesion of the joint compound.
Once the crack has been widened, clean the area thoroughly to remove any dust or debris that could interfere with the repair process. A damp cloth can be used to wipe down the surface, ensuring that it is free from contaminants. This preparation step is essential for achieving a strong bond between the joint compound and the drywall surface.
Removing Loose Drywall and Debris

After preparing the cracked area, it is crucial to remove any loose drywall or debris that may compromise the integrity of the repair. Using a utility knife or drywall saw, carefully cut away any damaged sections of drywall surrounding the crack. This step not only eliminates weak points but also provides a clean surface for applying joint compound.
Once loose material has been removed, inspect the area for any signs of moisture damage or mold growth. If such issues are present, it may be necessary to address them before proceeding with repairs. Ensuring that the underlying structure is sound will help prevent future cracking and ensure a long-lasting repair.
Applying Joint Compound Correctly
With the cracked area prepared and debris removed, it is time to apply joint compound effectively. Using a taping knife, scoop an ample amount of joint compound and apply it directly into the crack, ensuring that it fills the void completely. It is essential to apply enough compound to cover the crack adequately while also feathering out the edges to blend seamlessly with the surrounding wall.
For larger cracks or areas where drywall has been removed, consider applying multiple layers of joint compound. Allow each layer to dry completely before applying additional coats. This method not only enhances durability but also ensures a smooth finish once sanding begins.
Using Fiberglass Mesh Tape for Reinforcement
To further strengthen the repair and prevent future cracking, fiberglass mesh tape should be utilized over the joint compound application. This tape is designed to provide additional support and flexibility, making it ideal for reinforcing joints and seams in drywall. Cut a piece of mesh tape slightly longer than the crack and press it firmly into the wet joint compound.
Once the tape is in place, apply another layer of joint compound over it, ensuring that it is fully covered. Feather out the edges of this layer to create a smooth transition between the repaired area and the surrounding wall. The use of fiberglass mesh tape significantly enhances the durability of the repair, reducing the likelihood of future cracks.
Smoothing and Feathering the Repair Area
Achieving a seamless finish requires careful smoothing and feathering of the repair area. After allowing the joint compound to dry completely, use a sanding block or pole sander to gently smooth out any rough spots or imperfections. It is essential to sand lightly to avoid damaging the surrounding drywall.
Feathering involves gradually tapering the edges of the joint compound so that it blends seamlessly with the existing wall surface. This technique may require multiple passes with fine-grit sandpaper to achieve an even finish. The goal is to create an imperceptible transition between repaired areas and unblemished sections of drywall.
Sanding Techniques for a Seamless Finish
Sanding is a critical step in achieving a professional-looking repair on drywall cracks. Begin with medium-grit sandpaper to remove any excess joint compound and smooth out rough areas. Once this initial sanding is complete, switch to fine-grit sandpaper for final smoothing. This two-step process ensures that any imperfections are eliminated while maintaining a flat surface.
When sanding, it is advisable to wear a dust mask and goggles to protect against inhalation of dust particles. Additionally, using a vacuum attachment on your sander can help minimize dust accumulation in your workspace. Proper sanding techniques will result in a flawless finish that prepares the wall for priming and painting.
Priming and Painting to Match Existing Walls
Once sanding is complete, priming and painting are essential steps in restoring the wall’s appearance. Begin by applying a high-quality primer over the repaired area; this will help seal the joint compound and create an even base for paint application. Allow the primer to dry thoroughly before proceeding with paint.
When selecting paint, choose a color that matches your existing walls as closely as possible. Using a roller or brush, apply paint over the primed area in thin layers, allowing each coat to dry before adding additional layers if necessary. This careful approach will ensure that your repair blends seamlessly with surrounding surfaces.
Preventing Future Cracks with Proper Wall Maintenance
Preventing future drywall cracks involves proactive maintenance strategies that address potential issues before they escalate. Regularly inspect walls for signs of moisture damage or structural movement; early detection can prevent more extensive repairs down the line. Additionally, maintaining consistent indoor humidity levels can help minimize expansion and contraction of drywall materials.
Consider using dehumidifiers in areas prone to high humidity or installing proper ventilation systems in bathrooms and kitchens where moisture accumulation is common. Furthermore, ensuring that your home’s foundation remains stable through regular maintenance can significantly reduce stress on walls and minimize cracking.
When to Call a Professional for Persistent Cracks
While many drywall repairs can be handled by homeowners with basic DIY skills, persistent or extensive cracking may require professional intervention. If cracks continue to reappear despite repairs or if they are accompanied by other signs of structural issues—such as doors or windows that stick—it may be time to consult with a qualified contractor or structural engineer.
Professionals possess specialized knowledge and tools necessary for diagnosing underlying problems that may not be immediately apparent. They can provide comprehensive solutions tailored to your specific situation, ensuring that your home remains safe and structurally sound.
In summary, understanding drywall cracks involves recognizing their causes—such as structural movement and humidity changes—and preparing adequately for repairs by gathering necessary tools and materials. Proper preparation includes removing loose debris and applying joint compound effectively while reinforcing with fiberglass mesh tape. Smoothing techniques followed by priming and painting ensure an aesthetically pleasing finish while preventive measures help mitigate future issues. For persistent problems, seeking professional assistance may be warranted to address underlying structural concerns effectively.
FAQs
What are the common causes of cracks in drywall?
Common causes of cracks in drywall include settling of the house, temperature fluctuations, humidity changes, and improper installation. Structural issues, such as foundation movement or water damage, can also contribute to the formation of cracks.
What materials do I need to fix cracks in drywall?
To fix cracks in drywall, you will typically need joint compound, a putty knife, sandpaper, a primer, and paint. For larger cracks, you may also require mesh tape or paper tape to reinforce the repair.
How can I prevent cracks from coming back after repair?
To prevent cracks from returning, ensure that the underlying cause is addressed, such as fixing any structural issues or improving ventilation. Additionally, using a flexible joint compound and applying a primer before painting can help maintain the integrity of the repair.
Is it necessary to use tape when repairing drywall cracks?
Using tape is recommended for larger cracks or those that are in high-stress areas, as it helps to reinforce the repair and prevent future cracking. For smaller hairline cracks, tape may not be necessary, but applying a thin layer of joint compound is still advisable.
Can I paint over the repaired drywall immediately?
No, it is important to allow the joint compound to dry completely before painting over the repaired area. This usually takes 24 hours, but it’s best to follow the manufacturer’s instructions for drying times to ensure a smooth finish.