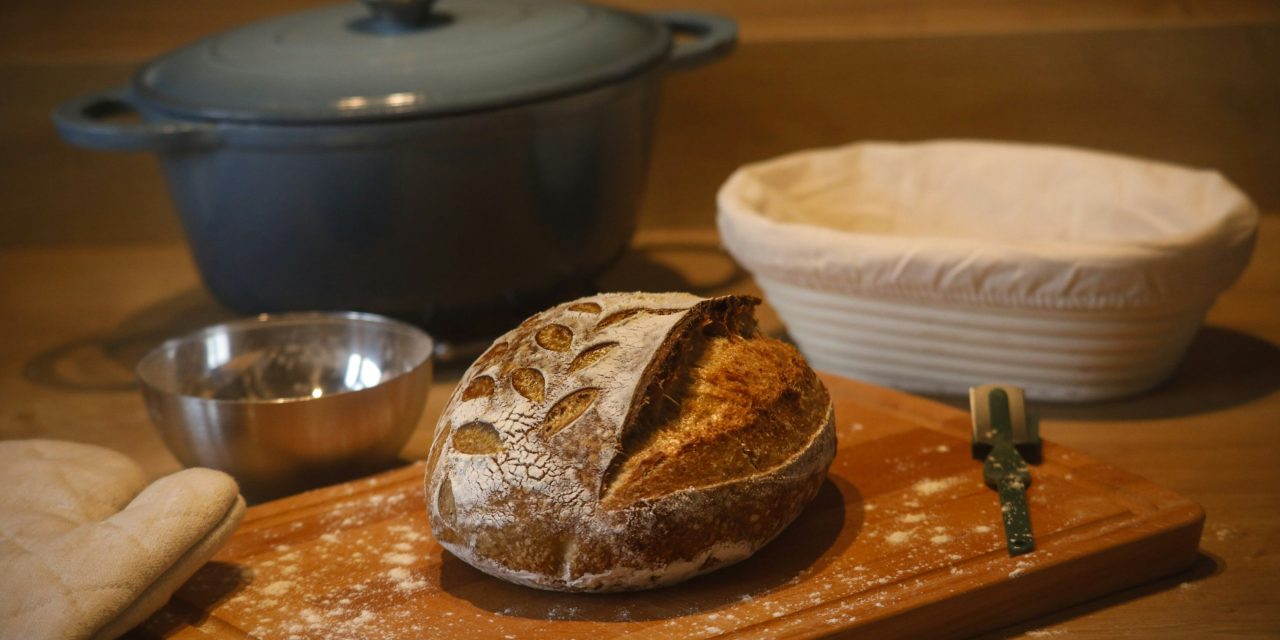
A sourdough starter is a living culture of flour and water that captures wild yeast and beneficial bacteria from the environment. This symbiotic relationship between yeast and lactic acid bacteria is what gives sourdough its distinctive flavor and texture. The fermentation process not only leavens the bread but also enhances its nutritional profile, making it easier to digest. The starter acts as a natural leavening agent, allowing bakers to create bread without the need for commercial yeast.
The process of cultivating a sourdough starter can be both an art and a science. It requires patience, observation, and a willingness to experiment. The starter evolves over time, developing unique characteristics based on the flour used, the local environment, and the baker’s techniques. Understanding the fundamentals of a sourdough starter is crucial for anyone looking to embark on this rewarding baking journey.
Choosing the Right Flour and Water
Selecting the appropriate flour is paramount in creating a robust sourdough starter. Whole grain flours, such as whole wheat or rye, are often recommended due to their higher nutrient content and greater availability of wild yeast. These flours contain more bran and germ, which provide essential nutrients that promote fermentation. All-purpose flour can also be used, but it may yield a less vigorous starter.
Water quality is equally important in the starter’s development. Ideally, filtered or bottled water should be used to avoid chlorine and other chemicals that can inhibit yeast growth. The temperature of the water should be lukewarm, around 75°F to 80°F (24°C to 27°C), to encourage optimal fermentation conditions. The pH level of the water can also affect the starter; slightly acidic water can enhance yeast activity.
Initial Creation: How to Begin Your Starter

To initiate a sourdough starter, begin with equal parts flour and water by weight. A common starting ratio is 100 grams of flour mixed with 100 grams of lukewarm water in a clean glass or plastic container. Stir the mixture until it forms a thick paste, ensuring there are no dry clumps of flour remaining. Cover the container loosely with a lid or cloth to allow airflow while preventing contaminants from entering.
Place the container in a warm environment, ideally between 70°F and 80°F (21°C to 27°C). This temperature range fosters yeast activity and encourages fermentation. Over the next few days, you should observe bubbles forming on the surface, indicating that fermentation is taking place. It is essential to monitor the mixture daily for signs of growth and to maintain a consistent feeding schedule.
The Importance of Temperature and Environment

Temperature plays a critical role in the fermentation process of a sourdough starter. Warmer temperatures accelerate yeast activity, while cooler temperatures slow it down. If your kitchen is too cold, consider placing your starter in a warmer spot, such as near a radiator or in an oven with the light on. Conversely, if it’s too warm, you may need to find a cooler location to prevent over-fermentation.
The environment surrounding your starter also influences its development. Factors such as humidity and air quality can affect yeast populations and fermentation rates. A humid environment can promote faster fermentation due to increased moisture content in the air, while dry conditions may require more frequent feedings to maintain hydration levels in the starter.
Daily Feeding Schedule: When and How to Feed
Feeding your sourdough starter is essential for maintaining its health and vigor. A typical feeding schedule involves discarding half of the starter (approximately 100 grams) and replenishing it with equal parts flour and water. This process should be done every 12 to 24 hours, depending on the temperature and activity level of your starter.
When feeding, it’s crucial to use fresh flour and water to provide new nutrients for the yeast and bacteria. Stir the mixture thoroughly after each feeding to incorporate air, which is vital for yeast growth. If you notice that your starter is particularly active or bubbly, you may need to increase the frequency of feedings or adjust the ratios of flour and water to maintain balance.
Measuring Ingredients for Consistent Results
Precision in measuring ingredients is vital for achieving consistent results when creating and maintaining a sourdough starter. Using a kitchen scale is highly recommended for accuracy, as weight measurements provide more reliable results than volume measurements. For instance, 100 grams of flour will yield different results than measuring one cup of flour due to variations in density.
When measuring water, ensure that it is at room temperature or slightly warm to facilitate fermentation. Maintaining consistent ratios during feedings—typically 1:1:1 (starter:flour:water)—will help establish a stable environment for yeast growth. Keeping detailed notes on your measurements and feeding schedule can also aid in troubleshooting any issues that may arise.
Signs of a Healthy and Active Starter
A healthy sourdough starter exhibits several key characteristics that indicate it is ready for baking. First and foremost, it should be bubbly and have risen significantly after feeding—ideally doubling in size within 4 to 6 hours at room temperature. The presence of bubbles indicates active fermentation, while a pleasant tangy aroma suggests that lactic acid bacteria are thriving.
Additionally, a healthy starter should have a smooth texture without any dry patches or separation of liquid (known as hooch). If hooch forms on top, it indicates that the starter is hungry and requires feeding. Regularly observing these signs will help you gauge your starter’s health and readiness for baking.
Troubleshooting Common Starter Problems
Despite best efforts, sourdough starters can encounter various issues during their development. One common problem is a lack of activity or bubbles, which may result from insufficient feeding or an unsuitable environment. If your starter appears sluggish, consider increasing the frequency of feedings or adjusting its location to a warmer spot.
Another issue may be an overly sour taste or smell, which can occur if the starter has been left unfed for too long or if it has developed undesirable bacteria. In such cases, discard half of the starter and feed it with fresh flour and water more frequently until it stabilizes. If mold appears on the surface, it’s best to discard the entire starter and start anew.
How to Store Your Starter Between Uses
Proper storage of your sourdough starter is essential for maintaining its viability between baking sessions. If you plan to bake frequently (every few days), keep your starter at room temperature and continue with regular feedings. However, if you intend to take a break from baking for an extended period, refrigeration is an effective option.
To store your starter in the refrigerator, feed it as usual before placing it in an airtight container. This slows down fermentation while preserving its health. When ready to use again, remove it from the fridge and allow it to come to room temperature before resuming regular feedings for at least 24 hours prior to baking.
Reviving a Neglected or Dormant Starter
If your sourdough starter has been neglected or has become dormant due to infrequent feedings or refrigeration, reviving it is possible with some patience and care. Begin by discarding half of the starter and feeding it with fresh flour and water at room temperature. Repeat this process every 12 hours until you observe signs of activity—bubbles forming and an increase in volume.
In some cases, it may take several feedings over several days for the starter to regain its vigor fully. If you notice any off-putting smells or signs of mold during this process, discard the affected portions immediately and continue with fresh feedings until you achieve a healthy balance.
Tips for Using Your Starter in Baking
Once your sourdough starter is healthy and active, it’s time to incorporate it into your baking endeavors. When using your starter in recipes, remember that it should be at its peak activity—typically when it has doubled in size after feeding—before adding it to your dough mixture.
Adjusting hydration levels in your recipes may be necessary since sourdough starters contain varying amounts of water depending on their consistency. Additionally, consider reducing other leavening agents if your recipe calls for them; sourdough alone can provide sufficient rise when used correctly.
In conclusion, mastering the art of sourdough baking begins with understanding how to create and maintain a healthy sourdough starter. By selecting appropriate ingredients, monitoring environmental conditions, adhering to feeding schedules, troubleshooting common issues, and employing effective storage techniques, bakers can enjoy delicious homemade sourdough bread with unique flavors tailored to their preferences.
FAQ Section:
1. **How long does it take to create a sourdough starter?**
– Typically, it takes about 5-7 days for a sourdough starter to become fully active and ready for baking.
2. **Can I use tap water for my starter?**
– It’s best to avoid tap water due to chlorine content; filtered or bottled water is recommended.
3. **What should I do if my starter smells bad?**
– A strong off-putting odor may indicate spoilage; discard any affected portions and resume feeding with fresh ingredients.
4. **How often should I feed my starter?**
– Feed your starter every 12-24 hours at room temperature; less frequent feedings are acceptable when refrigerated.
5. **Can I freeze my sourdough starter?**
– Yes, you can freeze your starter; however, ensure it’s well-fed before freezing and allow it time to thaw and reactivate before use.
6. **What types of flour work best for starters?**
– Whole grain flours like whole wheat or rye are ideal due to their nutrient density; all-purpose flour can also be used but may yield slower results.
7. **How do I know when my starter is ready for baking?**
– Your starter should double in size within 4-6 hours after feeding and exhibit bubbles on its surface.
8. **Can I use my sourdough starter straight from the fridge?**
– It’s advisable to bring your starter back to room temperature with at least one feeding before using it in recipes.
9. **What if my dough doesn’t rise?**
– Insufficient fermentation time or an inactive starter could be reasons; ensure proper feeding schedules are followed.
10. **Is there any way to speed up fermentation?**
– Increasing ambient temperature can accelerate fermentation; however, be cautious not to exceed optimal ranges that could harm yeast activity.
In summary, creating a successful sourdough starter involves understanding its biological processes while maintaining consistent care through proper feeding schedules and environmental conditions. With patience and practice, bakers can enjoy delicious homemade bread enriched with unique flavors derived from their personalized starters.
FAQs
What is a sourdough starter?
A sourdough starter is a mixture of flour and water that captures wild yeast and bacteria from the environment. This natural fermentation process creates a leavening agent that can be used to make sourdough bread and other baked goods, providing a unique flavor and texture.
How often should I feed my sourdough starter?
Typically, a sourdough starter should be fed every 12 to 24 hours if kept at room temperature. If you store it in the refrigerator, you can feed it once a week. Regular feeding ensures that the yeast and bacteria remain active and healthy.
What type of flour is best for feeding a sourdough starter?
All-purpose flour, whole wheat flour, and rye flour are all suitable for feeding a sourdough starter. Whole grain flours tend to have more nutrients and can promote a more vigorous fermentation, while all-purpose flour is a common choice for maintaining a starter.
How do I know if my sourdough starter is ready to use?
Your sourdough starter is ready to use when it has doubled in size within 4 to 6 hours after feeding, has a pleasant, slightly tangy aroma, and produces bubbles throughout. It should also pass the “float test,” where a small spoonful of starter floats in water, indicating sufficient gas production.
Can I store my sourdough starter in the refrigerator?
Yes, you can store your sourdough starter in the refrigerator to slow down its fermentation process. When refrigerated, it requires less frequent feeding, typically once a week. Before using it, allow it to come to room temperature and feed it to reactivate the yeast.