When it comes to maintaining the aesthetic appeal of your home, understanding the type of wall paint used is paramount. Different paint finishes, such as matte, eggshell, satin, semi-gloss, and gloss, each possess unique characteristics that influence their cleaning requirements. For instance, matte finishes are more porous and can absorb stains, making them more challenging to clean without damaging the surface. Conversely, glossy finishes are more resistant to stains and easier to wipe down, but they may show imperfections more readily.
Additionally, the composition of the paint—whether it is latex or oil-based—also plays a crucial role in determining the appropriate cleaning methods. Latex paints are water-soluble and generally easier to clean with soap and water, while oil-based paints require solvents for effective cleaning. Understanding these distinctions not only aids in selecting the right cleaning approach but also helps in preserving the integrity of the paint over time.
Gathering the Right Cleaning Supplies
Before embarking on the cleaning process, it is essential to gather all necessary supplies to ensure efficiency and effectiveness. A comprehensive cleaning kit should include a variety of items tailored to your specific wall paint type. Basic supplies typically consist of a bucket, soft cloths or sponges, a gentle detergent or specialized wall cleaner, and a vacuum with a brush attachment for dust removal.
For tougher stains or marks, consider including additional items such as baking soda, white vinegar, or a commercial stain remover. It is also advisable to have a step ladder on hand for reaching higher areas safely. By assembling these tools beforehand, you can streamline the cleaning process and minimize interruptions.
Preparing the Room for Cleaning

Preparation is key when it comes to cleaning painted walls effectively. Begin by removing any furniture or decor items that may obstruct access to the walls. This not only protects your belongings from potential damage but also allows for a thorough cleaning without hindrance. If moving larger items is impractical, consider covering them with drop cloths or plastic sheeting to shield them from dust and cleaning solutions.
Next, ensure that the area is well-ventilated. Open windows and doors to promote airflow, which can help dissipate any fumes from cleaning products and expedite drying time. Additionally, it may be beneficial to turn off any heating or cooling systems temporarily to prevent dust from circulating throughout the space during the cleaning process.
Dusting the Walls Gently

Once the room is prepared, the next step involves gently dusting the walls to remove any loose particles that may have accumulated over time. Using a vacuum cleaner equipped with a brush attachment is an effective method for this task, as it can capture dust without scratching the paint surface. Alternatively, a microfiber cloth or a soft duster can be employed for a more manual approach.
When dusting, it is important to work from top to bottom to avoid redistributing dirt onto already cleaned areas. Pay special attention to corners and edges where dust tends to accumulate more readily. This initial step not only enhances the overall cleanliness of the walls but also prepares them for deeper cleaning by eliminating surface debris.
Testing a Small Hidden Area First
Before applying any cleaning solution across the entire wall surface, it is prudent to conduct a test in a small, inconspicuous area. This precautionary measure helps ascertain how the paint reacts to the chosen cleaner and prevents potential damage or discoloration. Select a spot that is less visible, such as behind a piece of furniture or in a corner.
Apply a small amount of the cleaning solution using a soft cloth or sponge and observe the results after a few minutes. If there are no adverse effects—such as fading or peeling—proceed with confidence to clean larger areas. However, if any negative reactions occur, consider switching to a milder solution or adjusting your cleaning technique accordingly.
Choosing the Appropriate Cleaning Solution
Selecting the right cleaning solution is crucial for maintaining painted walls without compromising their integrity. For general cleaning purposes, a mixture of warm water and mild dish soap often suffices for most latex-painted surfaces. This gentle concoction effectively removes dirt and grime without causing harm.
For tougher stains such as grease or crayon marks, consider using specialized wall cleaners designed for painted surfaces. These products are formulated to tackle specific types of stains while being safe for various paint finishes. Always read labels carefully to ensure compatibility with your wall paint type and follow manufacturer instructions for optimal results.
Using Soft Cloths and Sponges
When it comes to applying your chosen cleaning solution, utilizing soft cloths and sponges is essential for preventing damage to the paint surface. Abrasive materials can scratch or dull the finish, leading to unsightly blemishes that detract from your walls’ appearance. Opt for microfiber cloths or non-abrasive sponges that are gentle yet effective in lifting dirt.
Dampen your cloth or sponge with the cleaning solution and wring out excess liquid before applying it to the wall. This technique minimizes water exposure while still allowing for effective cleaning. Work in small sections, using circular motions or gentle strokes to lift dirt without excessive pressure that could harm the paint.
Cleaning Stains with Careful Techniques
Stains on painted walls require careful attention and specific techniques for effective removal without causing damage. For persistent stains like ink or marker marks, consider using rubbing alcohol applied sparingly with a cotton ball or soft cloth. Gently dab at the stain rather than rubbing vigorously, as this can spread the stain further or damage the paint.
For greasy stains, a paste made from baking soda and water can be an effective solution. Apply this paste directly onto the stain and allow it to sit for several minutes before gently wiping it away with a damp cloth. Always remember to rinse the area with clean water afterward to remove any residue from cleaning agents.
Avoiding Excessive Water and Scrubbing
While it may be tempting to scrub vigorously in an attempt to remove stubborn stains, excessive scrubbing can lead to unintended consequences such as paint damage or discoloration. Instead, focus on using gentle pressure combined with appropriate cleaning solutions tailored to your wall type.
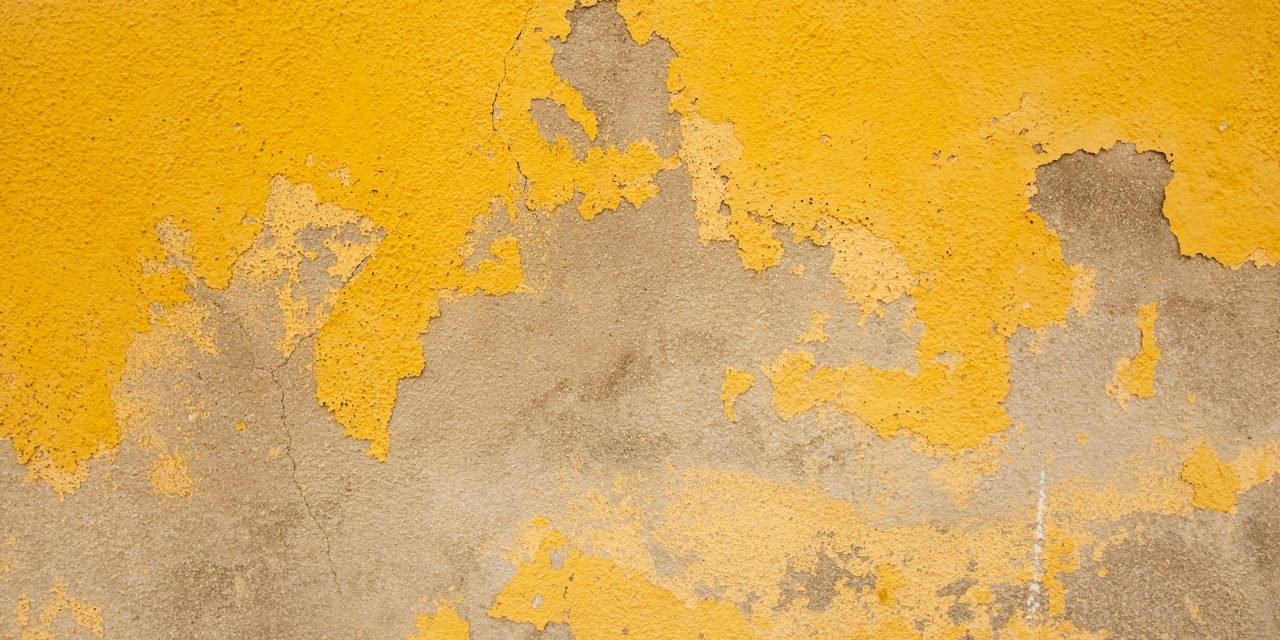
Moreover, avoid saturating your walls with excessive water during the cleaning process. Overly wet surfaces can lead to peeling paint or mold growth if moisture seeps behind the paint layer. Always wring out cloths thoroughly before application and use minimal water when rinsing surfaces after cleaning.
Drying the Walls Properly After Cleaning
After completing the cleaning process, allowing your walls to dry properly is crucial for maintaining their appearance and preventing damage. Use clean, dry microfiber cloths to gently blot any remaining moisture from the surface. This step helps eliminate streaks and ensures that no water remains trapped against the paint.
If possible, keep windows open or use fans to promote airflow in the room during drying time. This not only speeds up evaporation but also helps prevent mold growth in humid environments. Ensure that walls are completely dry before replacing furniture or decor items to avoid trapping moisture against the surface.
Maintaining Painted Walls for Long-Lasting Beauty
To preserve the beauty of your painted walls over time, regular maintenance is essential. Establishing a routine cleaning schedule—typically every six months—can help prevent dirt buildup and maintain their pristine condition. Additionally, consider using touch-up paint for minor scratches or chips as they occur rather than waiting until they become more noticeable.
Incorporating preventive measures such as using coasters on surfaces near walls and avoiding direct contact with furniture can also help minimize wear and tear on painted surfaces. By adopting these practices, you can ensure that your walls remain vibrant and beautiful for years to come.
In summary, understanding your wall paint type is fundamental when embarking on a cleaning journey. Gathering appropriate supplies and preparing your space sets the stage for effective maintenance. Gentle dusting followed by careful testing of cleaning solutions ensures that you protect your investment while achieving cleanliness. Employing soft materials and avoiding excessive scrubbing will safeguard against damage while promoting longevity in your painted surfaces. Regular upkeep will ultimately contribute to lasting beauty in your home environment.