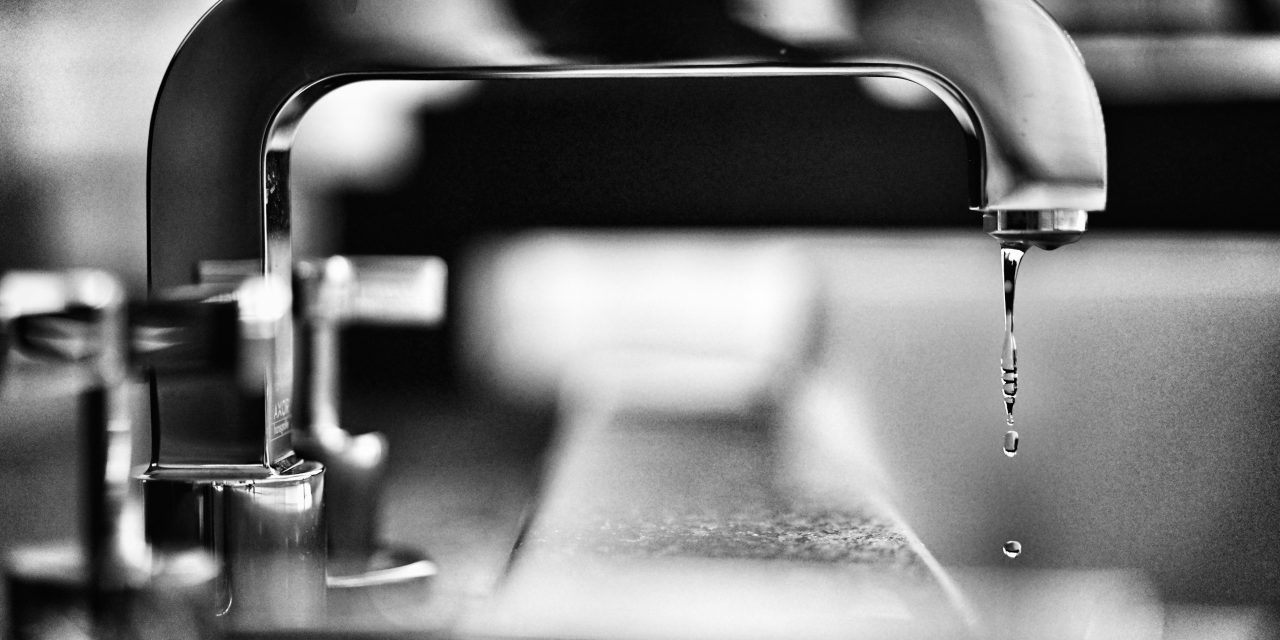
Faucet leaks are a common household issue that can lead to significant water wastage and increased utility bills. Understanding the underlying causes of these leaks is essential for effective repair and prevention. The primary culprits behind faucet leaks include worn-out washers, deteriorated O-rings, and faulty cartridges. Over time, these components can degrade due to constant friction, exposure to water, and mineral buildup, leading to leaks.
In addition to mechanical wear and tear, improper installation can also contribute to faucet leaks. If a faucet is not installed correctly, it may not create a proper seal, resulting in water seeping through joints or connections. Environmental factors such as temperature fluctuations can exacerbate these issues, causing materials to expand and contract, further compromising the integrity of the faucet. Understanding these causes is crucial for homeowners seeking to address leaks effectively.
Identifying the Type of Faucet You Have
Before embarking on any repair journey, it is vital to identify the type of faucet in your home. There are several common types of faucets, each with distinct mechanisms and components. The most prevalent types include compression faucets, cartridge faucets, ball-type faucets, and ceramic disc faucets.
Compression faucets operate using rubber washers that compress against a valve seat to stop water flow. Cartridge faucets utilize a cartridge mechanism that controls water flow and temperature. Ball-type faucets feature a rotating ball mechanism that regulates water flow and temperature simultaneously. Lastly, ceramic disc faucets employ two ceramic discs that slide over each other to control water flow. Knowing the specific type of faucet you have will guide your repair process and ensure you have the right tools and replacement parts on hand.
Gathering the Necessary Tools and Materials

Once you have identified your faucet type, the next step involves gathering the necessary tools and materials for the repair process. Essential tools typically include an adjustable wrench, screwdrivers (both flathead and Phillips), pliers, and a basin wrench for hard-to-reach areas. Additionally, having a towel or rag on hand can help manage any spills during disassembly.
In terms of materials, it is crucial to acquire replacement parts specific to your faucet type. For compression faucets, this may include rubber washers and O-rings. Cartridge faucets will require a new cartridge, while ball-type faucets may need a replacement ball assembly or seals. Ceramic disc faucets often necessitate new ceramic discs or seals. Having these components ready will streamline the repair process and minimize downtime.
Shutting Off the Water Supply Safely

Before initiating any repair work on your faucet, it is imperative to shut off the water supply safely. Most homes have individual shut-off valves located beneath the sink; turning these valves clockwise will stop the flow of water to the faucet. If your sink lacks individual shut-off valves, you may need to turn off the main water supply for your home.
After shutting off the water supply, it is advisable to relieve any remaining pressure in the system by turning on the faucet until no more water flows out. This step ensures that you can work without the risk of unexpected water surges during disassembly. Taking these precautions will help maintain a clean and safe working environment.
Disassembling the Faucet: Step-by-Step Guide
Disassembling a faucet requires careful attention to detail to avoid damaging components or losing small parts. Begin by removing any decorative caps or handles using a flathead screwdriver or your fingers. Once exposed, use a screwdriver or Allen wrench to remove screws securing the handle in place.
Next, gently pull off the handle and set it aside along with any screws or caps. Depending on your faucet type, you may need to remove additional components such as retaining nuts or clips using pliers or an adjustable wrench. Keep all parts organized in a container to prevent misplacement during reassembly. Following this systematic approach will facilitate a smoother repair process.
Inspecting and Replacing Worn-Out Washers and O-Rings
Upon disassembly, inspect all components for signs of wear or damage. In compression faucets, focus on the rubber washers; if they appear cracked or flattened, they should be replaced immediately. Similarly, O-rings should be checked for deterioration as they play a crucial role in sealing connections.
To replace worn-out washers or O-rings, carefully remove them from their respective seats using pliers or your fingers. Ensure that you clean the seating area thoroughly before installing new components. When selecting replacement parts, ensure they match the size and type of your existing washers and O-rings for optimal performance.
Fixing Cartridge Faucet Leaks
Cartridge faucets are known for their durability; however, they can still develop leaks over time due to worn cartridges or seals. To fix a leaking cartridge faucet, first remove the handle as previously described. Next, locate the retaining clip or nut securing the cartridge in place and remove it using pliers or a wrench.
Once freed from its housing, gently pull out the cartridge from the faucet body. Inspect it for signs of wear or damage; if necessary, replace it with a new cartridge designed for your specific faucet model. Reinsert the new cartridge into its housing, secure it with the retaining clip or nut, and reattach the handle before testing for leaks.
Repairing Ball-Type Faucet Drips
Ball-type faucets are unique in their design and require specific attention when addressing leaks. Begin by removing the handle as outlined earlier. Once exposed, locate the cap and collar assembly; unscrew this assembly using pliers or an adjustable wrench.
After removing the cap and collar, you will see a ball assembly that controls water flow. Inspect this assembly for wear; if it appears damaged or corroded, replace it with a new ball assembly kit available at hardware stores. Additionally, check seals and springs within the assembly for deterioration; replacing these components can significantly improve performance.
Addressing Compression Faucet Leaks
Compression faucets are notorious for developing leaks due to worn washers or valve seats. To address this issue effectively, start by disassembling the faucet as previously described. Once you have access to the valve seat, inspect it for corrosion or damage; if necessary, use a seat wrench to replace it.
After replacing any damaged components, install new rubber washers that fit snugly against the valve seat when compressed. Reassemble the faucet carefully, ensuring all parts are secured tightly to prevent future leaks.
Reassembling the Faucet Correctly
Reassembling your faucet requires careful attention to detail to ensure all components fit together correctly without any gaps that could lead to leaks. Begin by reversing the disassembly process; reattach any retaining nuts or clips securely before placing handles back onto their respective shafts.
Ensure that all screws are tightened adequately but avoid overtightening as this can cause damage to plastic components or threads. Once fully reassembled, double-check that all parts are aligned correctly before proceeding to test for functionality.
Testing Your Repair and Preventative Maintenance Tips
After completing your repair work, it is essential to test your faucet thoroughly before considering the job finished. Turn on the water supply gradually while observing for any signs of leakage around joints or connections. Allow water to run for several minutes while checking for consistent flow without drips.
To prevent future leaks, consider implementing regular maintenance practices such as cleaning aerators and inspecting seals periodically for wear. Additionally, avoid using excessive force when turning handles on faucets; gentle operation can prolong their lifespan significantly.
In conclusion, understanding how to address faucet leaks effectively involves recognizing their causes, identifying your faucet type, gathering necessary tools and materials, and following systematic repair steps. By taking proactive measures in maintenance and repairs, homeowners can ensure their faucets remain functional while conserving water resources efficiently.
FAQ Section:
1. **What are common signs of a leaking faucet?**
– Common signs include dripping water from the spout or handle, pooling water around the base of the faucet, and increased water bills without additional usage.
2. **How often should I replace washers and O-rings?**
– It is advisable to inspect washers and O-rings every 6-12 months for signs of wear and replace them as needed.
3. **Can I use any type of washer for my faucet?**
– No; always use washers specifically designed for your faucet type to ensure proper sealing and functionality.
4. **What should I do if my faucet continues to leak after repairs?**
– If leaks persist after repairs, consider consulting a professional plumber as there may be underlying issues requiring expert attention.
5. **Are there any eco-friendly options for fixing leaks?**
– Yes; consider using biodegradable sealants or eco-friendly plumbing products available at many hardware stores.
6. **How can I prevent mineral buildup in my faucet?**
– Regularly clean aerators with vinegar or descaling solutions to prevent mineral deposits from affecting performance.
7. **Is it necessary to turn off the main water supply when repairing a faucet?**
– While not always necessary if individual shut-off valves are present, turning off the main supply can prevent unexpected water flow during repairs.
8. **What tools do I need for basic faucet repairs?**
– Essential tools include screwdrivers (flathead and Phillips), pliers, an adjustable wrench, and possibly a basin wrench for tight spaces.
9. **How do I know if I need a new faucet instead of repairing?**
– If multiple components are failing simultaneously or if there is extensive corrosion present, replacing the entire unit may be more cost-effective than ongoing repairs.
10. **Can I perform faucet repairs myself without prior experience?**
– Yes; many homeowners successfully complete repairs with basic tools and guidance from instructional resources available online or in manuals.
In summary, addressing faucet leaks involves understanding their causes, identifying your specific faucet type, gathering appropriate tools and materials, safely shutting off water supply lines, disassembling components methodically, inspecting parts for wear, replacing damaged items accurately, reassembling correctly, testing functionality thoroughly afterward while implementing preventative maintenance strategies moving forward.
FAQs
What are the common causes of a leaky faucet?
Common causes of a leaky faucet include worn-out washers, damaged O-rings, corroded valve seats, and loose parts. Over time, these components can degrade due to regular use, leading to leaks.
How can I identify the type of faucet I have?
You can identify your faucet type by examining its handle and spout design. Common types include compression, cartridge, ball, and ceramic disc faucets. Each type has a different mechanism for controlling water flow, which can affect how you repair it.
What tools do I need to fix a leaky faucet?
To fix a leaky faucet, you typically need a wrench, screwdrivers (flathead and Phillips), replacement parts (like washers or O-rings), and possibly plumber’s tape. Having a towel or rag handy can also help to catch any water that may spill during the repair.
Can I fix a leaky faucet myself, or should I hire a plumber?
Many leaky faucet repairs can be done by homeowners with basic DIY skills. However, if you are uncomfortable with plumbing tasks or if the leak persists after your repairs, it may be best to hire a professional plumber.
How do I prevent future leaks in my faucet?
To prevent future leaks, regularly inspect and maintain your faucet by checking for wear on washers and O-rings, tightening loose parts, and cleaning any mineral buildup. Additionally, avoid using excessive force when turning the faucet on and off.