Nails are complex structures composed primarily of keratin, a fibrous protein that provides strength and resilience. Each nail consists of several components, including the nail plate, nail bed, cuticle, and matrix. The nail plate is the visible part of the nail, while the nail bed is the skin beneath it that supports the nail. The cuticle serves as a protective barrier against pathogens, and the matrix is the tissue located under the base of the nail that produces new cells, contributing to nail growth.
Understanding nail anatomy is crucial for effective nail care. The average growth rate of fingernails is approximately 3 millimeters per month, while toenails grow at a slower rate of about 1 millimeter per month. Factors such as age, nutrition, and overall health can influence this growth rate. Additionally, nails can reflect systemic health issues; for instance, discoloration or changes in texture may indicate underlying conditions such as fungal infections or nutritional deficiencies.
Choosing the Right Nail Clippers and Tools
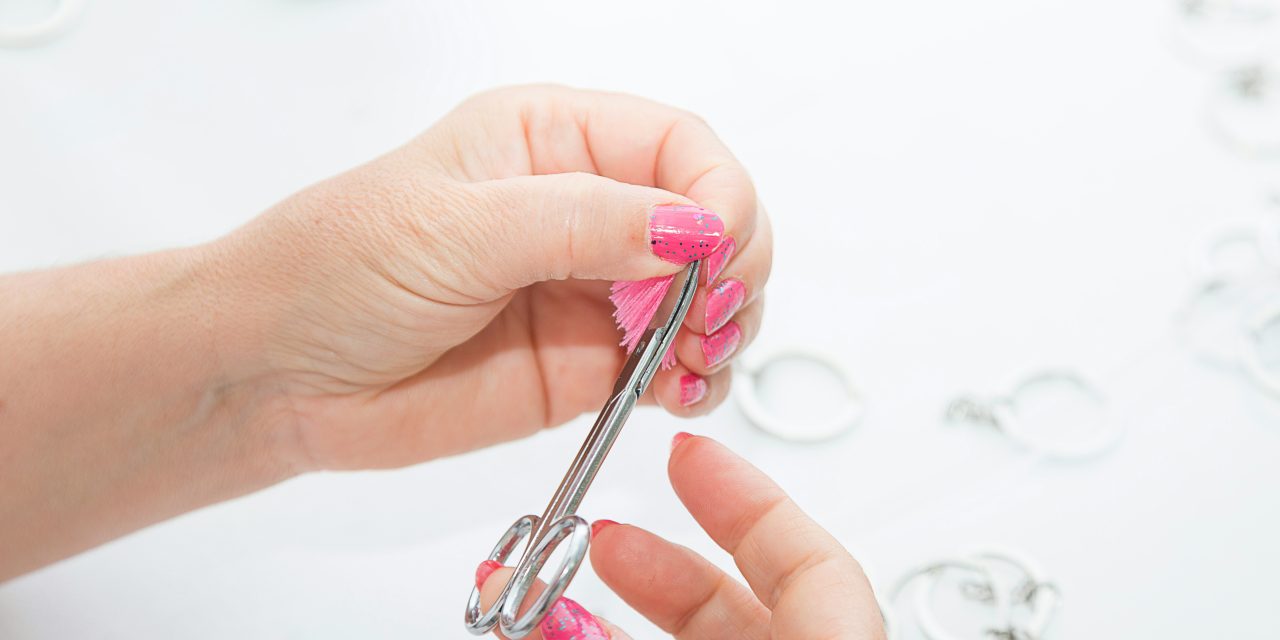
Selecting appropriate nail clippers and tools is essential for achieving a clean and precise cut. Nail clippers come in various shapes and sizes, including straight-edge and curved-edge designs. Straight-edge clippers are ideal for those who prefer square-shaped nails, while curved-edge clippers are better suited for rounded nail shapes. Additionally, specialized tools such as nail scissors and electric nail files can enhance precision and ease during the cutting process.
When choosing nail care tools, consider materials as well. Stainless steel implements are durable and easy to sanitize, making them a preferred choice among professionals. Furthermore, investing in high-quality tools can prevent damage to the nails and surrounding skin. Regular maintenance of these tools, including cleaning and sharpening, is vital to ensure optimal performance and longevity.
Preparing Your Nails Before Cutting

Preparation is key to achieving a successful manicure. Begin by soaking your nails in warm water for approximately 5 to 10 minutes. This softens the nail plate and surrounding skin, making it easier to cut and reducing the risk of splitting or tearing. Adding a few drops of gentle soap or essential oils can enhance this experience while providing additional hydration.
After soaking, gently push back the cuticles using a cuticle pusher or an orangewood stick. This step not only helps in achieving a neater appearance but also prevents hangnails from forming during the cutting process. It is advisable to avoid cutting the cuticles themselves, as this can lead to infections or painful inflammation.
Proper Techniques for Cutting Different Nail Shapes

Different nail shapes require distinct cutting techniques to achieve desired aesthetics while maintaining nail health. For square nails, use straight-edge clippers to create a flat edge across the tip of the nail. Ensure that you cut straight across without rounding the corners to prevent ingrown nails.
For oval-shaped nails, begin by cutting straight across before gently rounding the edges with curved clippers or scissors. This technique creates a soft, elongated appearance that complements various hand shapes. Almond-shaped nails require a more tapered approach; start by cutting straight across and then gradually shape the sides into a point.
How to Avoid Common Nail Cutting Mistakes
Avoiding common mistakes during nail cutting can significantly enhance the overall outcome of your manicure. One prevalent error is cutting nails too short, which can lead to discomfort and increase the risk of infection. Aim to leave a small white edge at the tip of each nail to maintain structural integrity.
Another mistake is using dull tools, which can cause tearing rather than clean cuts. Regularly inspect your clippers and scissors for sharpness and replace them as needed. Additionally, cutting nails when they are dry can lead to splitting; always ensure they are adequately prepared through soaking or moisturizing before trimming.
Filing and Smoothing After Cutting
Filing is an essential step following nail cutting that helps refine the shape and smooth any rough edges. Use a fine-grit file for best results; this minimizes damage to the nail plate while providing a polished finish. When filing, always move in one direction rather than back-and-forth to prevent splitting.
Consider using a buffer after filing to enhance shine and smoothness further. Buffing helps remove any ridges or imperfections on the surface of the nail, resulting in a healthier appearance. However, it is crucial not to over-buff, as excessive buffing can thin the nails and lead to brittleness.
Maintaining Nail Health During Manicures
Maintaining optimal nail health during manicures involves several practices that promote strength and resilience. Regularly moisturizing both the nails and cuticles is vital; consider using oils rich in vitamins E and B5 to nourish and hydrate these areas effectively. This practice not only enhances appearance but also prevents dryness and cracking.
Additionally, incorporating biotin supplements into your diet may support overall nail health by promoting growth and strength. A balanced diet rich in proteins, vitamins, and minerals also plays a significant role in maintaining healthy nails. Foods such as eggs, nuts, leafy greens, and fish provide essential nutrients that contribute to robust nail structures.
Tips for Cutting Nails for Sensitive or Weak Nails
Individuals with sensitive or weak nails should approach cutting with extra caution to avoid discomfort or damage. Begin by soaking nails in warm water infused with gentle moisturizers to soften them adequately before cutting. This step reduces brittleness and minimizes the risk of splitting during trimming.
When cutting sensitive nails, opt for specialized tools designed for delicate use; these often feature rounded edges or ergonomic designs that provide better control. Additionally, consider trimming less frequently but more conservatively—this approach allows for gradual maintenance without compromising nail integrity.
Hygiene Practices to Prevent Infections
Maintaining hygiene during nail care is paramount in preventing infections that can arise from improper techniques or unclean tools. Always sanitize your tools before use with alcohol wipes or disinfectant sprays to eliminate any potential pathogens. This practice is especially crucial if you are sharing tools with others.
Furthermore, avoid cutting or pushing back cuticles too aggressively; this can create openings for bacteria to enter. If you notice any signs of infection—such as redness, swelling, or pus—seek medical attention promptly to address the issue before it escalates.
Incorporating Moisturizing and Nail Care Products
Incorporating moisturizing products into your nail care routine can significantly enhance overall health and appearance. Look for creams or oils specifically formulated for nails and cuticles; these products often contain nourishing ingredients such as jojoba oil, shea butter, or vitamin E.
Regular application of these products helps maintain hydration levels while preventing dryness and brittleness. Additionally, consider using strengthening treatments that contain keratin or calcium; these formulations can fortify weak nails and promote healthier growth over time.
Step-by-Step Routine for a Perfect At-Home Manicure
Achieving a perfect at-home manicure involves following a systematic routine that encompasses all aspects of nail care:
1. **Preparation**: Gather all necessary tools—clippers, files, buffers, moisturizers—and ensure they are sanitized.
2. **Soaking**: Soak your nails in warm water for 5-10 minutes to soften them.
3. **Cuticle Care**: Gently push back cuticles without cutting them.
4. **Trimming**: Cut nails according to desired shape using appropriate clippers.
5. **Filing**: File edges smoothly in one direction.
6. **Buffing**: Buff nails lightly for shine.
7. **Moisturizing**: Apply cuticle oil or cream generously.
8. **Finishing Touches**: Optionally apply polish or topcoat for added aesthetics.
By adhering to this comprehensive routine, individuals can achieve salon-quality results at home while ensuring optimal nail health.
In summary, understanding nail anatomy and employing proper techniques during manicures are essential for maintaining healthy nails. Choosing appropriate tools, preparing adequately before cutting, and avoiding common mistakes contribute significantly to achieving desired outcomes. Regular filing, moisturizing practices, and hygiene measures further enhance overall nail health while preventing infections. By following a structured routine for at-home manicures, individuals can enjoy beautiful nails while promoting their well-being effectively.
FAQs
What is nail cutting training?
Nail cutting training is a specialized program designed to teach individuals the proper techniques and safety measures for cutting nails. This training is often aimed at professionals in the beauty and grooming industry, as well as caregivers who assist individuals with personal grooming.
Who can benefit from nail cutting training?
Individuals who can benefit from nail cutting training include professional nail technicians, cosmetologists, caregivers for the elderly or disabled, and anyone interested in improving their personal grooming skills. It is particularly useful for those who work in environments where nail care is essential for hygiene and aesthetics.
What are the key skills taught in nail cutting training?
Key skills taught in nail cutting training include proper nail cutting techniques, understanding nail anatomy, sanitation practices, and the use of various nail tools. Participants also learn how to identify nail disorders and how to handle different nail types safely.
Is certification available after completing nail cutting training?
Yes, many nail cutting training programs offer certification upon successful completion. This certification can enhance a professional’s credentials and may be required for employment in certain salons or healthcare settings.
How long does nail cutting training typically last?
The duration of nail cutting training can vary widely depending on the program. Some courses may last a few hours, while more comprehensive training can take several days or weeks. It often includes both theoretical instruction and practical hands-on experience.