A leaky faucet is not merely an annoyance; it can lead to significant water wastage and increased utility bills. The average household faucet can drip at a rate of one drip per second, which translates to over 3,000 gallons of water wasted annually. To address this issue, one must first identify the type of faucet in question—compression, cartridge, ball, or ceramic disk—as each has its unique mechanism and repair requirements.
To initiate the repair process, turn off the water supply to the faucet and drain any remaining water by turning on the faucet. Next, remove the handle by loosening the screw, which is often hidden under a decorative cap. Once the handle is off, you can access the internal components. Inspect washers, O-rings, and seals for wear and tear; these are common culprits behind leaks. Replacing these parts with new ones can often restore functionality. After reassembling the faucet, turn the water supply back on and check for leaks.
If you’re looking to tackle some simple house repair projects, you might find it helpful to read an article that provides easy-to-follow instructions and tips. For instance, check out this informative piece on how to efficiently fix common household issues by visiting this link. It offers practical advice that can help you become more confident in handling repairs around your home.
Unclogging Drains with Household Items
Clogged drains can be a source of frustration in any household. While commercial drain cleaners are available, they often contain harsh chemicals that can damage pipes over time. Fortunately, several household items can effectively unclog drains without causing harm. One popular method involves using a combination of baking soda and vinegar. Pour half a cup of baking soda down the drain, followed by half a cup of vinegar. The chemical reaction between these two substances creates fizzing action that can dislodge debris.
Another effective technique is to use boiling water. Pouring boiling water down the drain can help dissolve grease and soap buildup. For more stubborn clogs, a plunger can be employed to create pressure that may dislodge blockages. If these methods fail, consider using a plumber’s snake, which can reach deeper into pipes to remove obstructions. Regular maintenance, such as flushing drains with hot water weekly, can prevent future clogs.
Patching Small Holes in Drywall

Small holes in drywall can detract from the aesthetic appeal of your home. Fortunately, repairing these imperfections is a straightforward process that requires minimal tools and materials. For holes smaller than a quarter in diameter, a simple spackling compound will suffice. Begin by cleaning the area around the hole to ensure proper adhesion. Apply the spackling compound with a putty knife, smoothing it over the hole until it is flush with the surrounding wall.
For larger holes, a patch may be necessary. Cut a piece of drywall slightly larger than the hole and secure it in place with drywall screws. Once the patch is secured, apply joint compound over the seams and feather it out to blend with the existing wall. After drying, sand the area smooth and paint to match the surrounding wall color. Regular inspections can help identify potential damage early, allowing for timely repairs.
Replacing a Broken Light Switch

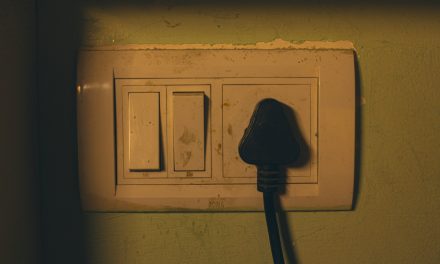
A malfunctioning light switch can disrupt daily activities and pose safety hazards. Before replacing a broken switch, ensure that power is turned off at the circuit breaker to prevent electrical shock. Remove the switch cover plate and unscrew the switch from its electrical box. Carefully disconnect the wires from the old switch, noting their configuration for proper installation of the new switch.
When installing the new switch, connect the wires according to their original configuration—typically black wires to brass screws and white wires to silver screws. Secure the switch back into the electrical box and replace the cover plate. Finally, restore power at the circuit breaker and test the switch to ensure proper functionality. Regularly checking switches for signs of wear can prevent unexpected failures.
If you’re looking to tackle some simple house repair tasks, you might find it helpful to explore various DIY guides available online. One such resource provides a detailed overview of how to replace a car thermostat, which can be surprisingly similar to some home maintenance projects. You can check out the article for a step-by-step approach that emphasizes the importance of preparation and the right tools. For more information, visit this guide to enhance your repair skills and confidence.
Sealing Drafty Windows and Doors
Drafty windows and doors can lead to significant energy loss, resulting in higher heating and cooling costs. To effectively seal these gaps, start by inspecting frames for visible cracks or gaps where air may escape. Weatherstripping is an effective solution for sealing these openings; it comes in various materials such as foam, felt, or vinyl and can be easily applied along the edges of windows and doors.
In addition to weatherstripping, caulking can be used to fill larger gaps around window frames or door thresholds. Choose a high-quality caulk suitable for exterior use to ensure durability against weather elements. For added insulation, consider using thermal curtains or window film to reduce heat transfer during extreme temperatures. Regular maintenance checks can help identify areas needing attention before they become significant issues.
Cleaning and Maintaining Gutters
Gutters play a crucial role in directing rainwater away from your home’s foundation; however, they require regular cleaning and maintenance to function effectively. Clogged gutters can lead to water damage, mold growth, and even structural issues over time. To clean gutters safely, use a sturdy ladder and wear gloves to protect your hands from debris.
Begin by removing leaves and twigs from the gutters using a scoop or your hands. After clearing debris, flush gutters with water from a hose to ensure proper drainage. Inspect downspouts for blockages; if necessary, use a plumber’s snake or a high-pressure nozzle to clear any obstructions. Installing gutter guards can help minimize debris accumulation in the future, reducing maintenance frequency.
Repairing Loose Cabinet Hinges
Loose cabinet hinges can cause doors to sag or not close properly, impacting both functionality and aesthetics in your kitchen or bathroom. To address this issue, start by tightening screws on the hinges using a screwdriver; often, this simple step resolves minor issues. If screws are stripped or damaged, consider replacing them with longer screws that can grip into solid wood.
In cases where hinges are significantly worn or damaged, replacement may be necessary. Remove the old hinges by unscrewing them from both the cabinet door and frame. Align new hinges with existing holes or drill new ones if needed for proper fitment. Ensure that hinges are securely fastened to prevent future loosening. Regular inspections of cabinet hardware can help maintain functionality over time.
Replacing Showerheads to Improve Water Flow
A low-flow showerhead can diminish your shower experience while also wasting water if it’s clogged with mineral deposits or debris. Replacing an old showerhead is an effective way to enhance water flow and improve overall shower quality. Begin by removing the existing showerhead by turning it counterclockwise; if it’s stuck due to mineral buildup, use pliers wrapped in cloth for grip without damaging the finish.
Once removed, clean any remaining threads on the shower arm before installing a new showerhead. Apply plumber’s tape around the threads to ensure a watertight seal before screwing on the new fixture clockwise until secure. Test for leaks by turning on the water; if any leaks occur, tighten further or reapply plumber’s tape as needed. Regular maintenance of showerheads can prolong their lifespan and maintain optimal performance.
Touching Up Paint Chips and Scratches
Paint chips and scratches on walls or furniture can detract from your home’s appearance but are easily remedied with some basic touch-up techniques. Start by cleaning the affected area with soap and water to remove dirt or grease that could interfere with adhesion. Once dry, assess whether you need to sand down rough edges around chips for a smoother finish.
Using a small brush or roller, apply matching paint carefully over the damaged area; feathering out edges will help blend repairs into surrounding surfaces seamlessly. Allow adequate drying time before applying additional coats if necessary for full coverage. Keeping leftover paint from original projects can simplify touch-ups in the future; store it properly in airtight containers away from extreme temperatures.
Installing a Programmable Thermostat
A programmable thermostat offers homeowners enhanced control over heating and cooling systems while promoting energy efficiency. To install one, begin by turning off power at the circuit breaker for safety during installation. Remove the existing thermostat cover and disconnect wires while labeling them for easy reconnection later.
Follow manufacturer instructions for wiring connections on your new thermostat; typically, this involves matching labeled wires to corresponding terminals on the device. Once connected securely, mount the thermostat onto the wall plate provided and restore power at the circuit breaker. Program desired temperature settings according to your schedule for optimal comfort while conserving energy when not at home.
Tightening Squeaky Door Hinges
Squeaky door hinges are often caused by friction due to lack of lubrication or wear over time; addressing this issue is essential for maintaining peace within your home environment. Start by identifying which hinges are causing noise; gently open and close doors to pinpoint squeaks accurately.
To remedy this problem, apply lubricant such as WD-40 or silicone spray directly onto hinge pins while moving doors back and forth to distribute evenly throughout moving parts. For persistent squeaks that do not resolve with lubrication alone, consider removing hinges entirely for thorough cleaning before reapplying lubricant upon reinstallation.
In summary, maintaining your home involves addressing various minor repairs that can significantly enhance comfort and efficiency while preventing larger issues down the line. From fixing leaky faucets to installing programmable thermostats, each task contributes to creating a well-functioning living space that meets your needs effectively while promoting sustainability through energy conservation practices.
FAQs
What are some common simple house repairs that homeowners can do themselves?
Common simple house repairs include fixing leaky faucets, patching small holes in walls, replacing light fixtures, unclogging drains, and painting walls. These tasks typically require minimal tools and can be completed with basic DIY skills.
What tools are essential for basic home repairs?
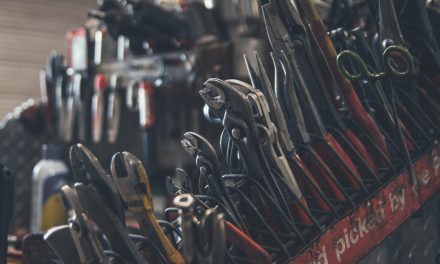
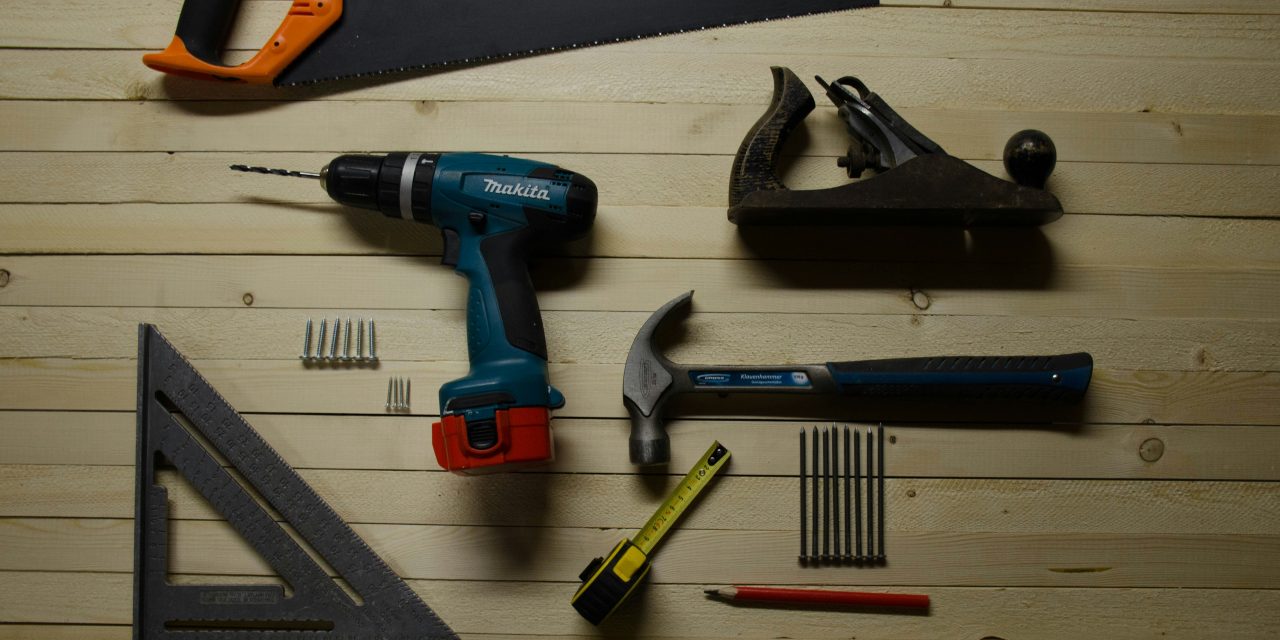
Essential tools for basic home repairs include a hammer, screwdrivers (both flathead and Phillips), pliers, a tape measure, a utility knife, a level, and a drill. Having these tools on hand can help you tackle a variety of small repair tasks around the house.
How can I fix a leaky faucet?
To fix a leaky faucet, first turn off the water supply. Then, disassemble the faucet to access the washer or O-ring, which is often the cause of the leak. Replace any worn parts, reassemble the faucet, and turn the water supply back on to check for leaks.
What is the best way to patch small holes in drywall?
The best way to patch small holes in drywall is to clean the area around the hole, apply a patching compound or spackle with a putty knife, and smooth it out. Once dry, sand the area lightly and paint over it to match the surrounding wall.
When should I consider hiring a professional for home repairs?
You should consider hiring a professional for home repairs when the task is beyond your skill level, involves electrical or plumbing work that requires permits, or poses safety risks. Additionally, if the repair is extensive or requires specialized tools, a professional may be the best option.