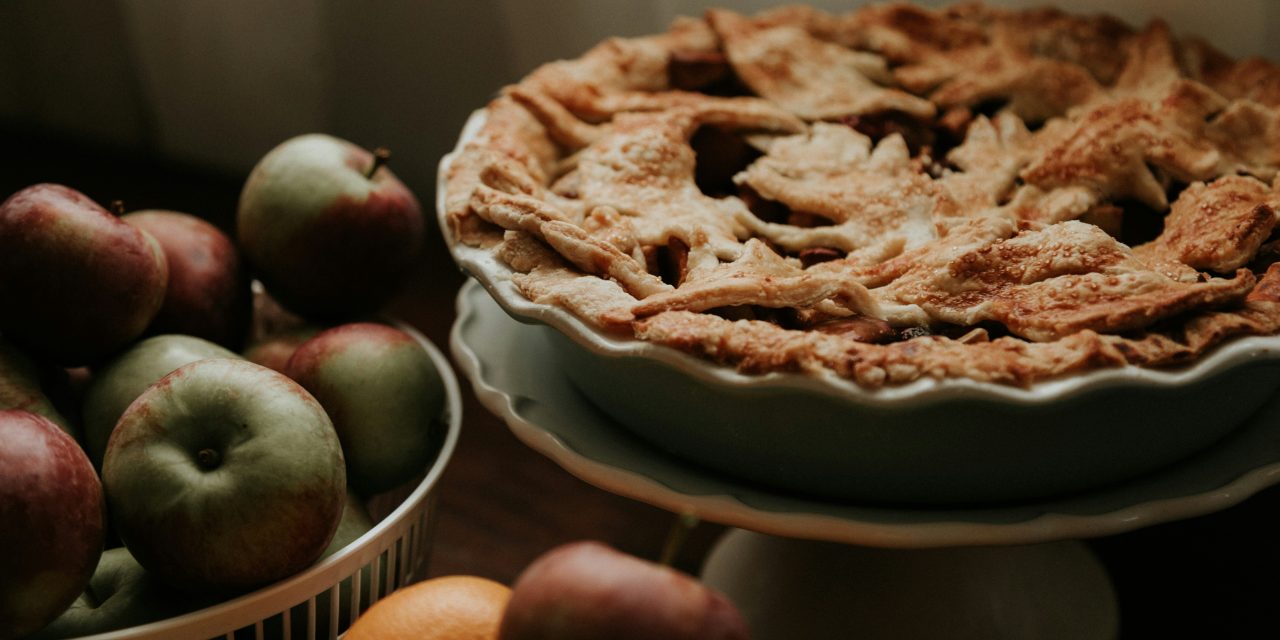
When it comes to baking an apple pie, the crust often serves as the foundation of this beloved dessert. While many home bakers may feel compelled to create their own crust from scratch, opting for a store-bought version can save time and effort without sacrificing flavor or texture. Store-bought crusts are designed to be user-friendly, allowing even novice bakers to achieve a delicious pie with minimal fuss. This convenience is particularly appealing for those who may not have the time or inclination to prepare a homemade crust, especially during busy holiday seasons or family gatherings.
Moreover, store-bought crusts come in various forms, including pre-rolled and frozen options, which can be easily adapted to suit individual preferences. These crusts are often made with high-quality ingredients, ensuring a flaky and tender texture that complements the sweet and tart apple filling. By choosing a store-bought crust, you can focus on perfecting the filling and presentation of your pie, making it an excellent choice for both seasoned bakers and those just starting their culinary journey.
If you’re looking for a delicious and easy dessert to complement your meal, consider making apple pie with store-bought crust. This simple recipe allows you to enjoy the classic flavors of apple pie without the hassle of making your own crust from scratch. For a refreshing side dish to serve alongside your pie, check out this article on how to prepare a delightful Greek orzo salad with cucumbers and feta. You can find the recipe here: Easy Greek Orzo Salad with Cucumbers and Feta.
Gathering Your Ingredients: What You’ll Need
To create a delectable apple pie using a store-bought crust, it is essential to gather all necessary ingredients beforehand. The primary components include the crust itself, which can be either a single or double crust depending on your preference. For the filling, you will need approximately 6 to 8 medium-sized apples, preferably a mix of tart and sweet varieties such as Granny Smith and Honeycrisp. This combination will provide a balanced flavor profile that enhances the overall taste of the pie.
In addition to apples, you will require sugar—typically granulated sugar and brown sugar—to sweeten the filling. Ground cinnamon is a classic spice that adds warmth and depth, while nutmeg can provide an additional layer of flavor. A tablespoon of lemon juice is also recommended to brighten the filling and prevent the apples from browning. Lastly, cornstarch or flour will serve as a thickening agent to ensure the filling has the right consistency. With these ingredients in hand, you are well on your way to crafting a delightful apple pie.
Preparing the Apple Filling: Tips for Perfect Flavor

The apple filling is arguably the heart of any apple pie, and preparing it correctly is crucial for achieving optimal flavor and texture. Begin by peeling, coring, and slicing your apples into uniform pieces—about ¼ inch thick is ideal. This ensures even cooking and prevents some slices from becoming mushy while others remain firm. Once sliced, place the apples in a large mixing bowl and toss them with sugar, cinnamon, nutmeg, and lemon juice. Allow the mixture to sit for about 15 minutes; this resting period enables the apples to release their natural juices, which will later meld with the sugars and spices.
After the apples have macerated, it’s time to thicken the filling. Sprinkle cornstarch or flour over the apple mixture and gently fold it in until all slices are coated. This step is essential as it prevents the filling from becoming overly runny during baking. For an added touch of complexity, consider incorporating additional flavorings such as vanilla extract or a splash of bourbon. These enhancements can elevate your pie from ordinary to extraordinary, creating a memorable dessert that will impress family and friends alike.
Rolling Out and Placing the Store-Bought Crust

Once your apple filling is prepared, it’s time to work with the store-bought crust. If you’ve chosen a frozen crust, allow it to thaw according to package instructions—typically at room temperature for about 15-20 minutes. For pre-rolled crusts, simply unroll them carefully onto a clean surface. If you prefer a homemade touch, you can roll out the dough slightly to fit your pie dish better; however, this step is often unnecessary with high-quality store-bought options.
To place the bottom crust in your pie dish, gently lift it by the edges and position it over the dish. Press it down lightly to ensure it fits snugly against the sides and bottom without stretching or tearing. Trim any excess dough hanging over the edges if necessary; this will help create a clean finish once baked. It’s important to ensure that there are no air pockets between the crust and dish, as this can lead to uneven baking.
If you’re looking for a quick and delicious dessert to complement your meal, consider making apple pie with store-bought crust. This method not only saves time but also allows you to focus on the flavorful filling. For a complete dinner idea, you might want to check out this easy chicken alfredo recipe that pairs perfectly with your homemade pie. By combining these two recipes, you can create a delightful meal that impresses without requiring hours in the kitchen.
Assembling the Pie: Layering and Sealing the Crust
With your bottom crust in place, it’s time to assemble your pie by layering in the apple filling. Spoon the prepared apple mixture into the crust, ensuring an even distribution throughout. Avoid overfilling; leaving about half an inch of space at the top will allow for proper sealing and prevent spillage during baking. Once filled, it’s essential to seal the pie properly to maintain its integrity during cooking.
To seal your pie, fold any excess dough over the top of the filling and crimp the edges together using your fingers or a fork. This not only creates an attractive design but also helps prevent juices from leaking out during baking. For added security, consider brushing a little water along the edges before crimping; this will help the dough adhere better. Once sealed, you can proceed to add your top crust or lattice design.
If you’re looking to whip up a delicious apple pie without the hassle of making your own crust, you might find it helpful to explore some tips on using store-bought options effectively. For a deeper dive into kitchen shortcuts, check out this informative article on how to make apple pie with store bought crust, where you’ll discover various techniques to enhance your baking experience and ensure your pie turns out perfectly every time.
Adding the Top Crust: Lattice or Full Cover Options
The choice between a full cover or lattice top crust is largely a matter of personal preference and presentation style. A full cover crust provides a classic look while ensuring that all of the delicious filling remains hidden until served. To create this option, simply roll out another store-bought crust and place it over the filled pie. Cut several slits in the top crust to allow steam to escape during baking; this will help prevent sogginess.
Alternatively, a lattice top offers an elegant appearance that showcases the apple filling beneath while allowing for steam ventilation. To create a lattice design, roll out your second crust and cut it into strips approximately ¾ inch wide. Lay half of these strips horizontally across the filled pie, then weave in the remaining strips vertically by alternating over and under each horizontal strip. This technique not only enhances visual appeal but also allows for even baking.
Venting and Egg Wash: Ensuring a Golden Finish
Venting your pie is crucial for achieving that perfect golden-brown finish while preventing any overflow of juices during baking. As mentioned earlier, cutting slits in a full cover crust or weaving strips in a lattice design serves this purpose effectively. However, if you prefer additional ventilation options, consider using decorative shapes or designs cut into the top crust.
To enhance both appearance and flavor, applying an egg wash before baking is highly recommended. An egg wash consists of beaten egg mixed with a tablespoon of water or milk; this mixture can be brushed over the top crust using a pastry brush. The egg wash creates a beautiful sheen as well as promotes browning during baking. For an extra touch of sweetness, sprinkle coarse sugar over the egg wash before placing your pie in the oven.
Baking Your Apple Pie: Time and Temperature Guide
Baking an apple pie requires careful attention to time and temperature to ensure that both crust and filling are cooked perfectly. Preheat your oven to 425°F (220°C) before placing your pie inside; this initial high temperature helps set the crust quickly while allowing steam to escape from the filling. Bake for approximately 15-20 minutes at this temperature before reducing it to 350°F (175°C) for an additional 30-40 minutes.
Keep an eye on your pie during baking; if you notice that the edges are browning too quickly, cover them with strips of aluminum foil to prevent burning while allowing the center to continue cooking thoroughly. The pie is done when the filling is bubbling through the vents and the crust has achieved a rich golden color.
Cooling and Serving: When to Slice and Enjoy
Once your apple pie has finished baking, it’s essential to allow it to cool before slicing into it. Cooling helps set the filling and makes serving easier without creating a messy slice. Allow your pie to cool on a wire rack for at least 2 hours; this resting period allows flavors to meld beautifully while ensuring that juices thicken appropriately.
When ready to serve, slice your pie using a sharp knife or pie server for clean cuts. Apple pie is delightful on its own but can be elevated further with accompaniments such as vanilla ice cream or whipped cream. The contrast between warm pie and cold toppings creates an indulgent experience that is sure to please any palate.
Tips for Customizing Your Pie Filling
While traditional apple pie filling is delicious on its own, there are numerous ways to customize it according to personal taste preferences or seasonal ingredients. Consider adding dried fruits such as raisins or cranberries for added texture and sweetness. Nuts like walnuts or pecans can introduce crunchiness while enhancing flavor complexity.
For those who enjoy experimenting with spices, consider incorporating ginger or allspice alongside cinnamon for an aromatic twist. Additionally, citrus zest—such as orange or lemon—can brighten flavors further while adding freshness to each bite. Don’t hesitate to explore various combinations until you find your perfect blend!
Storing Leftovers and Reheating Suggestions
If you find yourself with leftover apple pie after serving guests or family members, proper storage is key to maintaining its freshness. Allow any remaining slices to cool completely before transferring them into an airtight container; this will help preserve moisture while preventing odors from other foods in your refrigerator from affecting flavor.
To reheat leftover slices of apple pie without compromising texture or taste, preheat your oven to 350°F (175°C). Place individual slices on a baking sheet lined with parchment paper and cover loosely with aluminum foil; this prevents excessive browning while allowing heat circulation around each slice. Bake for approximately 15-20 minutes until warmed through—this method ensures that both crust remains flaky while filling stays deliciously warm.
In summary, choosing store-bought crusts for apple pies offers convenience without sacrificing quality or flavor. By gathering essential ingredients and following detailed preparation steps—from creating an exquisite apple filling through assembling layers—you can craft an impressive dessert that delights everyone at your table! With customization options available for fillings along with proper storage techniques for leftovers—your culinary adventure doesn’t have to end after one slice!
FAQs
Can I use any type of store-bought crust for apple pie?
Yes, you can use either a refrigerated or frozen store-bought pie crust for apple pie. Both options work well, but make sure to follow the package instructions for the best results.
What type of apples are best for making apple pie?
For apple pie, a mix of tart and sweet apples is ideal. Popular choices include Granny Smith, Honeycrisp, and Fuji apples. This combination provides a balanced flavor and texture in the pie.
How do I prepare the apples for the pie filling?
To prepare the apples, peel, core, and slice them into thin, even pieces. Toss the apple slices with sugar, cinnamon, and a bit of lemon juice to enhance their flavor and prevent browning.
Should I pre-bake the crust before adding the filling?
Pre-baking the crust, also known as blind baking, is not necessary when using store-bought crust for apple pie. However, if you prefer a crisper bottom crust, you can pre-bake it for about 10 minutes before adding the filling.
How long should I bake the apple pie?
Bake the apple pie at 425°F (220°C) for about 15 minutes, then reduce the temperature to 350°F (175°C) and continue baking for an additional 30-40 minutes, or until the apples are tender and the crust is golden brown.