Leaky faucets are not only an annoyance but also a significant source of water wastage. A single faucet drip can waste over 3,000 gallons of water annually, leading to increased utility bills and environmental concerns. The primary culprits behind these leaks are worn-out washers, O-rings, or corroded valve seats. To effectively address this issue, one must first identify the type of faucet—compression, cartridge, ball, or ceramic disc—as each has its unique repair method.
To initiate the repair process, turn off the water supply to the faucet and drain any remaining water. Disassemble the faucet carefully, taking note of the order of components for reassembly. Replace any damaged washers or O-rings with new ones that match the specifications of the original parts. Reassemble the faucet and turn the water supply back on to check for leaks. If the problem persists, it may be necessary to replace the entire faucet assembly. Regular maintenance can prevent leaks from occurring in the first place, ensuring a more sustainable water usage.
Repairing Drywall Holes: Achieve Smooth, Invisible Patches
Drywall holes can detract from the aesthetic appeal of any room, whether caused by accidental impacts or the removal of fixtures. Repairing these imperfections requires a systematic approach to ensure a seamless finish. The first step involves assessing the size of the hole; small holes can be filled with spackle, while larger ones may require a patching compound or a piece of drywall.
For small holes, apply a layer of spackle with a putty knife, smoothing it out to match the surrounding surface. Once dry, sand it lightly and paint over it for a flawless appearance. For larger holes, cut a piece of drywall to fit the opening and secure it with drywall screws. Apply joint compound over the seams and feather it out to blend with the existing wall. After drying, sand and paint for a professional finish. Regular inspections can help identify potential damage early, allowing for timely repairs and maintaining the integrity of your walls.
Unclogging Drains: Simple Methods to Clear Blockages

Clogged drains can lead to frustrating backups and unpleasant odors in your home. Common causes include hair, grease buildup, soap residue, and foreign objects obstructing the pipes. To effectively unclog drains, several methods can be employed, ranging from simple home remedies to more advanced techniques.
One effective method involves using a mixture of baking soda and vinegar. Pour half a cup of baking soda down the drain, followed by half a cup of vinegar. Allow it to sit for approximately 30 minutes before flushing with hot water. For more stubborn clogs, a plunger or a plumber’s snake may be necessary to dislodge blockages. If these methods fail, consider using enzymatic drain cleaners that break down organic material without harming your plumbing system. Regular maintenance, such as using strainers and avoiding pouring grease down the sink, can significantly reduce the likelihood of clogs.
Replacing Faulty Light Switches and Outlets Safely

Electrical issues can pose serious safety hazards in any household. Faulty light switches and outlets may lead to flickering lights or even electrical fires if not addressed promptly. To ensure safety during repairs, always turn off the power at the circuit breaker before beginning any work.
When replacing a light switch, remove the cover plate and unscrew the switch from its electrical box. Carefully disconnect the wires, noting their configuration for reinstallation. Connect the new switch by matching the wires to their corresponding terminals and secure it back into place. For outlets, follow a similar procedure—remove the old outlet and connect the new one according to color-coded wiring standards (black for hot, white for neutral, and green or bare for ground). After completing the installation, restore power and test functionality. Regular inspections of electrical components can prevent malfunctions and enhance safety.
Patching Roof Leaks: Prevent Water Damage Early
Roof leaks can lead to extensive water damage if not addressed promptly. Identifying the source of a leak is crucial; common culprits include damaged shingles, flashing issues, or clogged gutters. Regular roof inspections can help detect potential problems before they escalate into costly repairs.
To patch a roof leak, start by locating the source of water intrusion during dry weather conditions. For minor leaks caused by missing shingles, replace them with new ones secured with roofing nails and sealant. If flashing is damaged or rusted, it may need to be replaced entirely to ensure proper sealing against water penetration. For larger leaks or structural issues, consulting a professional roofer is advisable to assess damage and recommend appropriate repairs. Implementing preventive measures such as regular maintenance checks can significantly extend your roof’s lifespan.
Sealing Drafty Windows and Doors for Energy Efficiency
Drafty windows and doors can lead to significant energy loss in homes, resulting in higher heating and cooling costs. Air leaks allow conditioned air to escape while letting outside air infiltrate your living space. To enhance energy efficiency, sealing these drafts is essential.
Begin by inspecting windows and doors for gaps using a candle or incense stick; flickering flames indicate airflow. Weatherstripping is an effective solution for sealing gaps around movable parts like doors and windows. For fixed windows, caulking can be applied around frames to create an airtight seal. Additionally, consider installing storm windows or door sweeps for added insulation against drafts. Regular maintenance checks can help identify new leaks as they arise, ensuring continued energy efficiency throughout your home.
Fixing Running Toilets: Save Water and Reduce Bills
A running toilet is not only annoying but also wastes an estimated 200 gallons of water daily if left unchecked. The primary causes include faulty flappers, fill valves, or float mechanisms that fail to shut off properly. Addressing this issue promptly can lead to significant savings on water bills.
To fix a running toilet, start by removing the tank lid and inspecting the flapper valve at the bottom of the tank. If it appears worn or damaged, replacing it is often a simple fix that can restore proper function. Adjusting the float mechanism may also resolve issues where water continuously fills the tank without shutting off. If these adjustments do not solve the problem, consider replacing the fill valve entirely for optimal performance. Regular maintenance checks can help identify potential issues early on, preventing costly water waste.
Repairing Squeaky or Sticking Doors and Cabinets
Squeaky doors and sticking cabinets can be frustrating nuisances in any home environment. These issues often arise from misalignment or lack of lubrication in hinges and tracks. Addressing these problems promptly can enhance functionality and improve overall comfort in your living space.
To repair squeaky doors, apply a lubricant such as WD-40 or silicone spray directly onto hinges while moving the door back and forth to distribute evenly. For sticking cabinets, inspect hinges for alignment issues; adjusting screws may resolve misalignment causing friction against frames. If necessary, consider sanding down areas where wood may have swollen due to humidity or moisture exposure. Regular maintenance checks on hinges and tracks can prevent future issues from arising.
Maintaining and Cleaning Gutters to Avoid Water Damage
Clogged gutters can lead to significant water damage if not maintained regularly. When debris accumulates in gutters, it prevents proper drainage and can cause overflow that damages roofs, siding, and foundations. Establishing a routine cleaning schedule is essential for preventing these issues.
To clean gutters effectively, use a sturdy ladder to access them safely while wearing gloves to protect against sharp debris. Remove leaves and dirt using a scoop or trowel before flushing with water from a hose to ensure proper flow through downspouts. Installing gutter guards can also help minimize debris accumulation while allowing rainwater to flow freely. Regular inspections after heavy storms can help identify potential blockages early on, preventing costly repairs due to water damage.
Replacing Broken Tiles: Restore Your Floors and Walls
Broken tiles can detract from both aesthetics and functionality in any space—whether on floors or walls—leading to potential safety hazards if left unrepaired. Replacing broken tiles requires careful attention to detail for seamless restoration.
Begin by removing damaged tiles using a chisel or hammer while taking care not to damage surrounding tiles or surfaces. Clean any adhesive residue before applying new adhesive to secure replacement tiles in place according to manufacturer instructions. Once set, grout around edges for a polished finish that matches existing tiles as closely as possible. Regular inspections can help identify cracks or chips early on before they escalate into larger issues requiring extensive repairs.
Painting Touch-Ups: Refresh Walls Like a Pro
Over time, walls may become scuffed or faded due to wear and tear from daily life—prompting the need for touch-ups that restore their original beauty without requiring full repainting efforts. Mastering this skill allows homeowners to maintain their living spaces effectively.
To begin touch-ups effectively, select paint that matches existing wall colors precisely; consider taking samples to local hardware stores for accurate color matching if necessary. Use a small brush or roller for application—ensuring even coverage while feathering edges into surrounding areas for seamless blending with existing paintwork. Allow adequate drying time before assessing results; additional coats may be required for optimal coverage depending on color intensity differences between old and new paint layers. Regular touch-ups can keep walls looking fresh while extending overall paint lifespan.
In summary, addressing common household repairs such as leaky faucets, drywall holes, clogged drains, faulty electrical components, roof leaks, drafty windows/doors, running toilets/squeaky doors/cabinets/gutters/broken tiles/painting touch-ups is essential for maintaining both functionality and aesthetics within your home environment while promoting energy efficiency through proactive measures taken regularly over time!
FAQs
What are some common home repairs that homeowners should be aware of?
Common home repairs include fixing leaky faucets, repairing drywall, unclogging drains, replacing light fixtures, and maintaining HVAC systems. Regular maintenance can help prevent these issues from becoming more serious problems.
How can I determine if I should hire a professional for home repairs?
If a repair requires specialized skills, tools, or knowledge, such as electrical work or plumbing, it’s often best to hire a professional. Additionally, if the repair is extensive or poses safety risks, seeking professional help is advisable.
What tools are essential for basic home repairs?
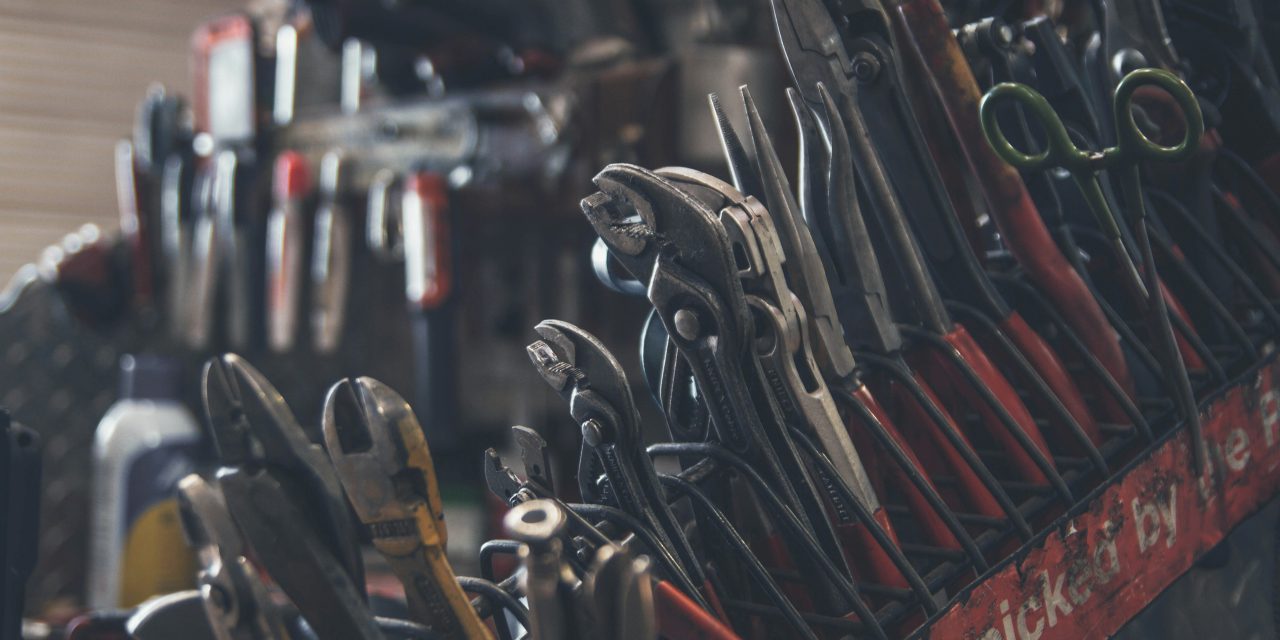
Essential tools for basic home repairs include a hammer, screwdrivers (both flathead and Phillips), pliers, a tape measure, a utility knife, and a level. Having a basic toolkit can help homeowners tackle minor repairs effectively.
How can I prevent common home repair issues?
Preventative measures include regular maintenance checks, cleaning gutters, inspecting roofs for damage, sealing windows and doors, and changing air filters in HVAC systems. Staying proactive can help minimize the need for repairs.
What should I do if I encounter a major home repair issue?
If you encounter a major home repair issue, such as a burst pipe or electrical failure, it’s important to turn off the relevant utilities and contact a professional immediately. Document the damage and any steps you’ve taken for insurance purposes.