Before embarking on the task of replacing a brake light bulb, it is essential to gather all necessary tools and materials to ensure a smooth and efficient process. The primary items required include a new brake light bulb, which can be obtained from an automotive parts store or online retailer. It is crucial to select the correct bulb type, as specified in the vehicle’s owner manual or on the existing bulb itself. Additionally, a flathead screwdriver or a socket wrench may be needed to remove the brake light assembly cover, depending on the vehicle model.
Other useful tools include gloves to protect your hands from sharp edges and dirt, as well as a clean cloth to wipe any dust or debris from the assembly area. Having a flashlight can also be beneficial, especially if you are working in low-light conditions. By preparing these tools and materials beforehand, you can streamline the replacement process and minimize the risk of encountering unexpected challenges.
If you’re looking to enhance your car maintenance skills, you might find it helpful to read an article on how to replace a brake light bulb. This task is essential for ensuring your vehicle’s safety and compliance with traffic laws. For additional tips on managing your time effectively while tackling various tasks, you can check out this article on creating a realistic weekend cleaning routine that works. You can find it here: 10 Tips to Create a Realistic Weekend Cleaning Routine That Works.
Ensure Safety: Turn Off the Vehicle and Engage Parking Brake
Safety should always be the foremost consideration when performing any maintenance on a vehicle. Before beginning the brake light bulb replacement, ensure that the vehicle is turned off completely. This precaution prevents any accidental engagement of the electrical system while you are working on it. Additionally, engaging the parking brake is crucial to prevent the vehicle from rolling unexpectedly, especially if you are working on an incline.
It is also advisable to wear safety glasses to protect your eyes from any debris that may fall during the process. If you are working in a garage or on a driveway, consider placing wheel chocks behind the rear tires to provide extra stability. By taking these safety measures, you can create a secure environment for yourself while performing this essential maintenance task.
Locate the Brake Light Assembly

Once safety precautions are in place, the next step involves locating the brake light assembly on your vehicle. The brake light assembly is typically situated at the rear of the vehicle, integrated into the tail light housing. Depending on the make and model of your car, it may be necessary to open the trunk or hatchback to access the assembly more easily.
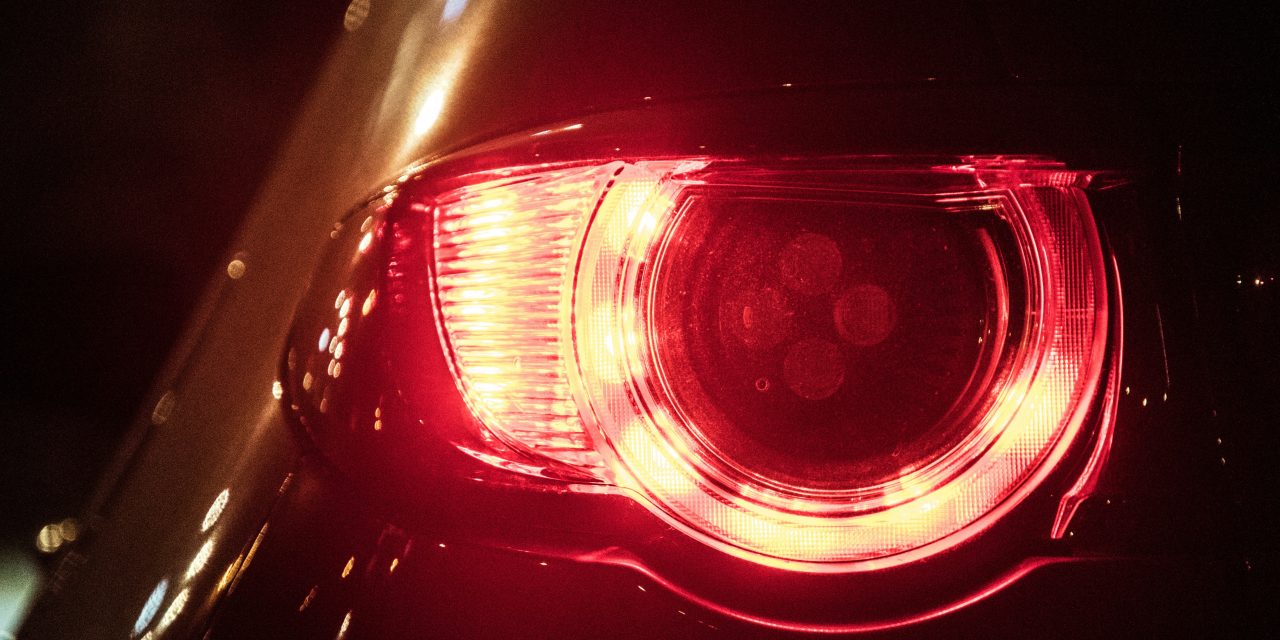
In many vehicles, the brake light assembly is identifiable by its distinct red lens cover. Some models may have separate compartments for brake lights and turn signals, while others combine them into a single unit. Familiarizing yourself with your vehicle’s layout will expedite the process of locating the assembly and allow you to proceed with confidence.
Remove the Brake Light Cover or Housing

After successfully locating the brake light assembly, the next step is to remove the cover or housing that protects the brake light bulb. This process may vary depending on your vehicle’s design; some models feature screws that need to be unscrewed using a screwdriver, while others may have clips that require gentle prying with a flathead screwdriver.
When removing the cover, exercise caution to avoid damaging any clips or screws that may be integral to securing it in place. If you encounter resistance while attempting to remove the cover, double-check for any hidden screws or fasteners that may not be immediately visible. Once the cover is removed, set it aside in a safe location to prevent any accidental damage.
When it comes to vehicle maintenance, knowing how to replace a brake light bulb is essential for safety on the road. If you’re looking for more tips on maintaining your car, you might find it helpful to read about the importance of understanding expiration dates in your vehicle’s supplies. This article discusses how to interpret various labels and can help you make informed decisions about what to keep and what to discard. You can check it out here.
Extract the Faulty Brake Light Bulb
With the brake light cover successfully removed, you can now access the faulty brake light bulb. The bulb is typically housed within a socket that may require twisting or pulling to release it from its position. Carefully grasp the base of the bulb and gently pull it out of the socket, taking care not to apply excessive force that could damage surrounding components.
If the bulb appears burnt out or broken, it is essential to handle it with care to avoid injury from shattered glass. Dispose of any broken pieces safely and ensure that no remnants remain in the socket. Once you have extracted the faulty bulb, take a moment to inspect the socket for any signs of corrosion or damage that may need addressing before installing a new bulb.
Identify and Select the Correct Replacement Bulb
Selecting an appropriate replacement bulb is critical for ensuring optimal functionality of your brake lights. Referencing your vehicle’s owner manual will provide specific information regarding bulb type and wattage requirements. Common bulb types include incandescent and LED options; however, it is essential to choose one that matches your vehicle’s specifications.
When purchasing a new bulb, consider opting for high-quality brands known for their durability and longevity. While cheaper alternatives may seem appealing, they often lack reliability and can lead to frequent replacements. Additionally, ensure that you handle the new bulb with clean hands or gloves to prevent oils from your skin from transferring onto the glass surface, which can cause premature failure.
Install the New Brake Light Bulb Securely
Once you have acquired the correct replacement bulb, it is time to install it securely into the socket. Begin by aligning the base of the new bulb with the socket and gently pushing it into place until you hear or feel a click indicating that it is seated correctly. If your vehicle uses a twist-lock mechanism, rotate the bulb clockwise until it locks into position.
It is crucial not to force the bulb into place, as this could lead to damage either to the bulb itself or to the socket. After installation, double-check that it is firmly secured and properly aligned within its housing. A well-installed bulb will ensure optimal performance and longevity.
Test the New Brake Light for Proper Function
After successfully installing the new brake light bulb, it is imperative to test its functionality before reassembling everything. To do this, have someone assist you by sitting in the driver’s seat while you stand behind the vehicle. Alternatively, you can use a reflective surface or camera to check if the brake lights illuminate when pressing down on the brake pedal.
If everything functions correctly, congratulations! You have successfully replaced your brake light bulb. However, if there are issues with illumination or flickering lights, double-check your installation and ensure that all connections are secure. If problems persist, further investigation into wiring or fuse issues may be necessary.
Reattach the Brake Light Cover or Housing
Once you have confirmed that your new brake light is functioning properly, it’s time to reattach the brake light cover or housing. Carefully align it with its original position and press it back into place or secure it using screws or clips as required by your vehicle’s design. Ensure that all fasteners are tightened adequately but avoid overtightening, which could lead to damage.
Taking care during this step will help maintain a weather-tight seal around your brake lights, preventing moisture intrusion that could lead to future electrical issues. After reattaching everything securely, take a moment to inspect your work area for any tools or materials left behind.
Dispose of the Old Bulb Safely
Proper disposal of old bulbs is an often-overlooked aspect of maintenance tasks but is crucial for environmental safety. Many automotive bulbs contain hazardous materials such as lead or mercury; therefore, they should not be disposed of in regular household trash. Instead, check local regulations regarding hazardous waste disposal or seek out recycling programs specifically designed for automotive components.
Some auto parts stores offer recycling services for used bulbs; inquire about such options when purchasing your new bulb. By disposing of old bulbs responsibly, you contribute positively to environmental conservation efforts while ensuring compliance with local waste management laws.
Final Safety Check and Maintenance Tips
Before concluding your maintenance task, conduct a final safety check of your vehicle’s lighting system and overall condition. Inspect other lights such as turn signals and headlights for functionality; this proactive approach can prevent future issues and enhance road safety.
Regular maintenance of your vehicle’s lighting system is essential for ensuring visibility during nighttime driving conditions and inclement weather. Consider establishing a routine inspection schedule every few months to check all exterior lights for functionality and cleanliness. Keeping lenses clean will enhance brightness and visibility while prolonging bulb life.
In summary, replacing a brake light bulb involves several critical steps: gathering necessary tools, ensuring safety measures are in place, locating and removing components carefully, selecting appropriate replacement parts, testing functionality post-installation, and disposing of old materials responsibly. By following these guidelines diligently, you can maintain optimal vehicle performance while ensuring safety on the road.
In conclusion, understanding how to replace a brake light bulb not only empowers vehicle owners but also enhances road safety for everyone involved. Regular maintenance checks can prevent minor issues from escalating into significant problems while ensuring compliance with traffic regulations regarding functioning lights.
FAQs
What tools do I need to replace a brake light bulb?
To replace a brake light bulb, you typically need a flathead screwdriver or a socket wrench, depending on your vehicle’s design. Additionally, having a pair of gloves can help protect the new bulb from oils on your skin, which can shorten its lifespan.
How do I know if my brake light bulb is burnt out?
You can check if your brake light bulb is burnt out by having someone press the brake pedal while you observe the rear lights. If the brake light does not illuminate, it may be burnt out. Alternatively, you can check the vehicle’s dashboard for any warning lights indicating a brake light issue.
Can I replace a brake light bulb myself?
Yes, replacing a brake light bulb is a task that many vehicle owners can do themselves. It usually involves accessing the rear light assembly, removing the old bulb, and inserting a new one. Always consult your vehicle’s manual for specific instructions related to your model.
What type of brake light bulb do I need?
The type of brake light bulb you need depends on your vehicle’s make and model. You can find this information in your vehicle’s owner manual or by checking the existing bulb for its specifications. Many auto parts stores also have guides to help you find the correct bulb.
How do I install the new brake light bulb?
To install the new brake light bulb, first, ensure the vehicle is turned off. Remove the old bulb by twisting or pulling it out, depending on the design. Insert the new bulb into the socket, ensuring it is secure, and then reassemble the light assembly. Finally, test the new bulb by pressing the brake pedal.