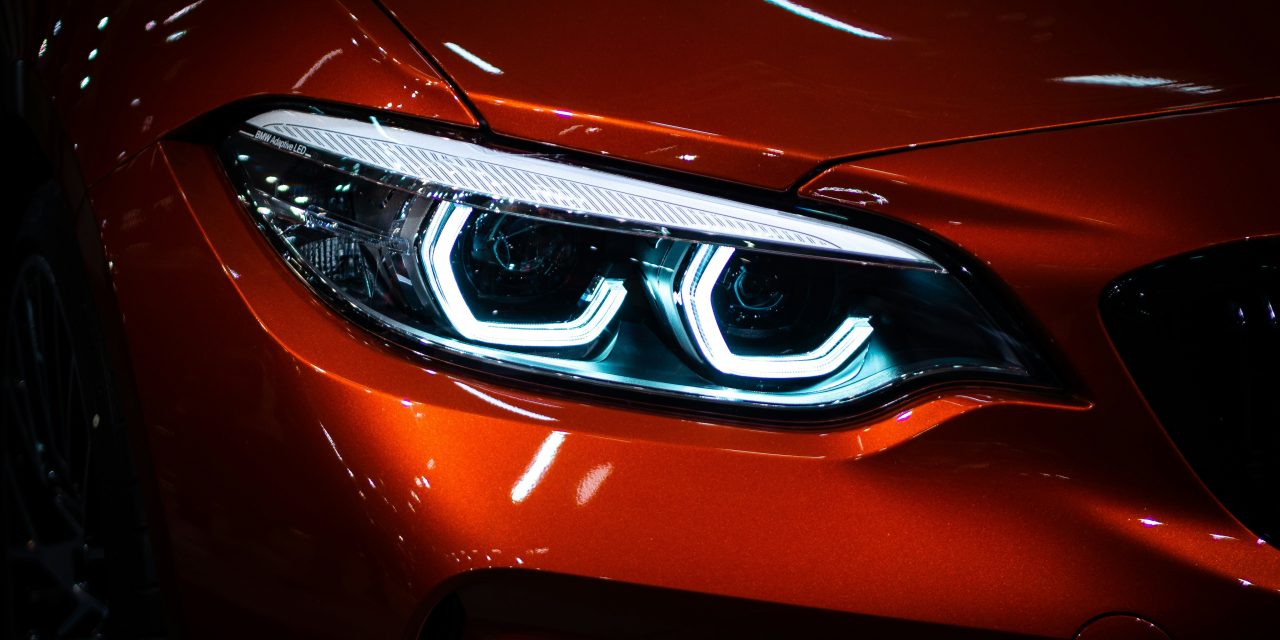
Before embarking on the task of replacing a headlight bulb, it is essential to gather all necessary tools and materials to ensure a smooth and efficient process. The primary items required include a new headlight bulb, which should be compatible with your vehicle’s make and model. It is advisable to consult the owner’s manual or an automotive parts store for the correct specifications. Additionally, you will need basic hand tools such as a screwdriver (flathead or Phillips, depending on your vehicle), pliers, and possibly a socket wrench set for certain models.
In addition to tools, having a clean workspace is crucial. A well-lit area will help you see the components clearly, reducing the risk of errors during the replacement process. It may also be beneficial to have gloves on hand to prevent oils from your skin from contaminating the new bulb, as this can lead to premature failure. Lastly, a flashlight can be useful for illuminating dark spaces under the hood or around the headlight assembly.
If you’re looking to enhance your car maintenance skills, you might find it helpful to read an article on how to replace a headlight bulb on a car. This task is essential for ensuring your vehicle’s safety and visibility on the road. For more tips on improving your DIY skills, check out this related article on gardening techniques that can help you cultivate a thriving garden: 10 Easy Ways to Improve Clay Soil for a Thriving Garden.
Ensure Safety: Turn Off the Engine and Disconnect the Battery
Safety should always be the foremost consideration when performing any maintenance on a vehicle. Before beginning the headlight bulb replacement, ensure that the engine is turned off and the keys are removed from the ignition. This precaution prevents accidental starting of the vehicle while you are working on it. Furthermore, it is advisable to allow the engine to cool down if it has been running, as components under the hood can become extremely hot.
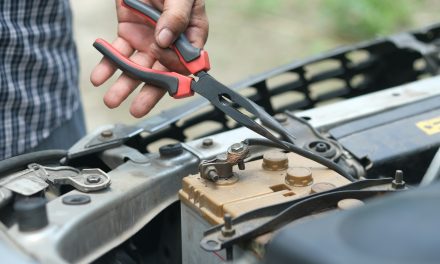
To enhance safety further, disconnecting the battery is a prudent step. This action not only protects you from electrical shocks but also prevents any potential short circuits that could occur while handling electrical components. To disconnect the battery, locate the negative terminal (usually marked with a minus sign) and use a wrench to loosen the bolt. Once disconnected, ensure that the cable is secured away from the terminal to avoid accidental reconnection.
Locate the Headlight Assembly

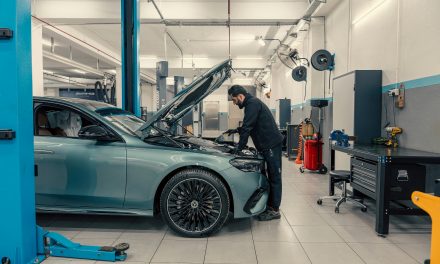
Once safety measures are in place, the next step involves locating the headlight assembly within your vehicle. The headlight assembly is typically situated at the front of the vehicle, flanking either side of the grille. Depending on your vehicle’s design, accessing the assembly may require opening the hood or removing certain panels or covers.
In many vehicles, the headlight assembly is secured by clips or screws that may need to be removed before you can access the bulb housing. Familiarize yourself with your vehicle’s layout by consulting the owner’s manual or searching for diagrams online. This knowledge will save time and prevent unnecessary frustration during the replacement process.
Access the Bulb Housing

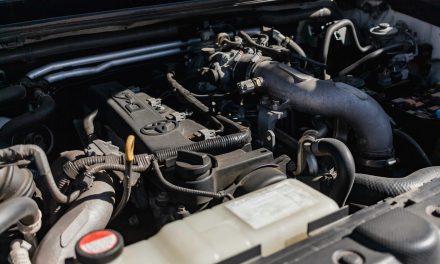
After locating the headlight assembly, you will need to access the bulb housing to replace the old bulb. This step may vary significantly depending on your vehicle’s make and model. In some cases, you may simply need to twist or unclip a cover to reveal the bulb housing. In others, you might have to remove additional components such as air intake ducts or battery trays that obstruct access.
Once you have reached the bulb housing, take care to handle it gently. The housing is often made of plastic and can be fragile. If there are any screws or clips securing it in place, use your screwdriver or pliers to remove them carefully. Avoid using excessive force, as this could lead to damage that complicates reassembly.
If you’re looking to replace a headlight bulb on your car, you might find it helpful to read a related article that provides a step-by-step guide on the process. This resource can offer valuable tips and insights to ensure you do the job correctly and safely. For more detailed instructions, check out this informative piece on how to replace a headlight bulb effectively.
Remove the Old Headlight Bulb
With access to the bulb housing established, you can now proceed to remove the old headlight bulb. Most bulbs are secured in place by a retaining clip or a twist-lock mechanism. If your vehicle uses a retaining clip, gently press down on it while pulling it away from the bulb base. For twist-lock bulbs, turn counterclockwise until they release from their socket.
When handling the old bulb, exercise caution as it may still be hot if recently used. Additionally, inspect it for any signs of damage or burning that could indicate why it failed. Once removed, place the old bulb in a safe location away from your workspace to avoid accidental breakage.
If you’re looking to replace a headlight bulb on your car, it’s essential to follow the right steps to ensure proper installation and functionality. For a detailed guide on this process, you can refer to a helpful article that outlines the necessary tools and techniques. Additionally, if you’re curious about other common car maintenance tasks, you might find this article on why your cat is hiding all of a sudden quite interesting, as it touches on the importance of understanding your vehicle’s needs just like you would with a pet. You can check it out here: why is my cat hiding all of a sudden.
Install the New Headlight Bulb
Now that you have successfully removed the old bulb, it is time to install the new headlight bulb. Before doing so, ensure that your hands are clean and dry; oils from your skin can create hot spots on halogen bulbs, leading to premature failure. If possible, handle the new bulb by its base rather than touching the glass.
To install, align the new bulb with its socket and either twist it into place or secure it with a retaining clip as applicable. Ensure that it is seated firmly and securely in its housing to prevent any issues with connectivity or alignment once reassembled. Double-check that all connections are tight and that there are no obstructions around the bulb.
Test the New Bulb for Proper Function
After installing the new headlight bulb, it is crucial to test its functionality before reassembling any components. Reconnect the battery by attaching the negative terminal securely with a wrench. Once connected, turn on your vehicle’s headlights to verify that the new bulb illuminates correctly.
If the new bulb does not light up, double-check all connections and ensure that it is seated properly in its housing. If issues persist, there may be an underlying electrical problem such as a blown fuse or faulty wiring that requires further investigation. Addressing these issues promptly will ensure optimal performance of your vehicle’s lighting system.
Reassemble the Headlight Components
With successful testing complete, you can now reassemble any components that were removed during the process of accessing and replacing the headlight bulb. Carefully replace any covers or panels that were taken off earlier, ensuring that all screws and clips are secured tightly.
Take care not to rush this step; ensuring everything is put back correctly will prevent future complications such as water ingress or misalignment of headlights. If applicable, refer back to your vehicle’s manual for guidance on reassembly procedures specific to your model.
Adjust the Headlight Aim if Needed
After reassembling all components, it may be necessary to adjust the aim of your headlights for optimal visibility while driving at night. Misaligned headlights can lead to poor visibility for both you and other drivers on the road. To adjust them correctly, park your vehicle on level ground approximately 25 feet away from a wall or garage door.
Turn on your headlights and observe where they illuminate on the wall; ideally, they should shine slightly downward and toward the right side of your vehicle. If adjustments are needed, locate the adjustment screws on your headlight assembly—these are typically found near where the assembly mounts to your vehicle—and turn them accordingly until proper alignment is achieved.
Dispose of the Old Bulb Properly
Proper disposal of old headlight bulbs is essential for environmental safety and compliance with local regulations. Many halogen bulbs contain materials that can be harmful if not disposed of correctly. Check with local waste management facilities for guidelines on disposing of automotive bulbs in your area.
Some retailers offer recycling programs for used bulbs; consider returning your old bulb when purchasing a new one as part of their recycling initiative. This practice not only helps reduce waste but also promotes responsible consumer behavior.
Final Safety Check and Close-Up
Before concluding your headlight replacement task, conduct a final safety check to ensure everything has been completed correctly and securely. Inspect all components for proper installation and alignment once more before closing up your vehicle’s hood.
Additionally, take a moment to clean any tools used during this process and store them appropriately for future use. A well-maintained toolkit will serve you well in subsequent automotive tasks.
In summary, replacing a headlight bulb involves several critical steps: gathering tools and materials, ensuring safety by disconnecting power sources, locating and accessing components, removing old bulbs, installing new ones, testing functionality, reassembling parts, adjusting aim if necessary, disposing of old bulbs responsibly, and conducting final checks for safety and security. By following these steps meticulously, you can ensure optimal performance of your vehicle’s lighting system while enhancing road safety for yourself and others.
FAQ Section:
1. **How often should I replace my headlight bulbs?**
– Headlight bulbs typically last between 500 to 1,000 hours of use; however, factors such as driving conditions and frequency of use can affect lifespan. Regular inspections every six months are recommended.
2. **Can I replace just one headlight bulb?**
– While it is possible to replace only one bulb, it is advisable to replace both at the same time for uniform brightness and color temperature.
3. **What type of headlight bulb do I need?**
– The type of bulb required varies by vehicle make and model; consult your owner’s manual or an automotive parts store for accurate specifications.
4. **Is it safe to drive with a burnt-out headlight?**
– Driving with a burnt-out headlight is illegal in many jurisdictions and poses significant safety risks due to reduced visibility.
5. **What should I do if my new headlight bulb burns out quickly?**
– If a new bulb fails prematurely, check for issues such as improper installation, electrical problems (like voltage spikes), or contamination from oils on your hands.
6. **Can I replace my headlights with LED bulbs?**
– Many vehicles can accommodate LED replacements; however, ensure compatibility with your vehicle’s electrical system and check local regulations regarding modifications.
7. **What tools do I need for this job?**
– Basic tools include screwdrivers (flathead and Phillips), pliers, socket wrenches (if necessary), gloves for handling bulbs, and possibly a flashlight for visibility.
8. **How do I know if my headlights are misaligned?**
– Misaligned headlights may cause poor visibility at night or blind oncoming drivers; if you notice these issues or see uneven light patterns on walls when parked facing them, an adjustment may be needed.
9. **What should I do if I cannot access my headlight assembly?**
– If access proves difficult due to design constraints in your vehicle model, consider consulting a professional mechanic for assistance.
10. **Are there any special precautions when handling halogen bulbs?**
– Yes! Avoid touching halogen bulbs with bare hands; oils from skin can cause hot spots leading to early failure.
In conclusion, replacing a headlight bulb is an essential maintenance task that enhances both safety and visibility while driving at night or in adverse weather conditions. By following these detailed steps carefully and adhering to safety protocols throughout the process, you can successfully complete this task with confidence.
FAQs
What tools do I need to replace a headlight bulb?
To replace a headlight bulb, you typically need a few basic tools: a socket wrench or screwdriver (depending on your car model), gloves to protect the bulb from oils on your skin, and possibly a flashlight for better visibility. Some vehicles may require specific tools for accessing the headlight assembly.
How do I know which headlight bulb to buy?
You can find the correct headlight bulb type by checking your vehicle’s owner manual, which usually lists the bulb specifications. Alternatively, you can look for a label on the old bulb itself or consult an auto parts store where staff can assist you in finding the right replacement based on your vehicle’s make and model.
Is it necessary to replace both headlight bulbs at the same time?
While it is not strictly necessary to replace both headlight bulbs at the same time, it is often recommended. If one bulb has burned out, the other may be close to failing as well. Replacing both ensures even lighting and saves you from having to repeat the process soon after.
Can I replace a headlight bulb myself, or should I go to a mechanic?
Replacing a headlight bulb is a task that many car owners can do themselves, as it often requires minimal tools and basic mechanical skills. However, if you are uncomfortable with the process or if your vehicle has a complicated headlight assembly, it may be best to consult a mechanic.
What safety precautions should I take when replacing a headlight bulb?
When replacing a headlight bulb, ensure the vehicle is turned off and the keys are removed from the ignition. Allow the headlight to cool down if it has been on recently to avoid burns. Wear gloves to prevent oils from your skin from contaminating the bulb, and handle the new bulb carefully to avoid damage.