Changing spark plugs is a fundamental aspect of vehicle maintenance that many car owners overlook. However, performing this task at home can yield significant savings in both time and money. Professional mechanics often charge a premium for labor, and the cost of parts can add up quickly. By taking on this task yourself, you not only save on labor costs but also gain a deeper understanding of your vehicle’s engine and its components.
Moreover, the process of changing spark plugs is relatively straightforward, making it an ideal DIY project for those looking to enhance their automotive skills. With just a few tools and some basic knowledge, you can ensure your engine runs smoothly and efficiently. This article will guide you through the entire process, from gathering the necessary tools to troubleshooting common issues, empowering you to take control of your vehicle’s maintenance.
Changing spark plugs at home can be a rewarding DIY project, but it’s essential to be aware of the overall condition of your vehicle to ensure optimal performance. For instance, if you’re noticing unusual electrical issues, it might be time to consider a professional inspection. You can read more about the warning signs that indicate your home needs a professional electrical inspection in this informative article. For more details, check out the article here: 10 Warning Signs Your Home Needs a Professional Electrical Inspection.
Tools and Materials You’ll Need for the Job
Before embarking on the spark plug replacement journey, it is essential to gather the appropriate tools and materials. The following list outlines the necessary items:
1. **Socket Wrench Set**: A ratchet and socket set, particularly with a 5/8-inch or 13/16-inch socket, is crucial for removing and installing spark plugs.
2. **Torque Wrench**: This tool ensures that spark plugs are tightened to the manufacturer’s specifications, preventing damage to the engine.
3. **Spark Plug Gap Tool**: This tool measures and adjusts the gap between the center and ground electrodes of the spark plug, which is vital for optimal performance.
4. **Dielectric Grease**: Applying this grease to the spark plug boots helps prevent moisture intrusion and corrosion.
5. **Compressed Air**: A can of compressed air or an air compressor can help clear debris from the spark plug wells before removal.
6. **Safety Goggles and Gloves**: Protecting your eyes and hands is paramount when working on any automotive project.
Having these tools on hand will streamline the process and ensure that you can complete the job efficiently and safely.
Preparing Your Vehicle: Safety First

Before diving into the spark plug replacement process, it is crucial to prioritize safety. Begin by ensuring that your vehicle is parked on a flat surface, with the engine turned off and cooled down to avoid burns. Engaging the parking brake will prevent any unintended movement during the procedure.
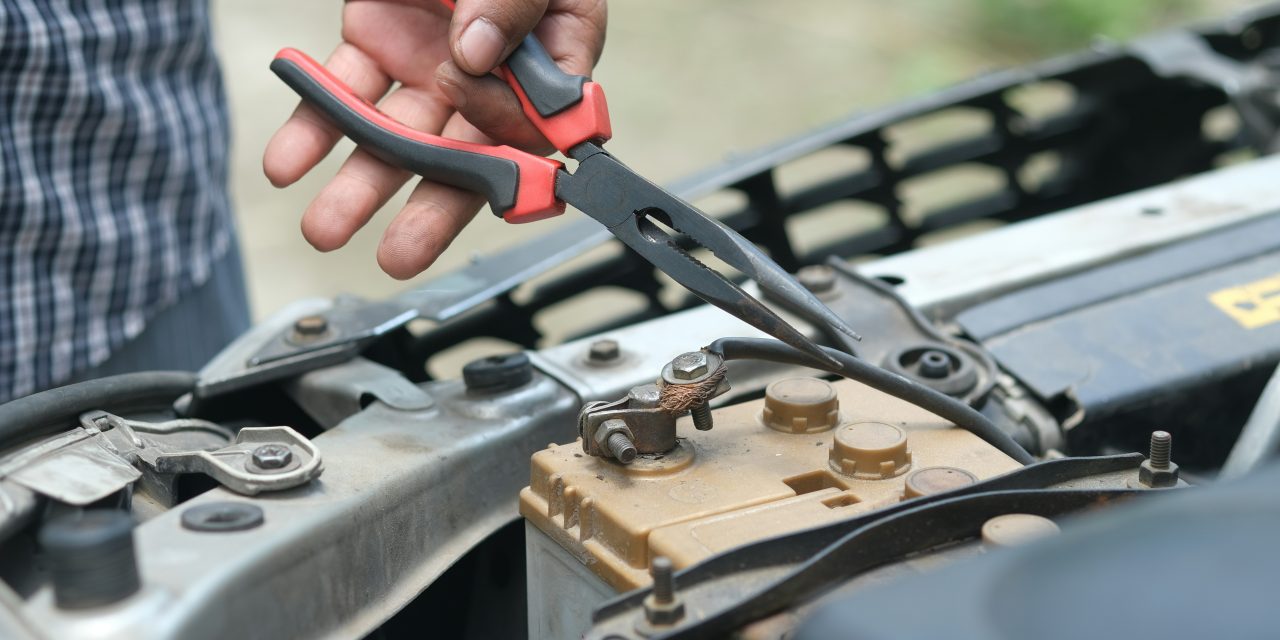
Next, disconnect the negative terminal of the battery to eliminate any risk of electrical shock or short circuits while working on the ignition system. Wearing safety goggles will protect your eyes from any debris that may be dislodged during the removal of old spark plugs. Additionally, gloves will safeguard your hands from sharp edges and hot components.
Once you have taken these precautions, you can confidently proceed with locating and replacing the spark plugs.
Locating the Spark Plugs in Your Engine

The location of spark plugs varies depending on the engine configuration—whether it is inline, V-shaped, or flat. Typically, they are situated on top of the engine cylinder head, accessible through rubber boots or covers. For most vehicles, you will find one spark plug per cylinder.
To locate them accurately, consult your vehicle’s owner manual or a repair guide specific to your make and model. This documentation often includes diagrams that illustrate the exact positioning of spark plugs within the engine bay. Familiarizing yourself with this layout will save time and reduce frustration during the replacement process.
Changing spark plugs at home can seem daunting, but with the right guidance, it can be a straightforward task. If you’re looking for more tips on home maintenance, you might find this article on resting meat after cooking interesting, as it highlights the importance of patience and technique, much like the careful process of replacing spark plugs. By following step-by-step instructions and ensuring you have the right tools, you can improve your vehicle’s performance and save money on repairs.
Removing the Old Spark Plugs Carefully
Once you have identified the location of each spark plug, it is time to remove them carefully. Begin by using compressed air to blow away any dirt or debris around the spark plug wells to prevent contamination during removal.
Using your socket wrench, gently loosen each spark plug by turning it counterclockwise. It is essential to apply even pressure to avoid breaking the ceramic insulator or damaging the threads in the cylinder head. If a spark plug is particularly stubborn, consider applying penetrating oil and allowing it to sit for a few minutes before attempting removal again.
Once loosened, carefully lift each spark plug out of its well, taking care not to drop any debris into the cylinder. Inspect each old spark plug for signs of wear or damage, such as carbon buildup or corrosion, which can provide insight into your engine’s performance.
Changing spark plugs at home can be a rewarding DIY project that saves you time and money. If you’re looking for additional tips on handling home maintenance tasks, you might find this article on stress-free dog nail cutting quite helpful. While it focuses on a different aspect of home care, the techniques and mindset for tackling such tasks can often overlap, making your overall experience more enjoyable and efficient.
Inspecting and Gapping the New Spark Plugs
Before installing new spark plugs, it is crucial to inspect them thoroughly. Check that they match the specifications outlined in your vehicle’s manual regarding size and heat range. Additionally, ensure that they are free from defects such as cracks or chips.
Gapping is another critical step in preparing new spark plugs for installation. The gap between the center electrode and ground electrode affects ignition efficiency and engine performance. Use a spark plug gap tool to measure this distance against manufacturer specifications—typically ranging from 0.028 to 0.060 inches depending on your vehicle.
If adjustments are necessary, gently bend the ground electrode until it reaches the desired gap measurement. Proper gapping ensures optimal combustion efficiency and can significantly enhance engine performance.
Installing the New Spark Plugs Correctly
With new spark plugs prepared, it is time for installation. Begin by applying a small amount of dielectric grease to the threads of each spark plug; this helps prevent seizing and makes future removal easier.
Carefully insert each new spark plug into its respective well by hand to avoid cross-threading. Once seated, use your torque wrench to tighten them according to manufacturer specifications—typically between 10-15 foot-pounds for most vehicles. Over-tightening can lead to stripped threads or damage to the cylinder head.
After securing all new spark plugs, double-check that they are properly seated and tightened before moving on to reconnecting any ignition components.
Reconnecting Spark Plug Wires or Coils
After installing new spark plugs, it is essential to reconnect any ignition wires or coils that were removed during disassembly. If your vehicle uses traditional spark plug wires, ensure that each wire is connected securely to its corresponding plug; they should click into place without excessive force.
For vehicles equipped with coil-on-plug (COP) systems, carefully align each coil over its respective spark plug before pressing down firmly until you hear a click indicating a secure connection.
It is advisable to inspect each wire or coil for signs of wear or damage before reinstallation; frayed wires or cracked coils can lead to misfires or poor engine performance.
Testing Your Vehicle After Replacement
Once all components are reconnected, it’s time to test your vehicle to ensure everything is functioning correctly. Reconnect the negative battery terminal and start your engine. Listen for any unusual sounds such as knocking or misfiring; these could indicate improper installation or other underlying issues.
Allow your vehicle to idle for a few minutes while monitoring for smooth operation. If everything appears normal, take your car for a short test drive to assess performance under load conditions. Pay attention to acceleration response and overall engine behavior; improved throttle response often indicates successful installation.
If you encounter any issues during testing, revisit previous steps to ensure proper installation and check for any overlooked components.
Troubleshooting Common Spark Plug Issues
Despite careful installation, issues may arise with new spark plugs over time. Common problems include misfires, rough idling, or decreased fuel efficiency. These symptoms may indicate several underlying issues:
1. **Incorrect Gap**: If the gap between electrodes is not set correctly, it can lead to poor ignition.
2. **Faulty Ignition Wires**: Damaged wires can cause weak sparks or misfires.
3. **Oil Fouling**: Excessive oil in combustion chambers may foul plugs quickly.
4. **Carbon Buildup**: Poor combustion can lead to carbon deposits on plugs.
To troubleshoot these issues effectively, conduct a thorough inspection of all ignition components and consider consulting a professional mechanic if problems persist.
Maintenance Tips to Extend Spark Plug Life
To maximize the lifespan of your new spark plugs and maintain optimal engine performance, consider implementing these maintenance tips:
1. **Regular Inspections**: Periodically check spark plugs for signs of wear or fouling.
2. **Use Quality Fuel**: High-quality fuel reduces carbon buildup and improves combustion efficiency.
3. **Follow Manufacturer Recommendations**: Adhere to recommended replacement intervals outlined in your vehicle’s manual.
4. **Maintain Engine Health**: Regular oil changes and air filter replacements contribute to overall engine cleanliness.
5. **Monitor Engine Performance**: Pay attention to changes in performance; early detection of issues can prevent premature wear on spark plugs.
By following these guidelines, you can ensure that your vehicle remains in peak condition while extending the life of its spark plugs.
In summary, changing spark plugs at home is an accessible task that saves both time and money while enhancing your understanding of automotive maintenance. By gathering appropriate tools, prioritizing safety, following proper procedures for removal and installation, and implementing regular maintenance practices, you can ensure optimal engine performance for years to come.
FAQs
What tools do I need to change spark plugs at home?
To change spark plugs at home, you will need a spark plug socket, a ratchet wrench, an extension bar, a torque wrench, and possibly a gap gauge. Additionally, having a pair of pliers and some anti-seize lubricant can be helpful for installation.
How do I know when to change my spark plugs?
Typically, spark plugs should be changed every 30,000 to 100,000 miles, depending on the type of spark plugs used and the manufacturer’s recommendations. Signs that indicate it’s time for a change include poor fuel economy, engine misfires, difficulty starting the engine, or a rough idle.
Can I change spark plugs without removing other engine components?
In many cases, you can change spark plugs without removing other engine components, but this depends on the vehicle’s design. Some engines have easy access to the spark plugs, while others may require the removal of components like the intake manifold or engine covers. Always consult your vehicle’s manual for specific instructions.
What is the proper way to gap spark plugs?
To gap spark plugs, use a gap gauge to measure the distance between the center and ground electrode. If the gap is not within the manufacturer’s specifications, gently bend the ground electrode to adjust it. Always check the gap before installation to ensure optimal performance.
Is it necessary to use anti-seize lubricant on spark plugs?
While it is not strictly necessary, using anti-seize lubricant on the threads of spark plugs can help prevent them from seizing in the cylinder head, especially in aluminum heads. However, be cautious not to get any lubricant on the electrode, as this can affect performance. Always follow the manufacturer’s recommendations regarding the use of anti-seize.