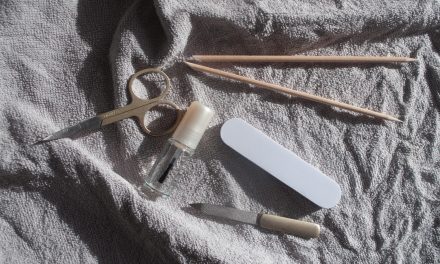
To embark on a successful manicure, it is imperative to gather the essential tools and supplies that will facilitate the process. A well-equipped manicure kit typically includes a variety of implements designed for specific tasks. Key items include nail clippers, a nail file, cuticle pushers, and scissors. Additionally, cotton balls or pads, acetone or non-acetone nail polish remover, and a buffer are crucial for achieving a polished finish.
Moreover, investing in high-quality nail products can significantly enhance the overall experience. Look for a gentle cuticle oil, a nourishing base coat, and a durable top coat. These products not only improve the appearance of your nails but also contribute to their health. A clean workspace is equally important; ensure that your area is sanitized and organized to prevent contamination and promote efficiency during the manicure process.
If you’re looking to elevate your at-home manicure skills, you might find it helpful to check out this informative article that outlines the essential steps for achieving a salon-quality manicure right in your own bathroom. From prepping your nails to applying the perfect polish, this guide covers everything you need to know. For more tips on maintaining your health and safety during the holiday season, you can also read about how long Thanksgiving leftovers are safe to eat by visiting this article.
Removing Old Nail Polish Safely
Before applying fresh polish, it is essential to remove any existing nail lacquer thoroughly. This step is crucial to prevent discoloration and ensure an even application of new polish. Begin by saturating a cotton ball or pad with acetone or a non-acetone remover, depending on your preference and nail health. Acetone is more effective for stubborn polishes but can be drying, while non-acetone removers are gentler on the nails.
Press the soaked cotton onto the nail for approximately 10-15 seconds to allow the remover to penetrate the polish. Gently swipe the cotton towards the tip of the nail, repeating this process until all traces of color are eliminated. For intricate designs or glitter polishes, you may need to repeat this process multiple times. Afterward, wash your hands thoroughly to remove any residue from the remover, ensuring your nails are clean and ready for the next steps.
Shaping Your Nails: Tips for Perfect Edges

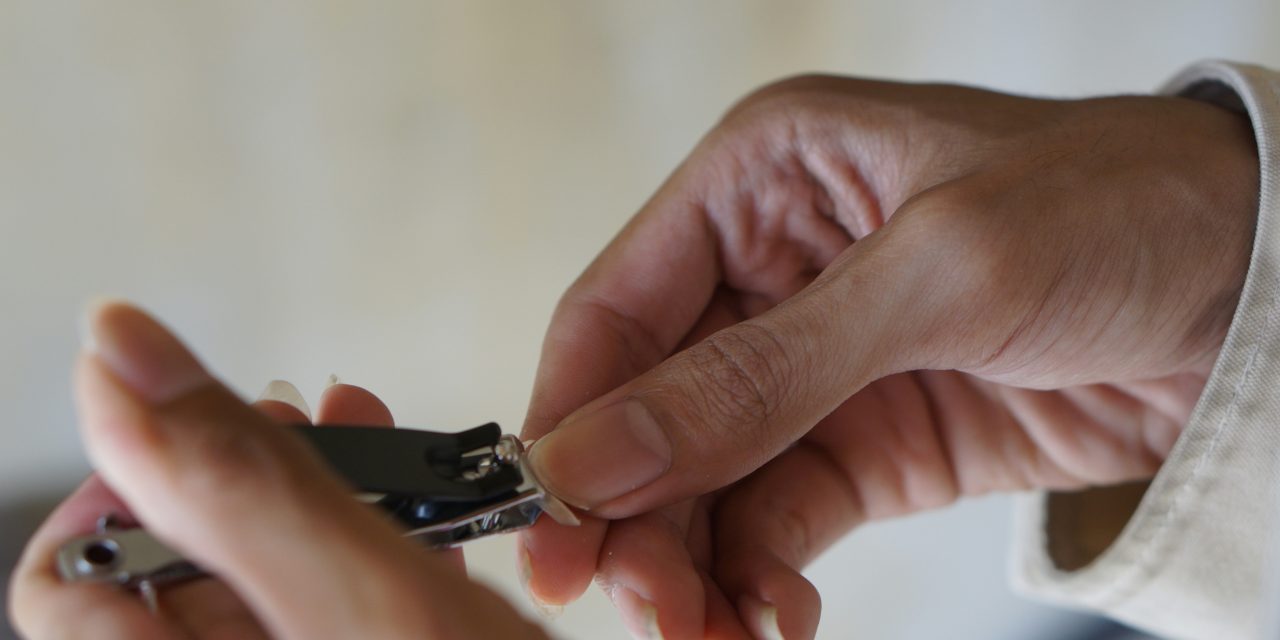
The shape of your nails plays a significant role in the overall aesthetic of your manicure. Common shapes include square, oval, almond, and stiletto. To achieve your desired shape, begin by using nail clippers to trim your nails to a manageable length. Follow this by selecting an appropriate nail file; a coarse file is ideal for shortening nails, while a finer grit is better suited for smoothing edges.
When filing, always move in one direction rather than back and forth to prevent splitting or weakening the nails. For square-shaped nails, file straight across the tip; for oval shapes, round off the edges slightly. Almond shapes require a tapered point at the tip, while stiletto shapes demand a more dramatic tapering. Regularly shaping your nails not only enhances their appearance but also promotes healthy growth by preventing breakage.
Soaking and Softening Cuticles

Soaking your nails is an essential step in preparing them for cuticle care. This process softens the cuticles, making them easier to manage and reducing the risk of injury during trimming or pushing back. Fill a bowl with warm water and add a few drops of gentle soap or cuticle softener to enhance the effect. Soak your fingers for about 5-10 minutes; this will also help cleanse any dirt or debris from under the nails.
After soaking, gently pat your hands dry with a clean towel. The softened cuticles can now be easily pushed back or trimmed without causing discomfort. This step not only improves the appearance of your nails but also promotes healthier growth by preventing hangnails and other cuticle-related issues.
If you’re looking to pamper yourself without stepping out, learning how to do a manicure at home step by step can be a rewarding experience. You can easily achieve salon-quality results by following a few simple techniques. For additional tips on maintaining a clean and inviting environment while you indulge in your self-care routine, you might find this article on common household pests helpful. It offers insights on how to keep your space pest-free, ensuring a more enjoyable manicure experience. Check it out here.
Pushing Back and Trimming Cuticles Correctly
Once your cuticles are softened, it’s time to push them back gently using a cuticle pusher or an orangewood stick. Begin at the base of the nail and carefully slide the pusher along the cuticle line towards the tip of the nail. Be cautious not to apply excessive pressure, as this can lead to damage or irritation. The goal is to create a clean line between the cuticle and the nail bed.
If necessary, you may trim excess cuticle using cuticle scissors; however, this should be done sparingly to avoid over-trimming, which can lead to painful hangnails or infections. Always disinfect your tools before use to minimize the risk of introducing bacteria into any open skin areas. Proper cuticle care not only enhances the appearance of your manicure but also contributes to overall nail health.
Buffing Nails for a Smooth Surface
Buffing is an essential step in achieving a flawless manicure. This process involves using a buffer block or file to smooth out any ridges or imperfections on the nail surface. Begin by selecting a buffer with different grits; start with a coarser side to remove any unevenness before transitioning to a finer side for polishing.
Gently buff each nail in circular motions, taking care not to over-buff as this can weaken the nails. The goal is to create a smooth canvas that allows for even application of polish. Buffing also enhances shine and can improve adhesion for both base and top coats. Regular buffing can help maintain healthy nails by promoting circulation in the nail bed.
Applying a Base Coat: Why It Matters
The application of a base coat is a critical step that should never be overlooked in any manicure routine. A base coat serves multiple purposes: it acts as a protective barrier between your natural nails and colored polish, preventing staining and damage from harsh pigments. Additionally, it enhances adhesion, ensuring that your polish lasts longer without chipping.
When selecting a base coat, consider options that contain nourishing ingredients such as vitamins or strengthening agents that promote nail health. Apply a thin layer evenly across each nail, ensuring complete coverage from cuticle to tip. Allow it to dry completely before proceeding with color application; this will create an optimal foundation for your manicure.
Choosing and Applying Nail Polish Like a Pro
Selecting the right nail polish can significantly impact the final look of your manicure. Consider factors such as color, finish (matte or glossy), and formula (quick-dry or long-lasting). High-quality polishes often provide better coverage and longevity compared to cheaper alternatives.
When applying polish, use long strokes from cuticle to tip for an even application. Start with one stroke down the center of the nail followed by two strokes on either side. Aim for thin layers; applying multiple thin coats will yield better results than one thick layer that may bubble or chip easily. Allow each coat to dry completely before applying subsequent layers; this ensures optimal adhesion and prevents smudging.
Adding Nail Art and Decorations (Optional)
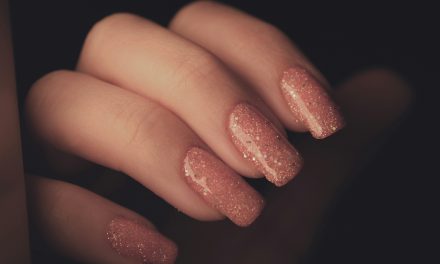
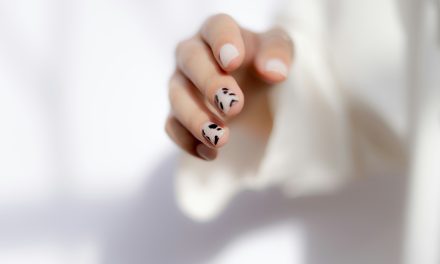
For those looking to elevate their manicure further, incorporating nail art and decorations can add a unique touch. Options range from simple designs like polka dots or stripes to more intricate patterns using stamping plates or freehand techniques. Nail stickers and decals are also popular choices for those who prefer an easier approach.
When applying nail art, ensure that your base color is completely dry before proceeding with designs to avoid smudging. Use fine-tipped brushes or dotting tools for precision when creating detailed designs. Once completed, seal your artwork with a top coat to protect it from chipping and enhance its longevity.
Sealing with a Top Coat for Longevity
The final step in achieving a professional-looking manicure is applying a top coat. This product serves as a protective layer over your colored polish, enhancing shine while preventing chips and scratches. A quality top coat can extend the life of your manicure significantly.
When applying top coat, use similar techniques as with colored polish—apply thin layers for optimal results. Ensure that you cover the tips of each nail as well; this helps seal in color and prevents premature wear at the edges. Allow ample drying time before resuming normal activities to ensure that your manicure remains intact.
Aftercare: Maintaining Your Manicure at Home
Maintaining your manicure at home is crucial for prolonging its lifespan and keeping your nails healthy. Regularly apply cuticle oil to nourish both your cuticles and nails; this prevents dryness and cracking while promoting healthy growth. Additionally, avoid using your nails as tools; this can lead to breakage or damage.
Consider wearing gloves when performing household chores or using harsh chemicals to protect your manicure from wear and tear. If you notice any chips or wear on your polish, touch up those areas promptly rather than allowing them to worsen. Regular maintenance will keep your nails looking fresh between manicures.
In summary, achieving a professional-looking manicure involves careful preparation and attention to detail throughout each step of the process—from gathering essential tools to maintaining aftercare at home. By following these guidelines diligently, you can enjoy beautiful nails that reflect both style and health.
FAQs
What supplies do I need for a home manicure?
To perform a home manicure, you will need nail clippers, a nail file, cuticle remover, a cuticle pusher, a buffer, nail polish remover, cotton balls or pads, base coat, nail polish, and a top coat. Optional items include hand cream, a nail brush, and a bowl of warm water for soaking your hands.
How do I prepare my nails for a manicure?
Start by removing any old nail polish with nail polish remover. Then, trim your nails to your desired length using nail clippers. Shape your nails with a nail file, and gently push back your cuticles using a cuticle pusher. Soaking your hands in warm water for a few minutes can help soften the cuticles for easier removal.
What is the proper technique for applying nail polish?
Begin by applying a base coat to protect your nails and help the polish adhere better. Once the base coat is dry, apply the nail polish in thin, even strokes, starting from the center of the nail and then moving to the sides. Allow the first coat to dry before applying a second coat for full coverage. Finish with a top coat to seal the color and add shine.
How can I make my manicure last longer?
To extend the life of your manicure, ensure that you apply a base coat and a top coat. Avoid exposing your nails to water for prolonged periods immediately after your manicure. Additionally, applying a fresh layer of top coat every few days can help maintain shine and prevent chipping.
What should I do if I make a mistake while painting my nails?
If you make a mistake while applying nail polish, don’t worry! You can use a small brush dipped in nail polish remover to clean up any excess polish around the edges of your nails. Alternatively, you can wait for the polish to dry and then gently file away any mistakes. Just be careful not to damage your nail or the surrounding skin.