Before embarking on the meticulous process of waxing your vehicle, it is imperative to assemble the appropriate tools and materials. A well-prepared workspace can significantly enhance the efficiency and effectiveness of your waxing endeavor. Essential supplies include high-quality car wax, a soft applicator pad, microfiber cloths, a bucket, and a hose or pressure washer for washing the vehicle. Additionally, consider having a detailing brush on hand for hard-to-reach areas and a clay bar for surface preparation.
Selecting the right wax is crucial; options range from natural carnauba wax to synthetic polymer-based products. Each type offers distinct benefits, such as durability and shine. Furthermore, ensure that your applicator pad is clean and free from debris to prevent scratching the paint surface. Having these supplies ready will streamline the waxing process and yield optimal results.
If you’re looking to enhance your car care routine, you might find it helpful to explore related topics such as proper pet grooming techniques. For instance, understanding how to maintain your dog’s coat can be as meticulous as waxing your car by hand. You can read more about this in the article titled “Top 10 Tips for Dog Grooming: Keep Your Pet Happy & Healthy” found at this link. This connection highlights the importance of attention to detail in both car maintenance and pet care.
Choose the Best Wax for Your Car’s Paint
The selection of wax is a pivotal step in achieving a lustrous finish on your vehicle. Carnauba wax, derived from the leaves of the Brazilian palm tree, is renowned for its deep shine and protective qualities. It provides a warm glow that enhances the color of your car’s paint while offering a layer of protection against environmental contaminants. However, it may require more frequent applications due to its natural composition.
On the other hand, synthetic waxes are engineered for longevity and durability. They often contain polymers that bond to the paint surface, providing extended protection against UV rays, oxidation, and water spots. When choosing between these options, consider factors such as climate, driving conditions, and personal preference for shine versus longevity. Ultimately, selecting the right wax tailored to your vehicle’s needs will ensure a stunning finish.
Wash and Dry Your Car Thoroughly

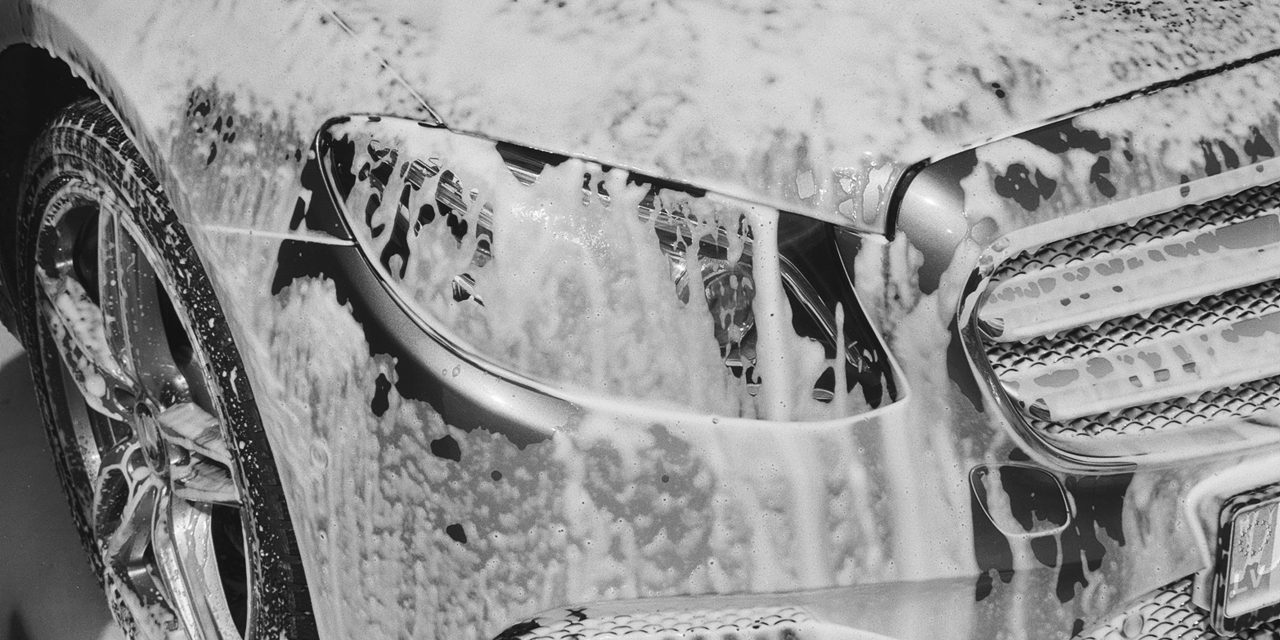
Prior to applying wax, it is essential to wash your car meticulously to remove dirt, grime, and contaminants that could hinder the waxing process. Begin by rinsing the vehicle with water to eliminate loose debris. Use a pH-balanced car shampoo and a soft sponge or wash mitt to gently scrub the surface, ensuring that you cover all areas, including wheel wells and undercarriage.
After washing, thoroughly rinse off all soap residues to prevent streaking or spotting. Drying your car is equally important; utilize a clean microfiber towel or chamois to absorb moisture effectively. Pay special attention to crevices and edges where water may accumulate. A clean and dry surface is paramount for optimal wax adhesion and performance.
Work in a Shaded, Cool Area

The environment in which you wax your vehicle plays a significant role in the outcome of your efforts. It is advisable to work in a shaded area or during cooler parts of the day to prevent the wax from drying too quickly on the surface. Direct sunlight can cause the wax to haze prematurely, making it difficult to buff out evenly.
Moreover, high temperatures can lead to streaking and uneven application, diminishing the overall appearance of your car’s finish. By choosing a shaded location or working in cooler conditions, you allow ample time for even application and proper curing of the wax, resulting in a flawless shine.
If you’re looking to enhance your car’s shine after waxing it by hand, you might find it helpful to explore seasonal grooming tips that can keep your vehicle looking its best throughout the year. For more insights on maintaining your car’s appearance, check out this informative article on seasonal grooming tips. By following these guidelines, you can ensure that your car remains in pristine condition, complementing the effort you put into waxing it.
Apply Wax Using a Soft Applicator Pad
When it comes time to apply the wax, using a soft applicator pad is essential for achieving an even coat without damaging the paint surface. Begin by applying a small amount of wax onto the pad; less is often more in this case. It is advisable to work in sections, starting with one panel at a time to ensure thorough coverage.
Gently spread the wax across the surface using light pressure. This technique allows for better distribution and minimizes the risk of swirl marks or scratches. Remember that applying too much product can lead to an uneven finish; therefore, moderation is key. A well-executed application will set the stage for an impressive shine.
Use Circular Motions for Even Coverage
To achieve uniform coverage during waxing, employing circular motions is highly effective. This technique allows for consistent application across the surface while ensuring that every inch receives adequate product. Start from one corner of the panel and work your way across in overlapping circles.
This method not only promotes even distribution but also helps in working the wax into any minor imperfections in the paint. By maintaining a steady rhythm and applying gentle pressure, you can create a smooth layer that enhances both protection and aesthetics. Avoid linear strokes as they may lead to streaks or uneven patches.
Allow the Wax to Haze Before Buffing
Once you have applied the wax evenly across the surface, it is crucial to allow it to haze before proceeding with buffing. The hazing process indicates that the wax has cured sufficiently and is ready for removal. Typically, this takes about 5-10 minutes depending on environmental conditions.
During this waiting period, resist the temptation to rush into buffing; patience is key here. If you buff too soon, you may inadvertently remove too much product or fail to achieve that desired glossy finish. Observing this step ensures that you maximize the protective qualities of the wax while enhancing its visual appeal.
Buff with a Clean, Microfiber Cloth
Buffing is an integral part of the waxing process that brings out the shine and luster of your vehicle’s paintwork. Once the wax has hazed appropriately, take a clean microfiber cloth and gently wipe away the excess product using light pressure. It is advisable to use a separate cloth for buffing each section to avoid cross-contamination.
Employing a back-and-forth motion rather than circular strokes during buffing can help eliminate any remaining haze while enhancing shine. Ensure that you frequently check your cloth for dirt or residue buildup; switching to a fresh cloth as needed will prevent scratching or marring of the paint surface.
Pay Attention to Small Details and Edges
While waxing may seem straightforward, attention to detail can make all the difference in achieving a professional-grade finish. Focus on small areas such as door handles, mirrors, and edges where dirt tends to accumulate more readily. These details can significantly impact the overall appearance of your vehicle.
Utilizing a detailing brush can aid in reaching tight spots where larger applicators may struggle. Additionally, consider applying wax to plastic trim pieces carefully; some products are specifically designed for these surfaces to prevent discoloration or damage. By dedicating time to these finer points, you elevate your car’s aesthetic appeal.
Avoid Over-Waxing Your Car
While waxing is beneficial for maintaining your vehicle’s appearance and protection, over-waxing can lead to complications such as buildup or haziness on the paint surface. It is essential to adhere to recommended application frequencies based on your chosen product; typically every three months is sufficient for most vehicles.
Signs of over-waxing include dullness or an uneven texture on the paint surface. If you notice these issues, consider using a clay bar treatment or polish to remove excess buildup before reapplying wax. Striking a balance between protection and aesthetics will ensure that your car maintains its showroom shine without compromising its integrity.
Maintain Your Wax Job for Long-Lasting Shine
To prolong the effects of your waxing efforts, regular maintenance is crucial. Implementing a routine wash schedule using pH-balanced products will help preserve the integrity of the wax layer while keeping dirt at bay. Avoid automatic car washes with harsh brushes that can strip away protective coatings.
Additionally, consider using spray wax or detailer products between full waxing sessions to enhance shine and protection without heavy buildup. These products are designed for quick application and can help maintain that freshly-waxed look throughout the months. By committing to ongoing care, you ensure that your vehicle remains in pristine condition.
In summary, waxing your car involves several critical steps that require attention to detail and proper technique. From gathering supplies and selecting appropriate wax types to maintaining your vehicle post-waxing, each phase contributes significantly to achieving an impressive finish. By following these guidelines diligently, you can enhance both aesthetics and protection while ensuring long-lasting results for your vehicle’s paintwork.
FAQs
What materials do I need to wax a car by hand?
To wax a car by hand, you will need car wax (either paste or liquid), a microfiber cloth or applicator pad, a clean bucket of water, and a drying towel. Optionally, you may also want to use a clay bar for surface preparation and a detailing spray for a final touch.
How do I prepare my car before waxing?
Before waxing, wash your car thoroughly to remove dirt and grime. Dry it completely with a microfiber towel. For best results, consider using a clay bar to remove embedded contaminants from the paint surface. This ensures a smooth surface for the wax to adhere to.
What is the best technique for applying wax by hand?
To apply wax by hand, use a clean microfiber applicator pad. Apply a small amount of wax to the pad and work it in circular motions on one section of the car at a time. Use light pressure and ensure even coverage. Allow the wax to haze over before buffing it off with a clean microfiber cloth.
How long should I let the wax sit before buffing?
Typically, you should let the wax sit for about 5 to 10 minutes, or until it hazes over. The exact time may vary depending on the product used, so it’s best to follow the manufacturer’s instructions for optimal results.
How often should I wax my car?
It is generally recommended to wax your car every three to six months, depending on factors such as climate, exposure to elements, and how often you wash your car. Regular waxing helps protect the paint and maintain the vehicle’s shine.